13 Awesome Tips for Substance Painter
Substance Painter is firmly integrated into the processes of many animation/VFX studios around the world. As a texture/look development artist in these studios, you must deal with Substance Painter daily.
No matter what you are doing, how you apply textures to your models, the final project is excellent or mediocre.
It makes no sense to spend hours creating great looks just to have them use sub-standard texture effects.
So we have compiled a list of 13 practical and effective tips for you, hoping they will help you.
10% OFF COUPON CODE: blog10
1. Create a texture library
Creating a good texture library in Substance Painter will relieve you of a lot of unnecessary tasks. If you don’t want to go through the whole process of creating UV mapping foryour robot, you would usually render the model with three or four different material channels for the same view. This way you can make decisions in Photoshop post about which materials to put where.
Photoshop layer masks will come in handy during this process. Assign a folder to your textures with stains, oil spills, rust textures, and logos. It’s a good idea to prepare them as PNGs with no background so you can put them on quickly.
2. Consider the lighting
Pay attention to the lighting you use in Substance Painter during the texturing process. Each environment will make your colors look different because of the different light sources. The safest option is to use one of the studio lighting environments, since the light is white.
3. Keep your workflow non-destructive
The best way to do texturing in Substance Painter is probably to use a fill layer instead of a general layer. You can choose a fill color (e.g. red), mask it, and paint the mask. This allows you to change the hue that changes the fill to a darker, brighter, or completely different color.
To achieve it, you need to have control over every visual element you put on the screen. One of the best ways to gain this control is to make the masking as responsible as possible. A simple example is to not paint directly on the height channel, but instead try using the height slider to draw a mask for the fill layer so that you can control the depth at any time.
4. Begin using dirt and decals early
Prepare textures, decals, labels, and logos in Substance Painter early so you can get a big picture impression during the ideation process. It’s important not to lose the idea of the overall concept in the details. The Rust generator also works well for creating interesting dirt.
You can try to do this in 2D and 3D. ZBrush provides a good method of Polypainting during the concept process. In 2D, make sure to only polypaint the logo layer when you are sure you want to mirror the concept, otherwise, you will end up with flipped text. I usually want to have the possibility to decide late whether to flip the image or not.
5. Smart Mask and Generator
These two are a great addition to Substance Painter, as they allow you to create a very interesting look in a few seconds. Keep in mind that it is always a good idea to break them down further: break opacity in your generator/mask and draw details in certain places.
6. Build a strong base
Try to create a base for each material that looks interesting. First, you can always reuse it, and second, it makes the material look realistic. Instead of making your leather solid black, add several layers of different shades of black, purple, and crimson to it.
The same thing applies to the roughness channel; just make sure not to overdo it – the last thing you want is for your character to look like a Christmas tree.
7. Using UV Texturing
Substance Painter is a good choice as a 3D texturing tool when you want to display characters in multiple views or scenes. game characters and ray-traced characters.
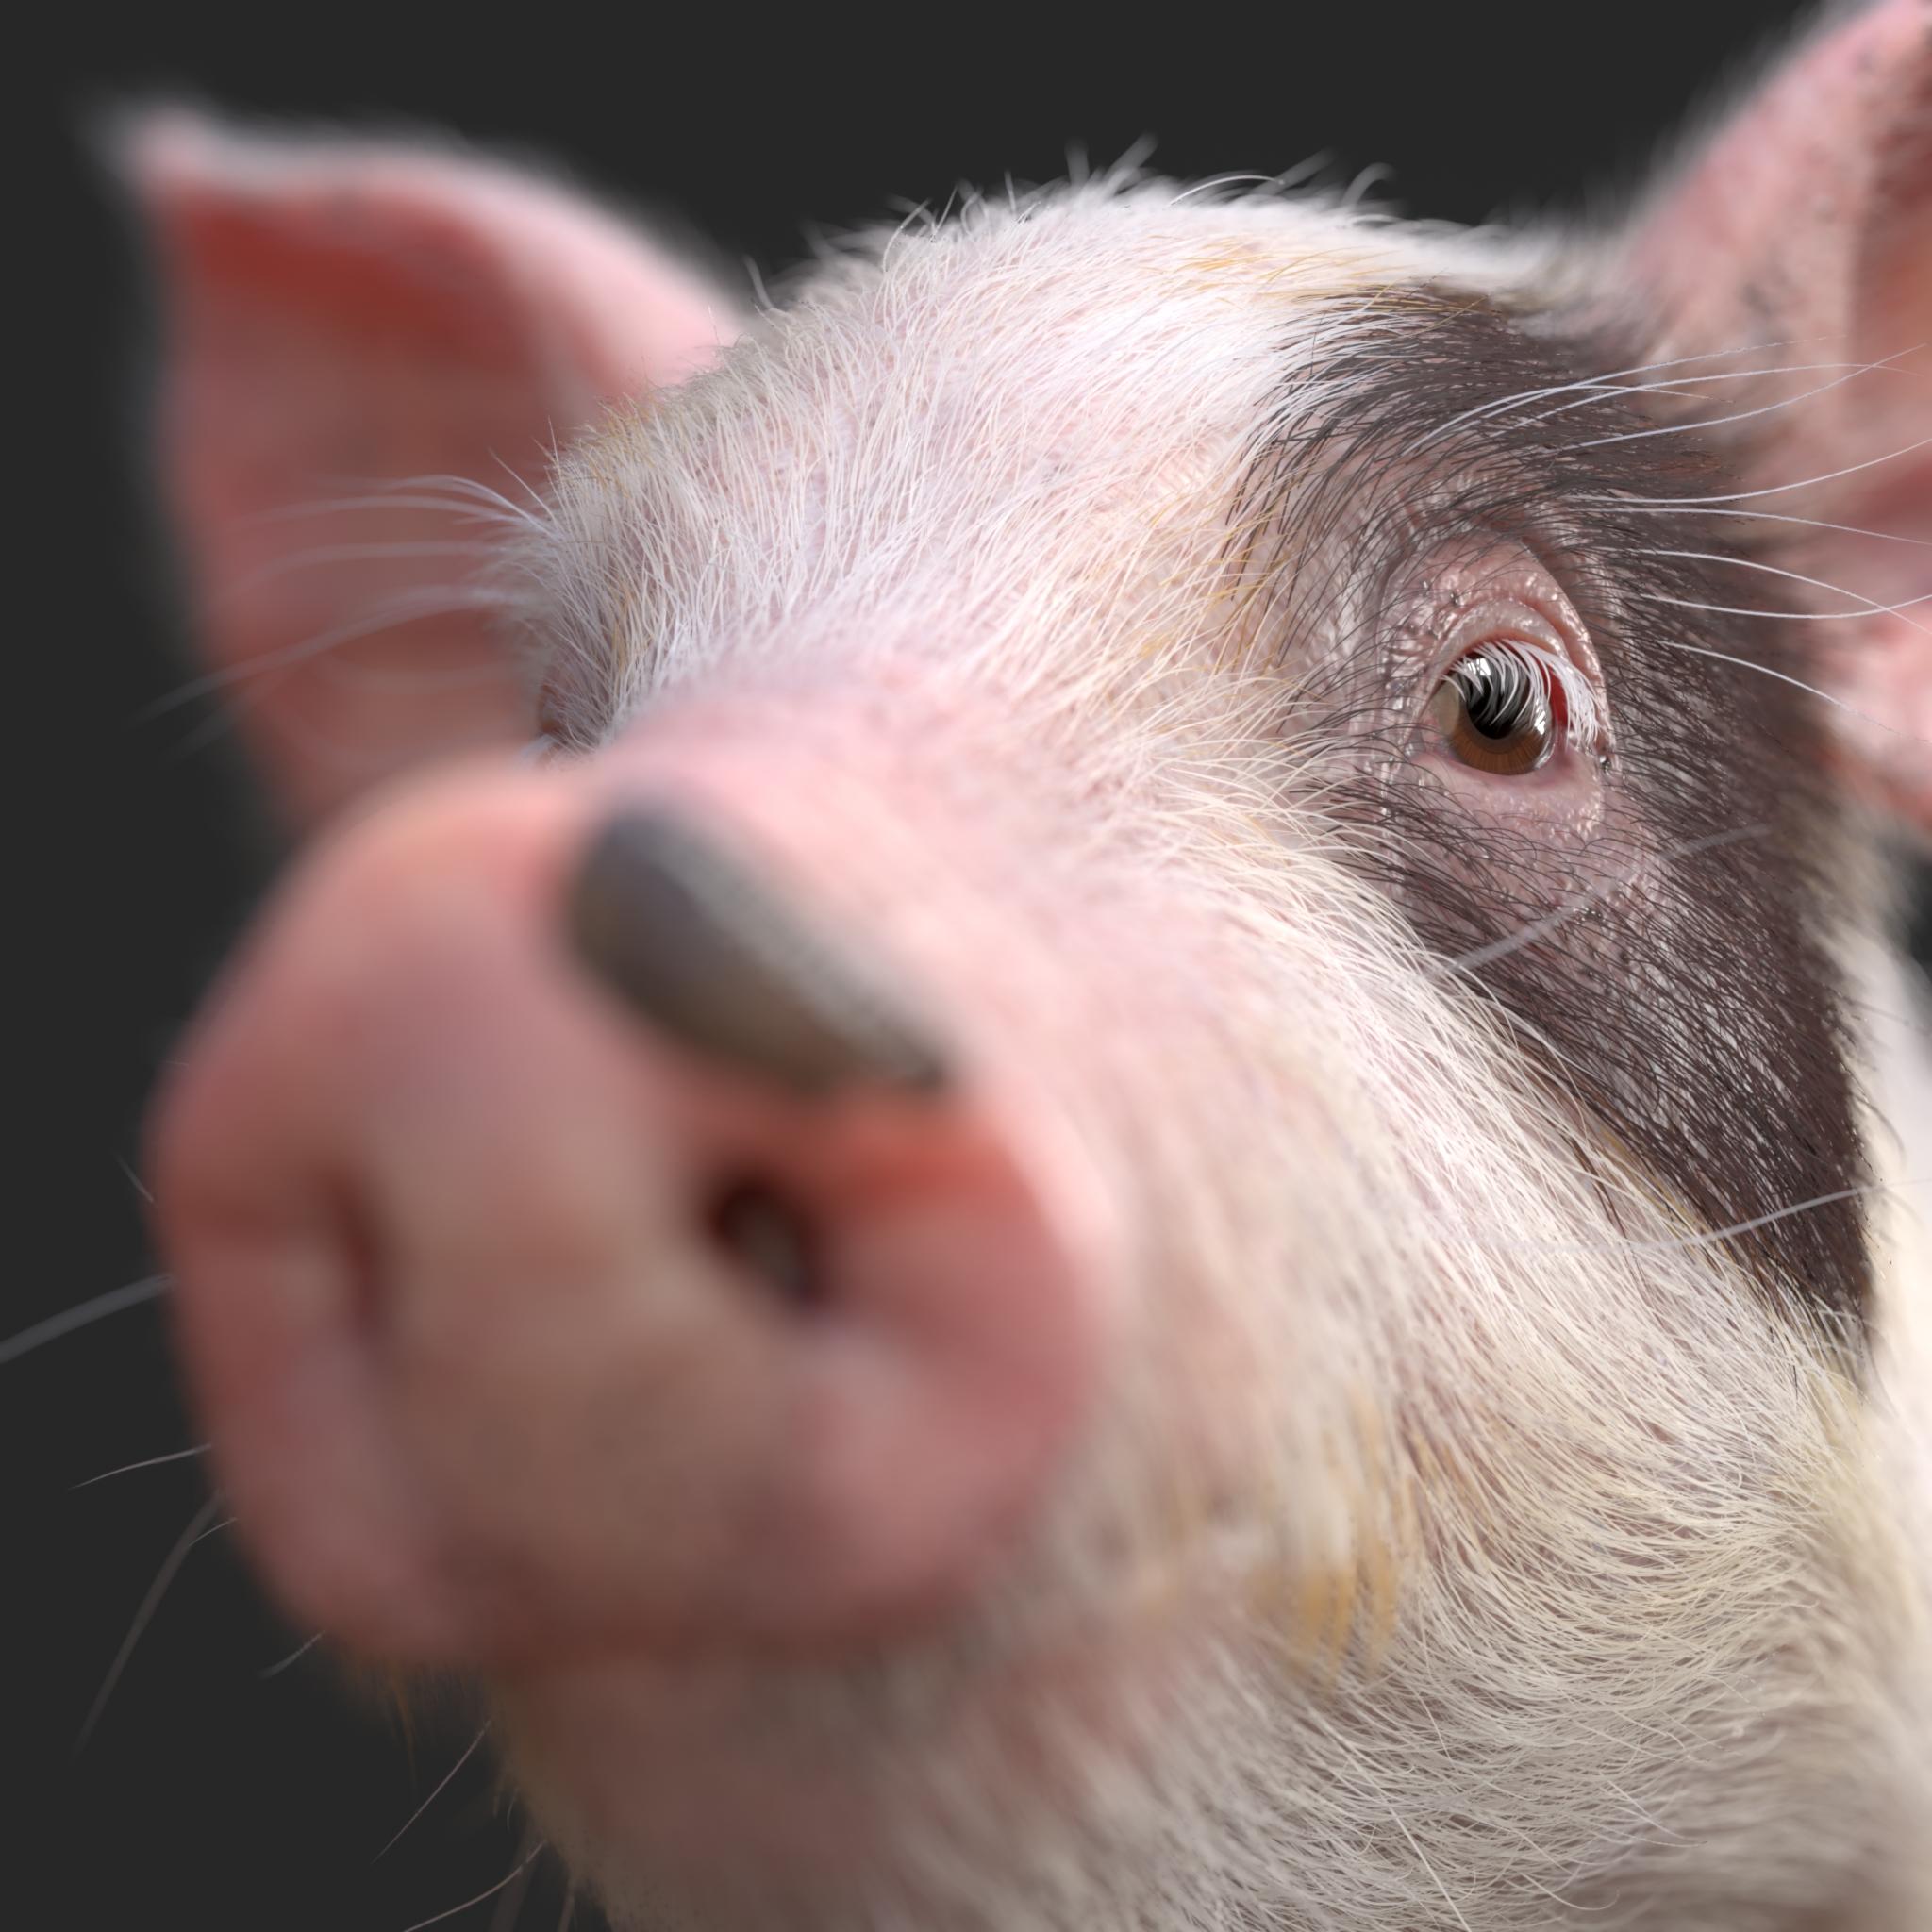
The key to doing this is to create a solid and clean UV texture for your character. With beautiful UV mapping, Substance Painter’s Smart Materials can produce edge damage and excellent wear effects.
8. Consider your wear and tear
Here’s where you have to think about how your character will move, what parts of their clothing/armor will touch and wear, and what parts are prone to damage. Just because the shoes look muddy or dirty, it doesn’t mean you need to add mud to your face.
The same thing applies to damage; if your character has a shield, it will likely be worn and scuffed, but the same thing doesn’t apply to his belt.

9. Create your output templates
Depending on your SP shader and target rendering engine, you may need to add or remove channels and exported mapping. It is a good idea to save multiple templates for different cases. It helps with project consistency.
10. Don’t underestimate anchor points
You can use anchor points to create more complex settings to better control your appearance development projects. The idea here is to reference a different channel of one layer to a channel of another layer, which opens up a lot of possibilities.
11. Keep everything in order
Always have your files ready as if another artist will continue your work from tomorrow, even if you know that is not the case. This way, anyone can read, edit and reuse your files in a reliable way. If you don’t stay organized, you will sooner or later forget about the project in Substance Painter. No need to mention how confused the other artists who will be working on the project will be.
12. Check each channel separately
Speaking of proper colors and values, checking each map separately will help you decide better on each one. For example, see if there is an appropriate variation in the actual roughness values. Checking each map will also help prevent further problems or debugging.
13. Double the texture resolution before exporting
Substance Painter lets you paint textures at any resolution you choose and recalculates the texture when you change the resolution. It is usually best to work at the resolution you want to use for the map, but increasing the resolution level immediately before exporting can provide additional clarity in fine detail.
Substance Painter is a very useful tool for 3D texturing. If you want to make more realistic and beautiful textures for your models, you still need to learn a lot of useful things. There are a lot of useful and exciting tutorials for you to learn. If you are interested, welcome to join Wingfox.
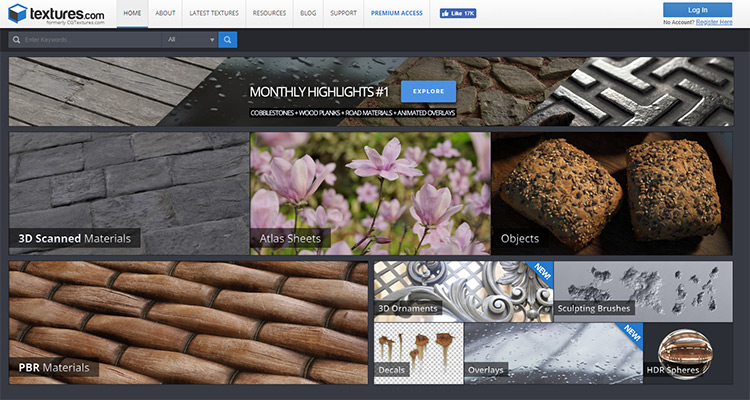
6 High-Quality Textures Sites (Free & Paid)
Textures are an important part of the materials that make up the final scenes in your games or still renders. It…


Post a Comment
要发表评论,您必须先登录。
Pingback: 13 Awesome Tips for Substance Painter | art des...
2022-04-02Pingback: Substance Painter: Professional 3D Texturing Tool - Wingfox
2022-04-06