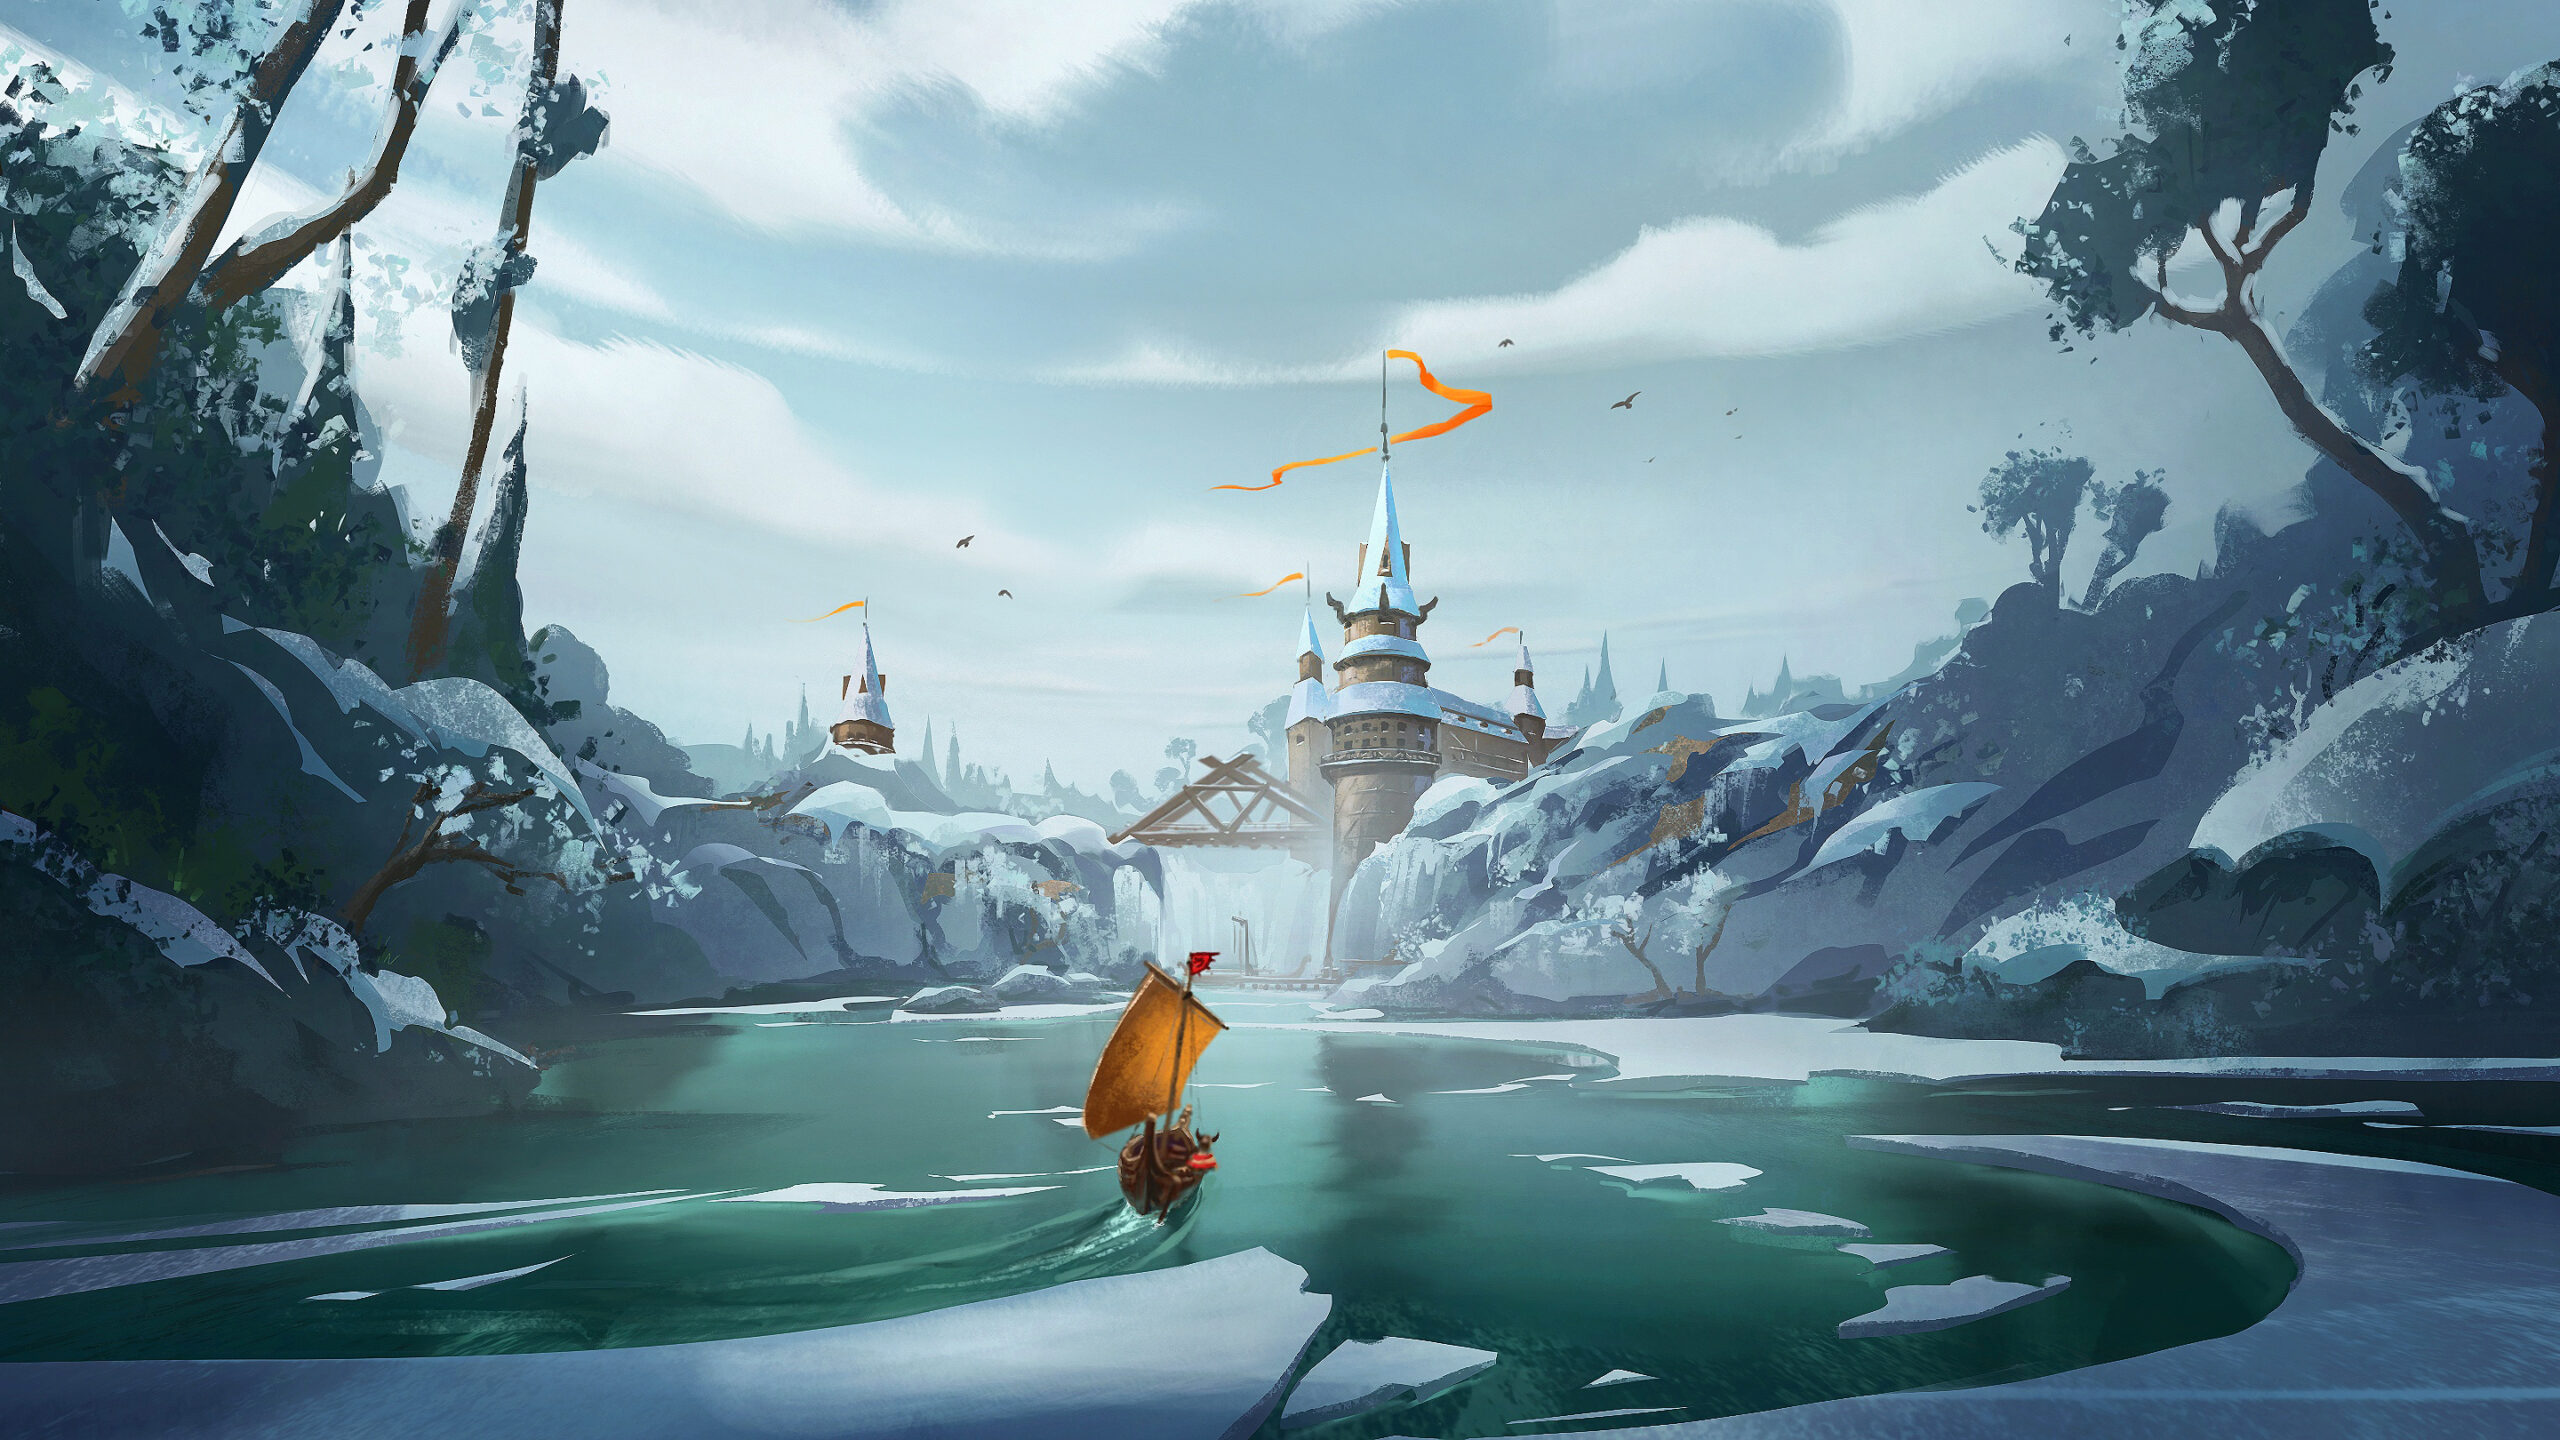
Procreate Tips: Learn from Master
For Procreate drawing, whether it’s composition, lighting, or even storytelling techniques, there’s always something new to learn from the classical masters that both amateur artists/illustrators and seasoned industry professionals can benefit from.
But in the process of learning, you may easily fall into the trap of blindly copying. Ask as many questions as possible when studying an image, such as: How was the composition designed? Why are the shapes arranged in this way? Why did the lecturer use this set of values for this part of the image? Or, how did the artist draw your eye into focus?
Studying master’s is a great way to improve your skills. In this article, we will examine how to do this in Procreate. The real magic happens when you apply new techniques or methods learned from your instructor’s paintings to your work in the painting application. By incorporating this newfound knowledge into your imaginative work, you will truly find yourself growing at a rapid pace.
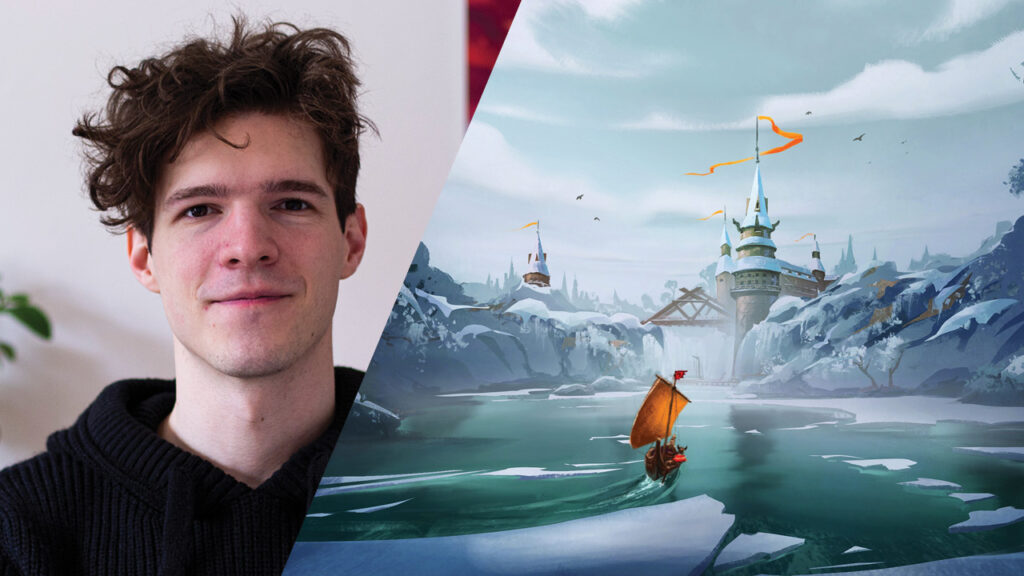
| Hello everyone! I am Ingram Schell, a freelance illustrator and concept artist. I’ve been working as a freelance illustrator and concept artist for several years now. Projects I’ve worked on include feature films, board- and pc-games. Notable Projects: Maya the Bee(movie), Vic the Viking and the Magic Sword(movie), The Ogglies(movie), Paleo(board-game), ISS Vanguard(board-game). |
1. Choose the right image
When you are going to start imitating, try to find a high resolution version. One thing to keep in mind when looking for versions of master paintings online is that they are not all exactly like the originals. Sometimes the colors may be off or the image may not be clear. Do your research to find the best image before submitting it.
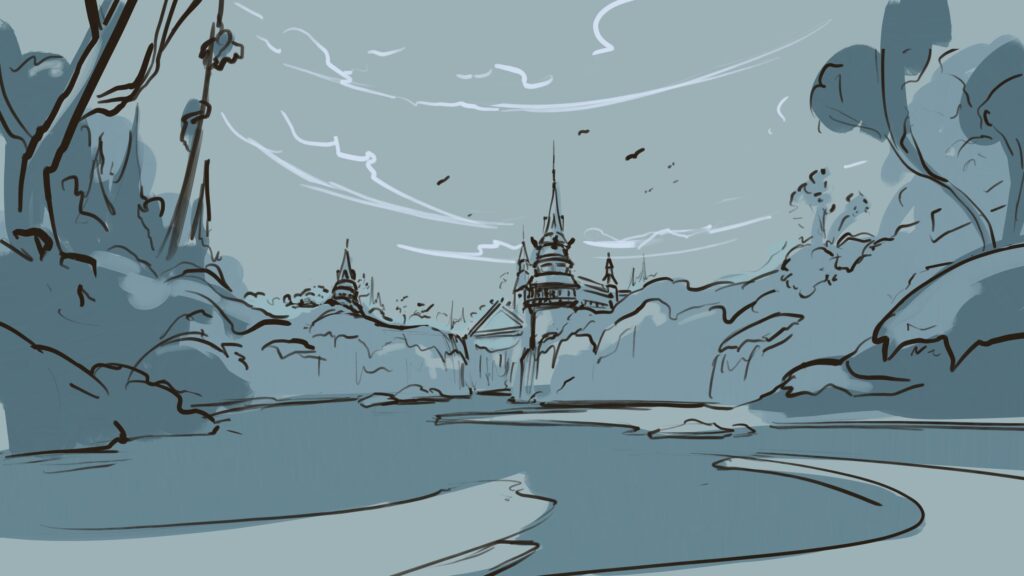
2. Study the painting
When you find a painting you want to copy, it is a good idea for you to study the painting first. It is not advisable to start copying blindly. To achieve better learning results, you should take some time to study it properly.
3. Set up Procreate
When doing these studies, you can use the split screen feature on your iPad to place the study image on the image viewer on the right side of the screen, if you are are left-handed. You will also need to use several different versions of the image in the viewer: one that is flipped horizontally and another that is grayscale.
4. Set value limits
On the value slider of Procreate, you can select 10%, 25%, 60% and 90% and use only these four values. This will allow us to see how the shape of the composition is arranged by simple values. Sometimes the values in the image may not match one of the four values we have, so we need to choose a group to place them in. Squinting can help with this problem
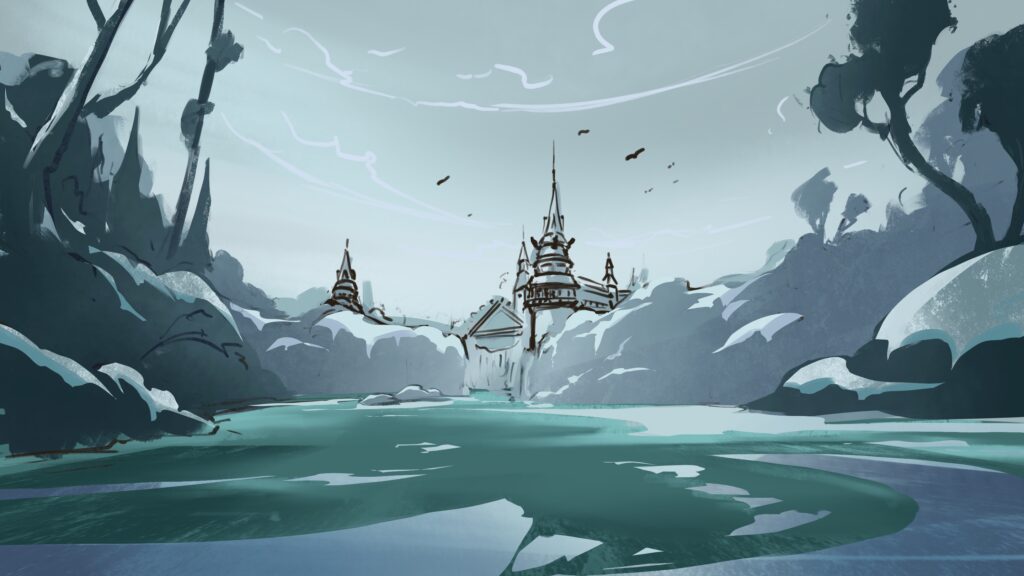
5. Perform color analysis
Before starting a full-color study, it can be useful to drag the color picker around the image in the Procreate. This will give you an idea of where the colors are located on the color wheel. Also, see how the composition is arranged. Look closely – almost every line in the image is designed to bring our eyes into focus. Then you break down the image as much as possible, usually working from the background to the foreground. Then use different layers for the main elements of the image. You can use the fill layer option to quickly get rid of the white canvas.
6. Add painting elements
Now you start with the background rock, which is half in the shadows. The color may vary depending on the other colors around it. You need to continue to study the rocky area in the shadows, paying close attention to all the subtle changes in tone.
After you’ve blocked the shape of the water, you’ll want to speak alpha lock for each layer (choose Layer > Alpha Lock); in this way, you can make broad brushstrokes that will remain within the block.
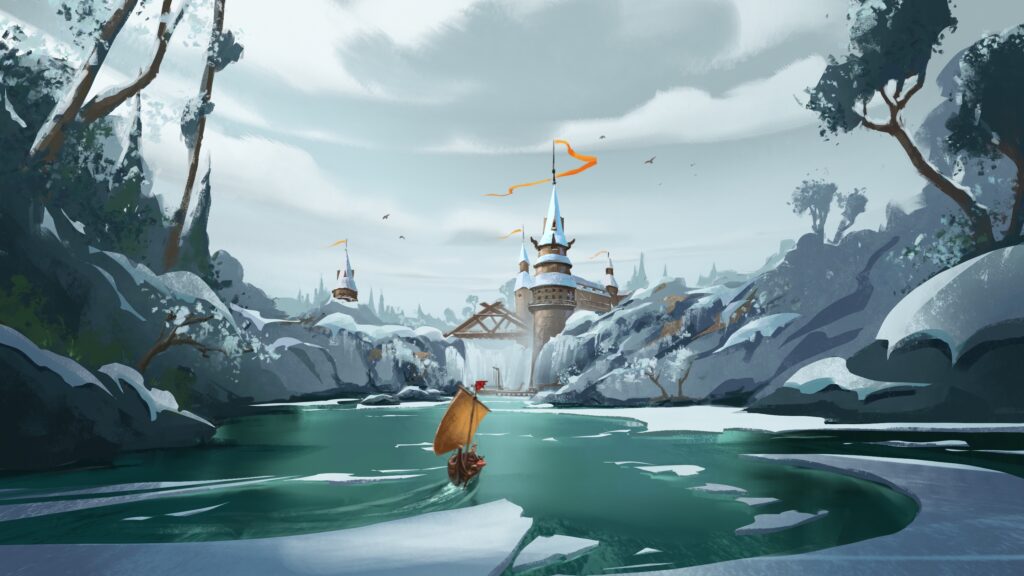
7. Build details
Once the shape of the boat is locked, you will start building the details. Start by finding the base color of the boat, which results in these dark browns. Then slowly add decals and other details, using the main shape of the ship as a guide for detail placement.
You will build on a sketch; it is not so accurate that I need to recheck the scale. You will use the ship as a guide for where certain parts of the character will fall.
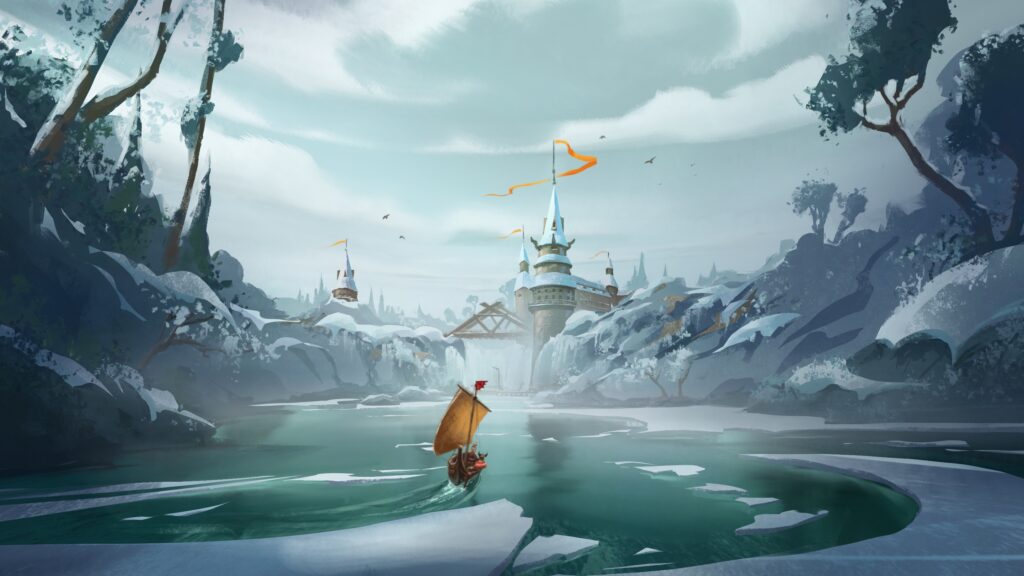
8. Flip the image
Often flip the image horizontally every few minutes, or even vertically, to refresh your eyes. In the Procreate, you will often see errors almost jump off the page when performing this operation. There are small details, such as the reflection of the boat to be drawn. Select the boat layer and click Copy > Flip Vertically. You place it under my foam layer, lower the opacity, and warp it into place.
9. Make final adjustments
When you find yourself falling into third detail, especially out of focus, it’s a good sign that you should move on. However, you would unify more around the image; the edges on the ice are too rough in some places. You can apply a smudge brush to gently soften the edges. At the end, you can make the image a little brighter and add a subtle sharpening filter just to sharpen it a little.
Regardless of the type of digital art, the process requires specific knowledge, skills, hardware, and software to apply. Wingfox is a professional online digital art education platform where you can learn exactly the knowledge and skills you want. It has tutorials on all aspects of digital art, including character modeling, scene creation, and more. If you are interested in Procreate, please feel free to come and learn online. You won’t regret your choice.
Tips for Drawing in Procreate
Procreate is fast becoming one of the most popular and flexible digital painting applications. It reproduces realistic painting techniques and…


Post a Comment
要发表评论,您必须先登录。