Concept Art: Tips for Artists
I know it’s not easy to create fantastic conceptual art, and it’s not easy to be an artist. Concept art is not a one-size-fits-all task. It requires different moods, designs, creativity, touch, and feel. After a while, you will figure this out and then choose the tools that are best suited for the job. If some techniques can obviously save a lot of trouble, they should be very popular.
1. Draw interesting sketches quickly
Most of the time, surprising masterpieces originate from your sudden little inspiration. And you can spend about an hour on sketches. You can make fun, easy sketches and help fill out a portfolio. Try to take some time out of your day or evening to do a quick color sketch from time to time. You may not always be happy with the final product, but there’s a good chance you’ll learn something new about the image creation process – and you may even make a nice portfolio from it.
2. Promote yourself online
In addition to scattering experimental, high-energy pieces throughout your portfolio, you can use them as handy business cards for self-promotion.
After you’ve produced a satisfying body of work, add it to your online portfolio. Then roll up your sleeves and get busy on social media. Access all channels: Twitter, Instagram, Facebook, etc. Remind people that you’re still creating art. Due to confidentiality agreements, artists can’t always show off their clients’ work. Personal work goes a long way toward maintaining your online presence.
3. Enrich a variety of styles and content
This is another reason to make some quick sketches. Maybe you heard about a project coming out from a friend and you want to prove that you have what it takes to work in that genre or style. Make a sketch that shows you’re a good fit. In terms of content, it doesn’t need to be on the nose – just something that looks right for that particular world. Chances are the art director will see it and think you’re a good match. If not, that’s okay – you can still use another quality promotional item as needed.
4. Be a good storyteller
One of the good things these sketches force you to do is to think about telling a story. For a piece, you may not know what you are going to draw until you start. Or even that you spent the first 10 minutes going over and over what the subject would be. But eventually, you start to draw a corridor and some shapes in the background.
With some idea, you start to think about the smaller aspects of the story. You can look at the earlier article: Illustration Tips: Tell a Story with Your Illustrations. Give your work some drama and mystery. It’s fun and adds a whole other layer to an otherwise very generic piece.
5. Use small designs
After you draw your sketch, prepare a pre-drawn textured background or will draw it in this step. Then add larger shapes and start calculating the composition and story in the scene. The drawn texture gives the illusion that more detail exists in the image than is really there. At this point, something like a number is just a scribbled blotch. When you get the design right, the overall piece will have an unexpected effect.
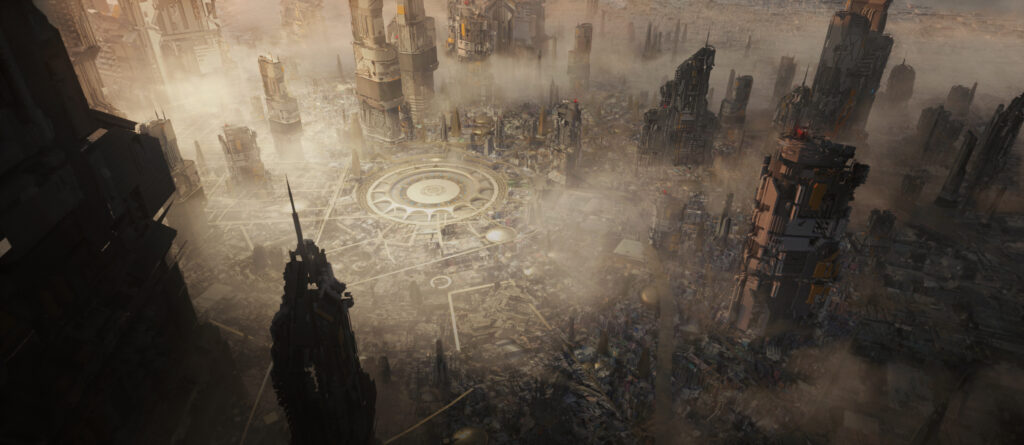
6. Depict hard surfaces in 3D
For spaceships, vehicles, mechanical designs, or any mechanical design, I tend to use 3D tools. They allow you to design from multiple angles and ensure that the finished piece has a clean look. The art will be more precise and have crisper edges than the drawing results using standard 2D tools. In addition, you can design objects from multiple angles because nothing will end up fabricated. It will be accurate.
7. Use repetitive architectural workflows
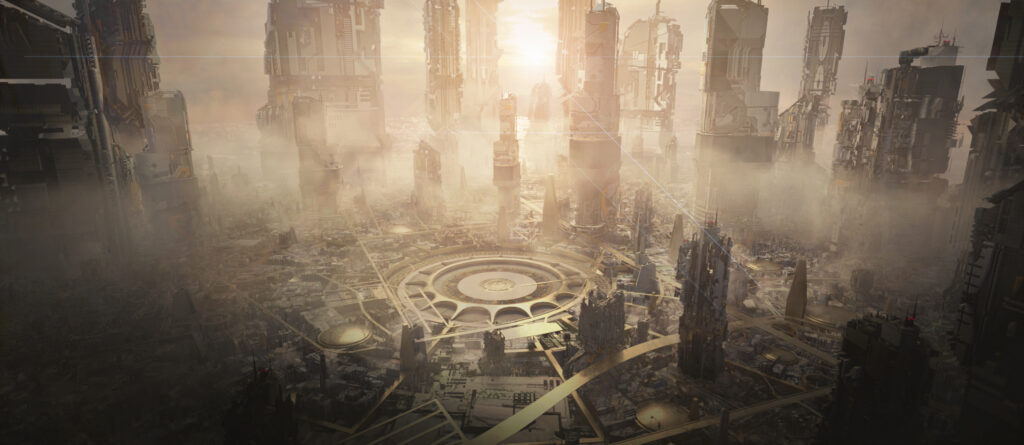
Looking at similar buildings or architecture from a dramatic perspective is another reason to use 3D tools. Even if you end up painting on the artwork, it will save you time if you model rather than draft and draw everything in 2D. 3D tools will enhance your workflow on these assignments.
8. Create reusable assets
Another reason to use 3D is whether the assets will be used in a series of images. You may have spent a week or so designing a racing machine in 3D. Starting with some rough 2D sketches, you modeled the design, asked your friends for feedback, and made several changes. You’ll be glad to spend this time upfront because you’ll be using this asset in multiple images, and having a complete design from the start will save you time later. For example, reflections and design decals on the machinery. Achieving this look using only 2D would be a challenge.
9. Leave room for interaction
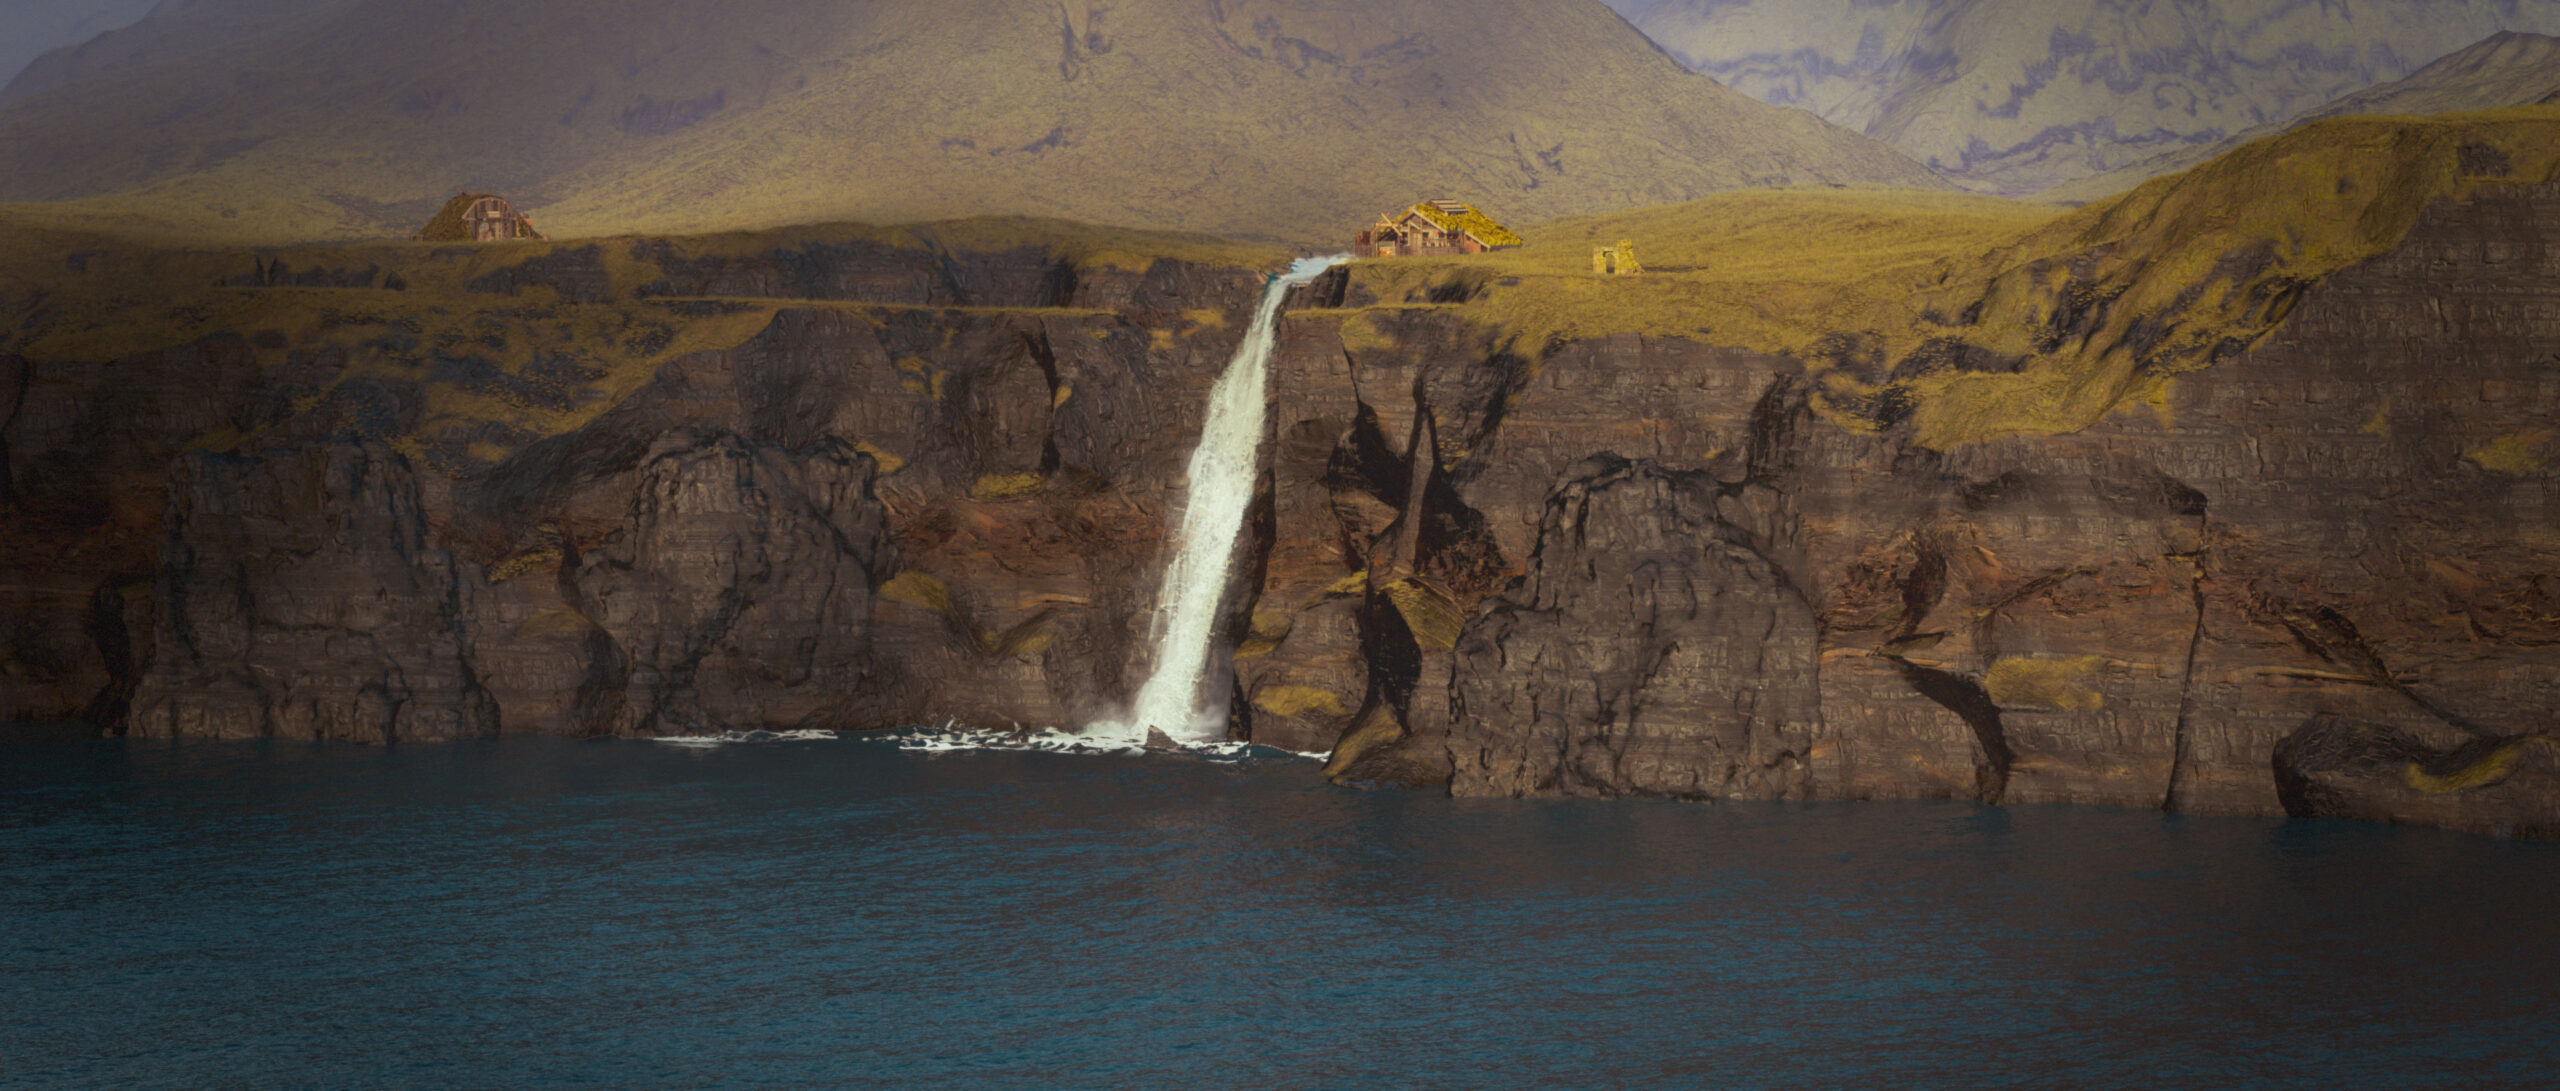
To establish the palette and the general direction I want to go, you create a quick and fast background. This step prompts you to ask questions and now start answering the questions of the story. You can choose the focus and start building the scene. Think about how people will interact in this world and start adding smaller details to help define the objects in the scene. This is the fun part! You can introduce all sorts of little story moments to help enrich the composition.
There are quite a few tutorials on concept design in Wingfox. If you are interested, feel free to come and continue to improve your artistic skills.
10 quotas of 50% discount for concept design course. Code: CD50. Seats are limited!
Ends in 6d
Post a Comment
要发表评论,您必须先登录。





Pingback: Making Anatomy Simple - Wingfox
2022-03-14Pingback: Concept Art: Creating a Portfolio - Wingfox
2022-03-23