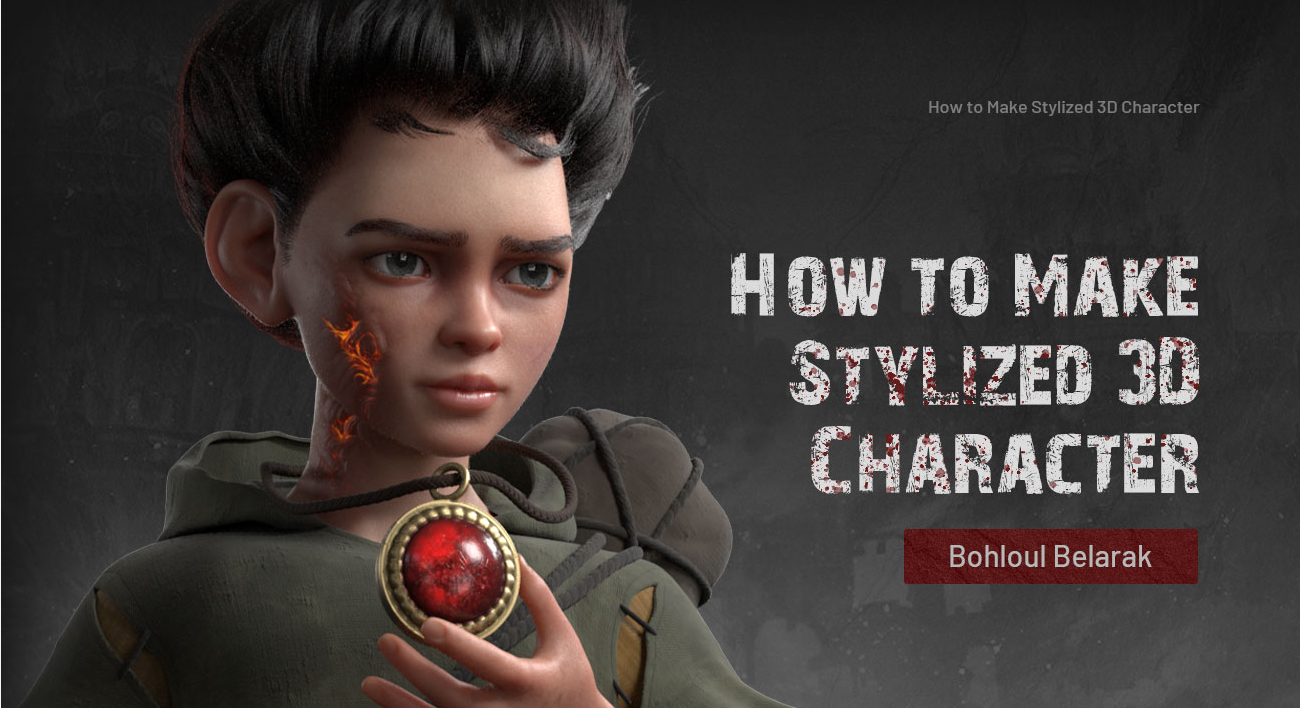
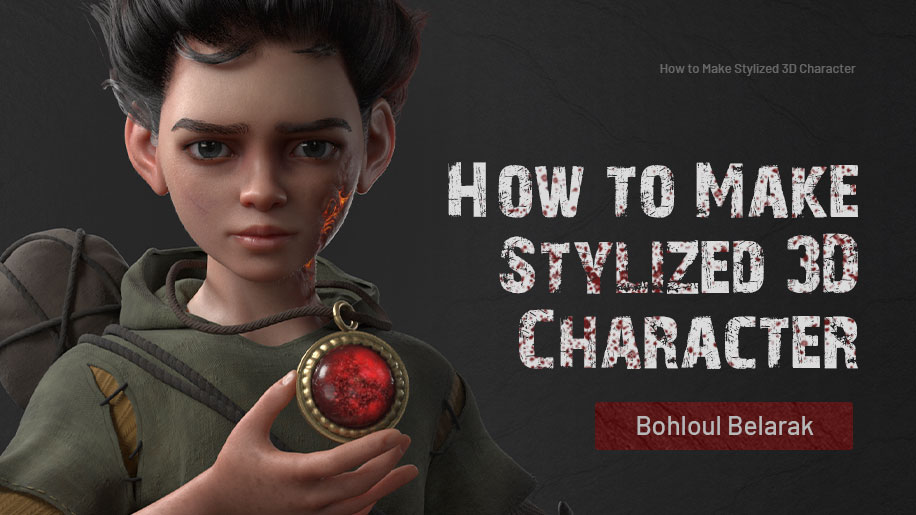
How to Create A Stylized 3D Character
Stylized 3D characters are very commonly used in concept art. Do you know how to create it? Today we will talk about how to create a stylized character. If you are in front of the screen, remember to take good notes, it may be of great benefit to you in the future.
Generally speaking, when painting, especially in modern illustration, artists imitate or originate to give their paintings a special style that stands out. For example, ancient Greek sculpture was not a complete representation of the real human body, because artists believed that the body was ideally perfect, rather than what it looked like. Therefore, sometimes artists are much more likely to bring out their characteristic style by creating stylized 3D figures.
One of the fundamental characteristics of visual art is the degree to which it is figurative or stylized. The fewer objects on the work that reflect the characteristics of reality, the more obvious the stylization will be.
So let’s see how Bohloul Belarak, a 3D artist, creates a 3D character with a personal style.
Collecting references
To create a stylized 3D character, you first need to collect relevant reference materials. A good reference is very informative and learning for design, detailing, and overall effect. Bring your understanding and aesthetics and draw in your way.
We are going to make a teenage character model, so we can collect references from these aspects: details of various parts of the character (eyes, hair, expression, hands, legs, etc.), clothing, jewelry, props, etc.
The specific classification can be organized according to your own preferences needs and extraction habits. A detailed classification can greatly improve the efficiency of creation. The process of creation can be quickly pulled out to access, very convenient and practical.
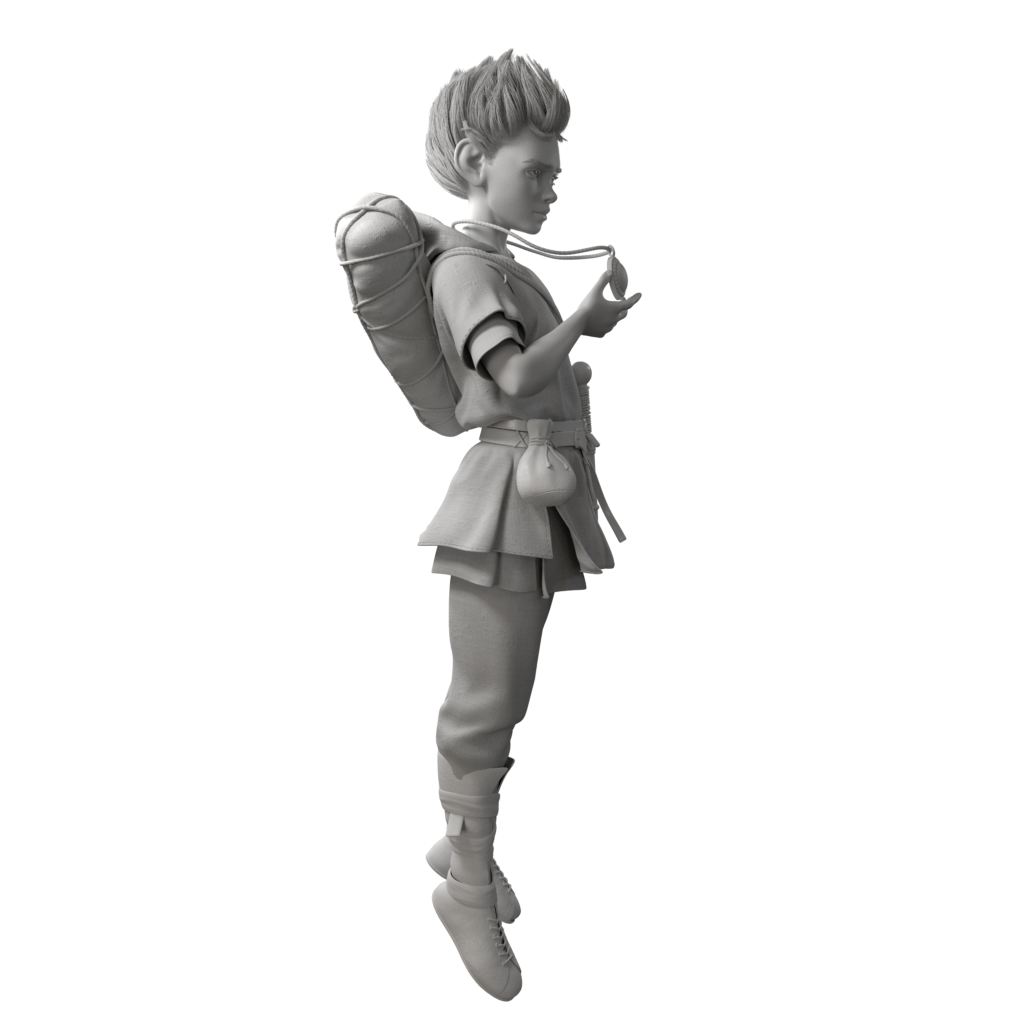
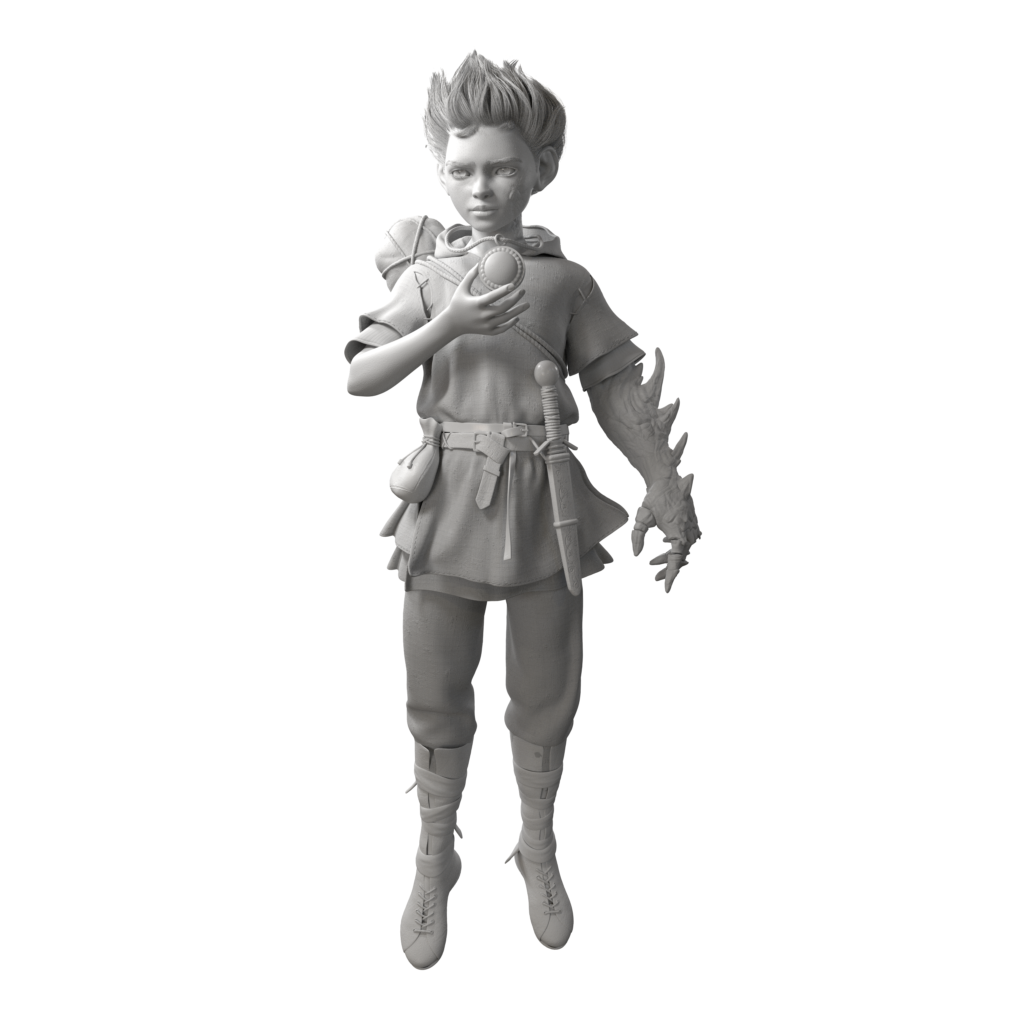
Modeling and Sculpting
Next, we start stylized 3D character modeling and sculpting in Zbrush. The focus is on getting the proportions of the character’s body and face right, as well as the outline of the character from different angles. I usually add final details such as microdetails after re-topologizing and projecting.
Topology and UV spreading
Immediately afterward, I will show you how to make this process faster and more enjoyable in Topogun. Then, I will explain how to unroll UVs quickly and efficiently, and I will show you how to divide the different parts into separate UV tiles to get the best quality in the final render.
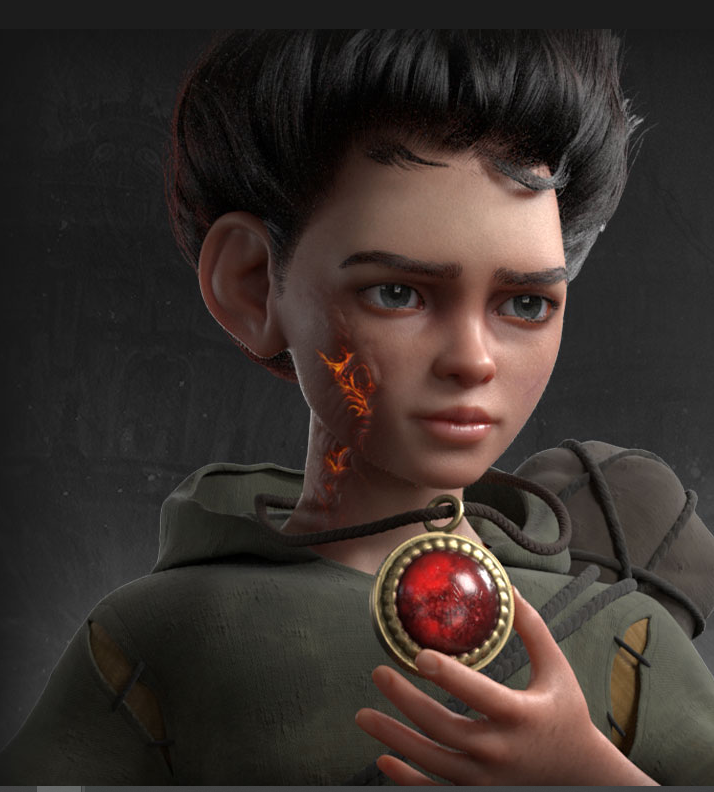
Working with textures
Next, I will start texturing in Substance Painter, focusing mainly on the face and hands. Texture the rest and explain the different material features, such as fabric, metal, etc.
Grooming hair
I will then talk about general information about human hair and explain the process you should know before you start grooming with Xgen. Grooming hair is a process that requires patience, if you want to know more about hair creation, check out the previous article: 7 Steps to Effective 3D Hair Creation
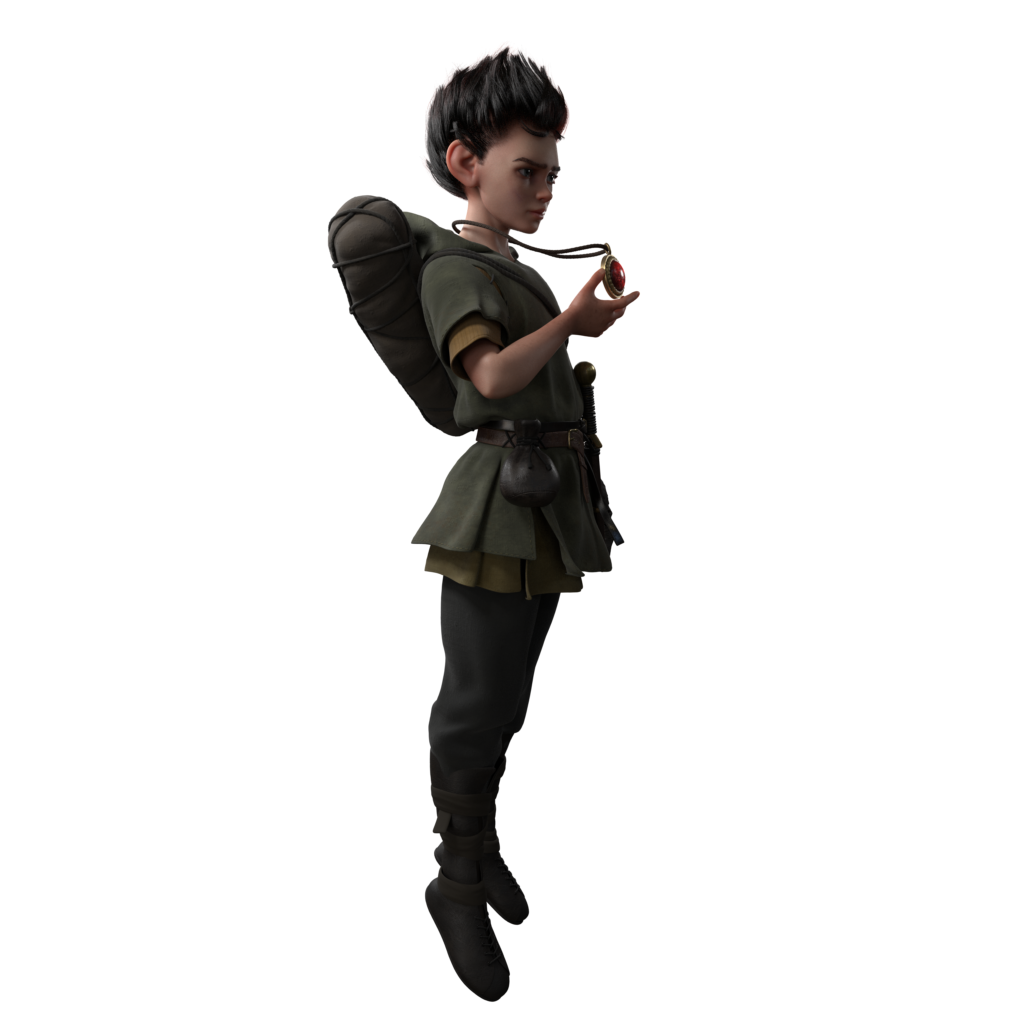
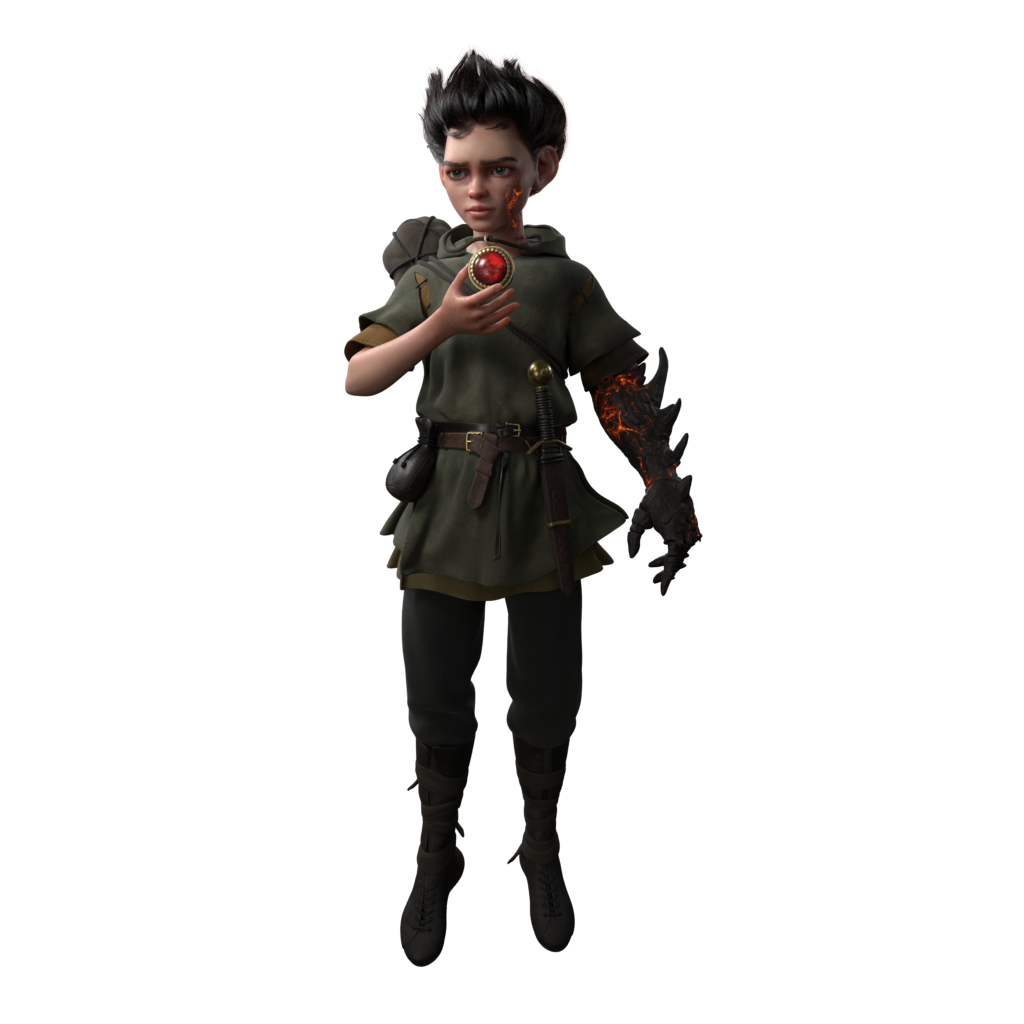
Posing of Stylized 3D Character
After this, I will show you how to pose the figure based on the concept of reference and how to polish the symmetry of the face. You will see the young boy, who holds a ruby around his neck in his right hand.
Rendering
Finally, I will bring rendered photos from different angles into Photoshop, moving forward in two dimensions and applying them to models, shaders, etc. to achieve the best results.
After reading the above stylized 3D character creation process, do you want to have your own stylized character too? Want to create something unique through your own careful modeling? This course from Wingfox on How to Make Stylized 3D Character is almost tailor-made for you.
In this tutorial, you will wind up learning the fundamentals of gridded 3D character creation and the proper way of thinking and working. We’ll talk about the structure of the head and body and the right way to develop and finish forms and details.
Also, we will discuss the parts that need to be taken care of in production, making sure that everything is based on the standards we need in real projects. We learn how to make textures and shaders for different types of materials such as skin, fabric, metal, glass, lava, leather…
This tutorial covers different modeling and reconstruction techniques so as to be able to choose the best way to make each part in the fastest and most efficient way. Finally, through your efforts, you will be able to make amazing characters for your project or portfolio and attractive your viewers.
If you want to learn how to make stylized 3D characters, welcome to sign up for the tutorials at Wingfox. If you buy the course now, you can get a 10 percent discount.
Coupon code ↓↓↓↓
blog10
You need to copy and paste the above coupon code into the “Apply Coupon” and click “Enter” button. Come and join us!


Post a Comment
要发表评论,您必须先登录。
Pingback: How to be A CG Artist - Wingfox
2022-01-07Pingback: Game art: Difference between Realistic and Stylized - Wingfox
2022-02-15Pingback: How to protect digital art - Wingfox
2022-02-16