
13 Practical 3D Lighting Tips
3D lighting plays a very important role in the creation of both scenes and characters.
The following article will give you some tips for creating realistic 3D lighting. Lighting is the foundation of any 3D art project you work on. At its most basic level, it is a way to make objects visible. But cinematographers will tell you how important lighting is.
Lighting allows you to add atmosphere and set the tone for your work. It allows you to subtly manipulate the viewer to see where you want it to be. It’s also a way to elevate your work beyond the 3D realm, giving it the warmth of an oil painting or the feel of a photograph.

1. Collect multiple references
No matter how good you think your visual memory is, don’t try any 3D lighting without a lot of reference material. If you are modeling something in the real world, find photos you can use.
If this is not possible, or if you are creating something from your imagination, take your lighting reference photos. Place the object on a flat surface and a flat background, illuminate it from one direction, and take a photo. Keep moving the light around and taking pictures of the results, and you’ll soon have a comprehensive library of photo references for applying highlights and shadows in place for different light sources.
Perform the same operation on transparent objects and place multiple objects in the scene so you can see how the light behaves when it hits multiple objects.
2. Build compelling compositions
Effective composition directs the viewer’s eyes to where you want them to be
Composition works with lighting when it comes to manipulating the viewer’s eyes and directing attention to where you want it to go. Models and textures can be perfect, but if the composition is poor, then everything falls into place.
If you’re having trouble with composition, study some traditional art theory. Artists and photographers have devised various rules for successful composition, from the rule of thirds and grid theory to the golden ratio. By understanding the route your viewer’s eye will take, you can use lighting as support for composition.
3. Handle one light at a time
It is best to deal with one light at a time. The active light should be the only visible light in the scene, while all other lights should be temporarily turned off. This way, you will be able to see how a particular light affects the scene and change it by processing its properties (e.g. position, direction, intensity, etc.).

4.Add contrasting drama
Add dynamics using strong contrast. Create outlines by using strong contrast to focus all attention on one part of the image.
5.Experiment with shots
Don’t limit yourself to ordinary shots. Instead, combine different lenses, angles, camera movements, speeds, and durations. The height of the camera may change dramatically and give a completely different impression, which in turn will help open up new lighting opportunities you may not have considered.
6.Position the main light
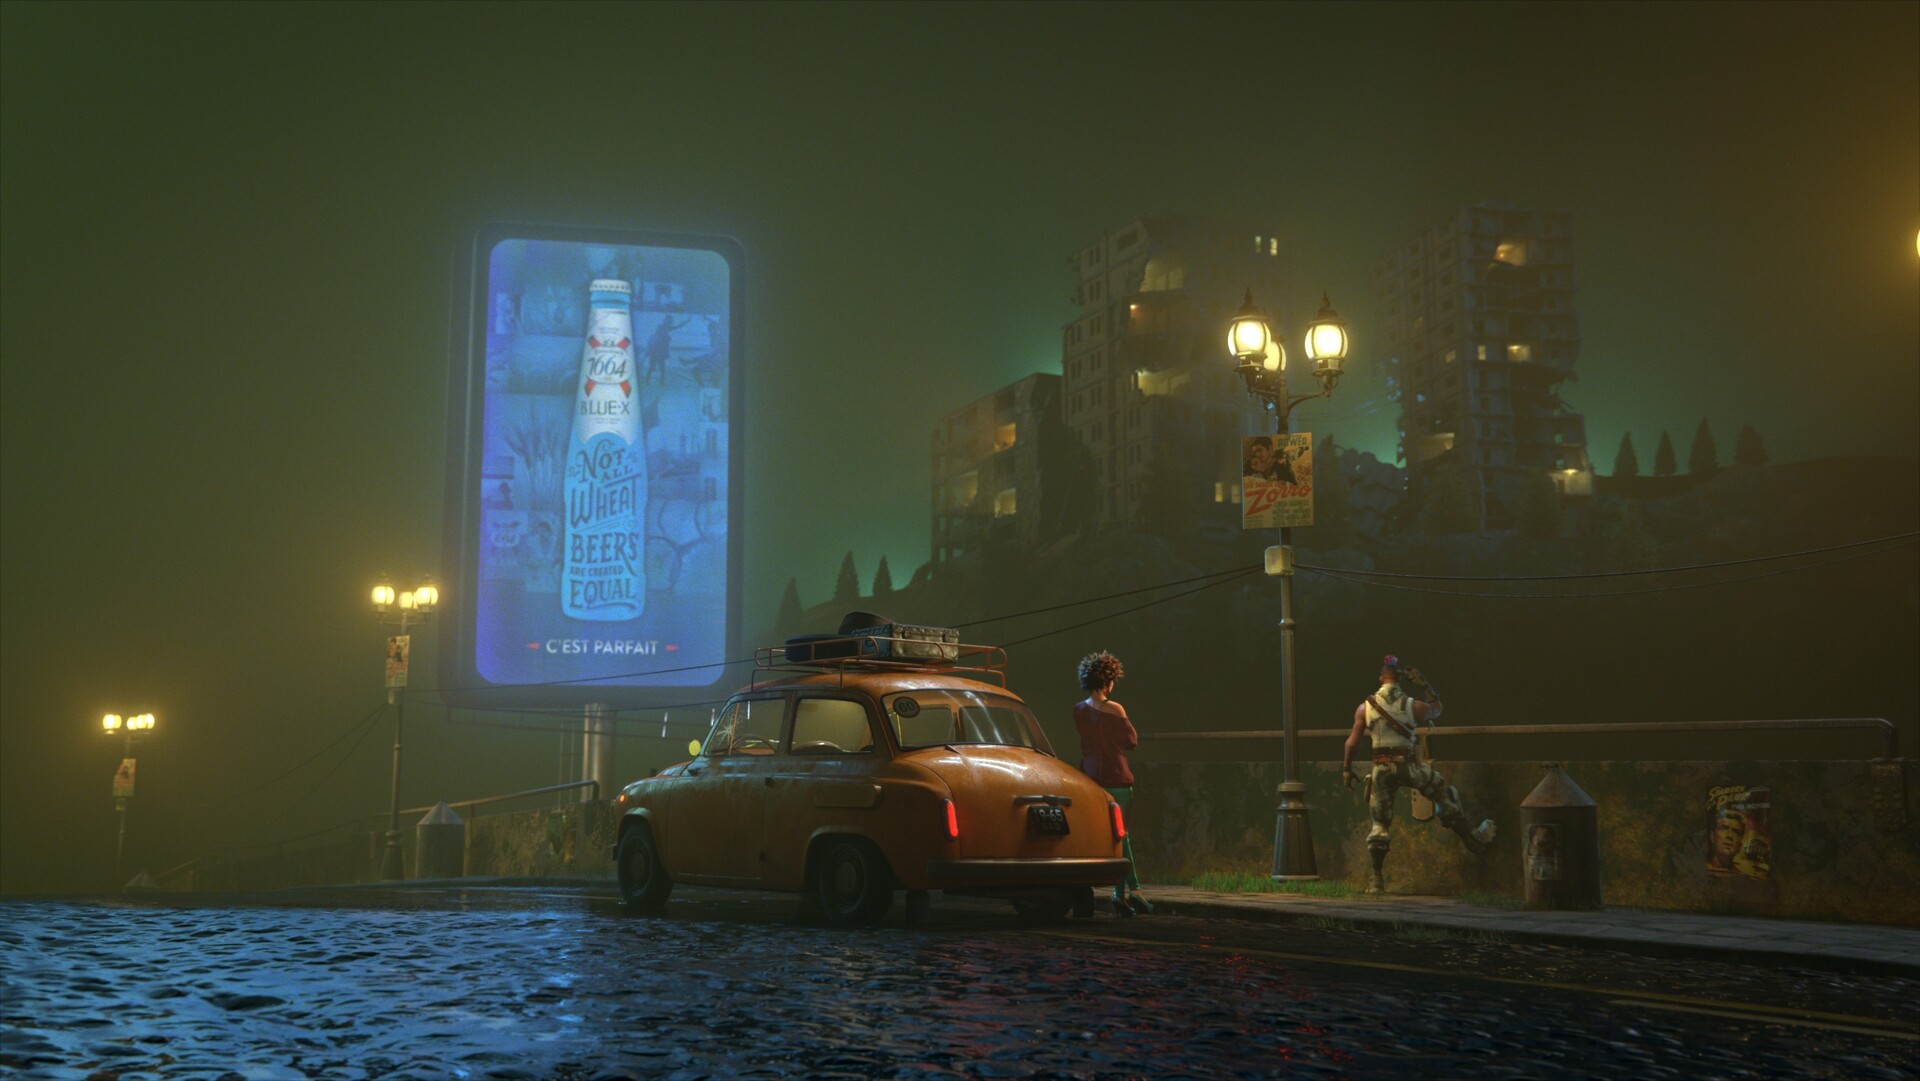
If there is no sound in the film, you can still tell a story or convey atmosphere and mood through light and shadow. The main light needs to be well-positioned, and its shadows need to explain the shape and structure of the scene. It can also influence the composition by separating positive and negative space.
7.Build your light
Depending on the situation and requirements, adding other lights helps us to fill in other content or justify the bounce of the light.
Try to describe the area you are lighting. It is best to start in complete darkness. You don’t always have to use the standard “hdri” settings as a guide, but if you use clumsy, you will get a “washed out” light that is difficult to control. Play with the lights, but always keep in mind why that particular light is in that particular place.
8.Clean up compositing
Compositing is the final stage of the image, allowing you to quickly and easily combine many different layers to affect contrast, color, depth of field, motion blur, lens breathing, and all the other factors necessary to make your photo look like it was shot with a movie camera.
It is necessary to know that some things are easier left to the compositing stage rather than wasting time trying to do it in 3D.
9.Use effects to direct the viewer’s eye
Shiny lighting effects such as bokeh and glow are tempting, but if you use too many, all you are doing is losing any sort of impact. In addition to any strong light sources, limit these to strong highlights on certain parts of the image (such as metal and glass).

10. Control the intensity of light
The intensity of light is controlled by the properties of the light emitted on the flat material. You can add colors and even textures for casting interesting shadows. Using luminous materials also provides light intensity attenuation, which is very important for interior 3D lighting.
11. Add selective highlights
Well-placed highlights help convey the depth of field
Using photographic techniques such as shallow depth of field is a useful way to draw attention to an area, but highlights can help achieve the same effect. The problem with a shallow depth of field is that all the details are in the in-focus area in the front of the image, so it’s hard for the viewer to know where to look.
12. Light up multiple textures
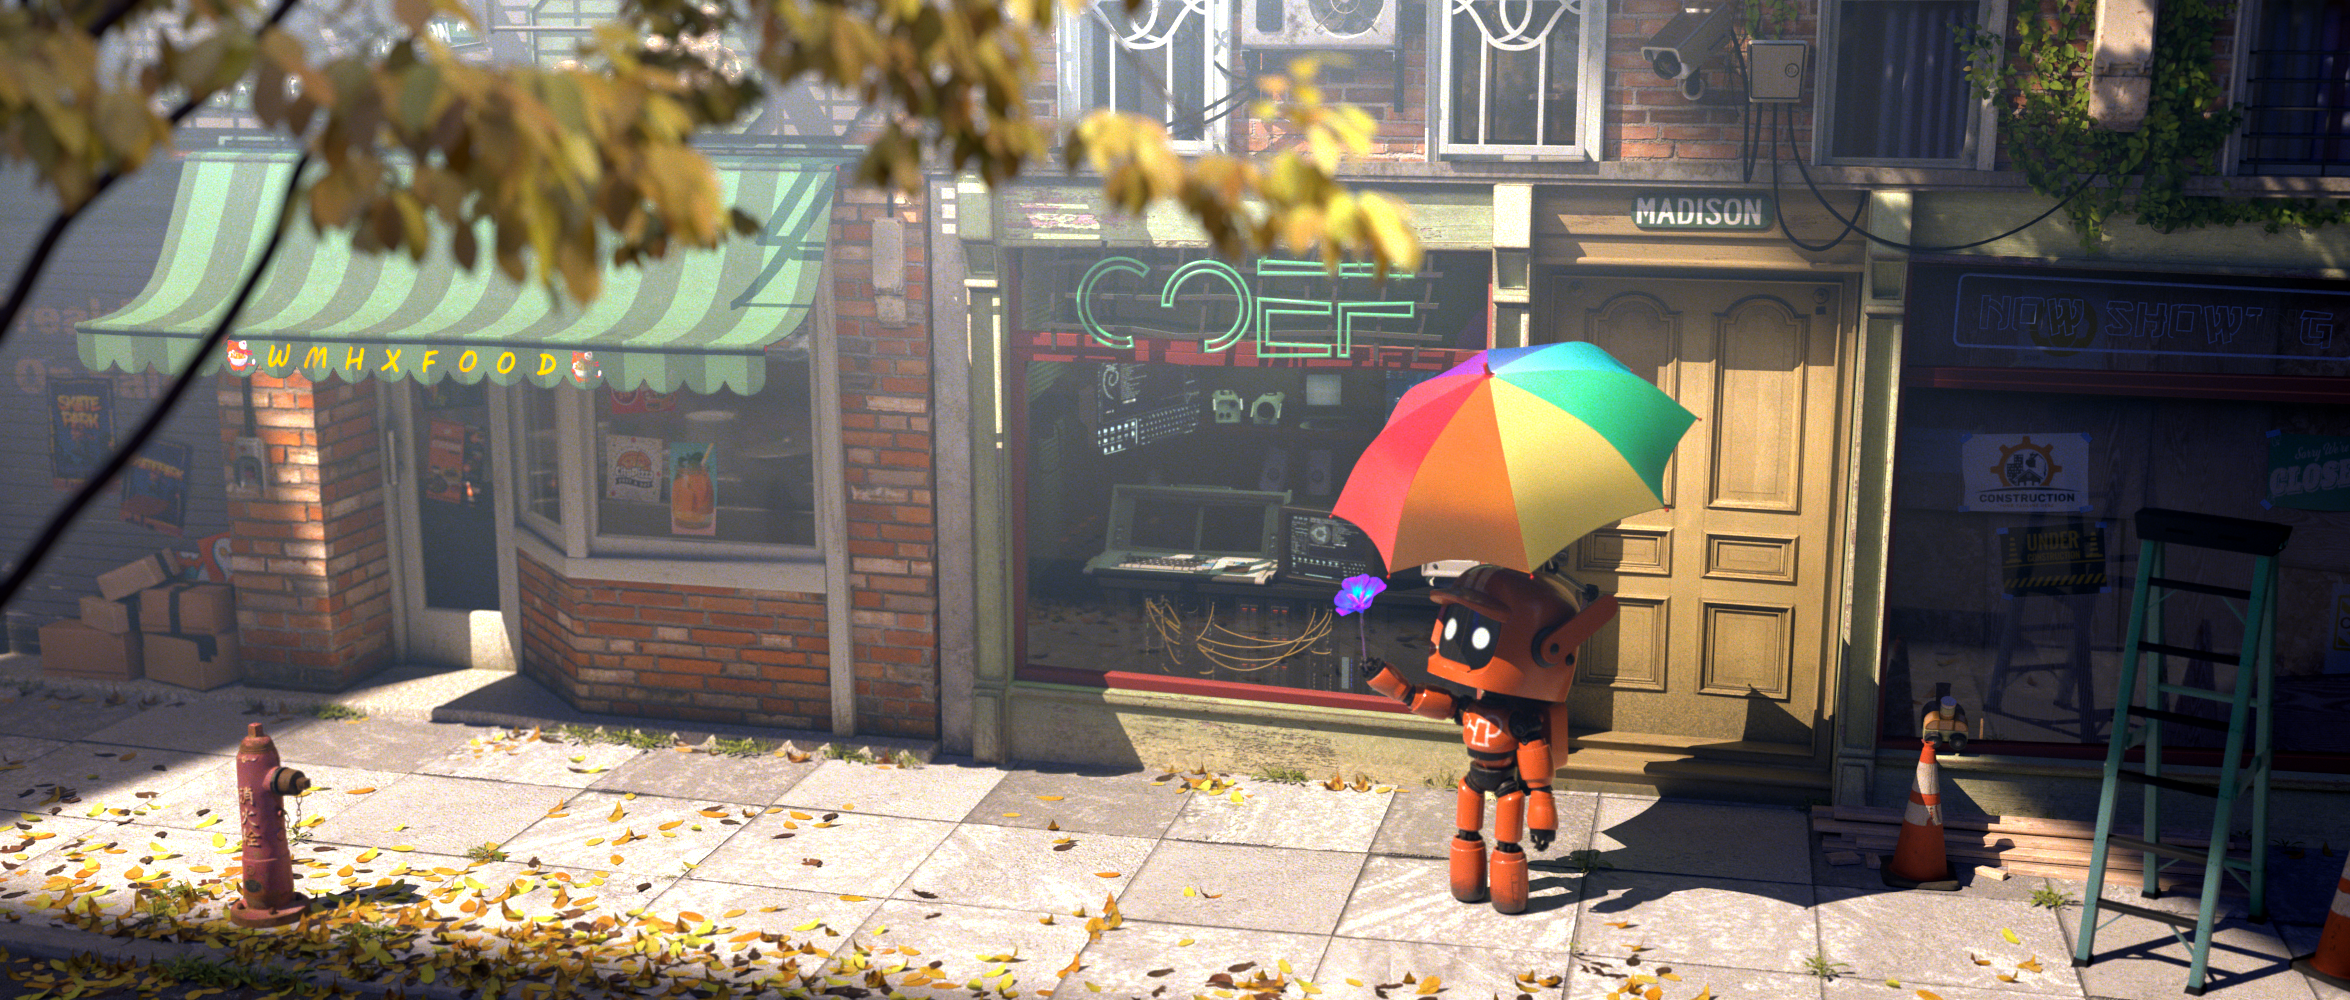
Use the angle of the light source to make the most of the textures. Place the 3D lighting in this image to highlight the texture. If it is placed in a different position, some detail will be lost. When you aim for photorealism, you will achieve your goal by emphasizing recognizable elements. Try different light sources to highlight textures or details
13. Light the scene
Of course, at its most basic, lighting is a way to set the scene for an image. If you are working with real-world objects, consider how lighting can be used in a real-life environment.
Wingfox is a professional online digital art education platform. If you want to learn more 3D lighting skills, welcome to join and learn, and you will gain a lot.
Things You Need to Know about 3D Lighting
Once in a while, you’ll see a wireframe screenshot online that looks better than the artist’s final rendering. This is…


Post a Comment
要发表评论,您必须先登录。