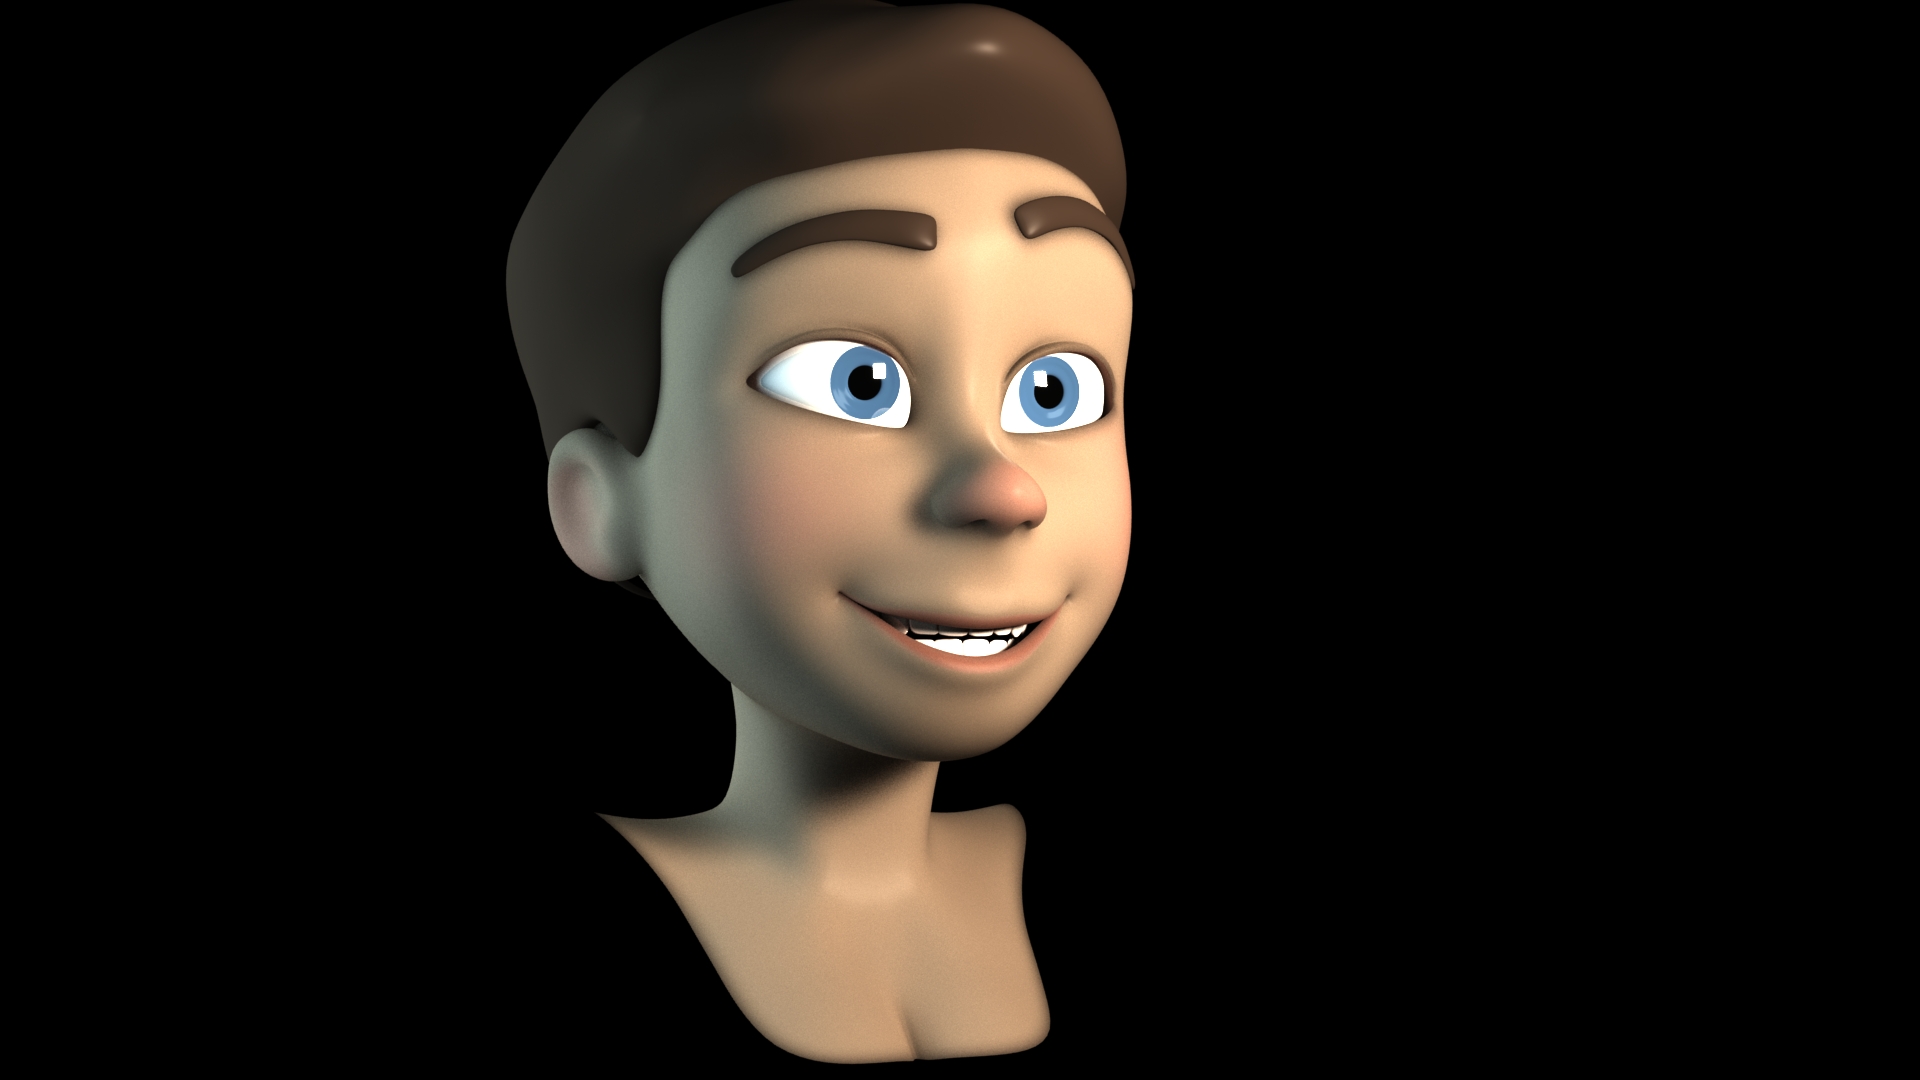
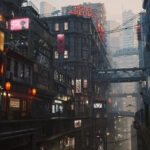
Maya: Mastering Skills Fast II
Welcome back, last time we have introduced 8 Maya operation tips to you. So, let’s move on to the remaining 10 tips.
Technology is the foundation, the guarantee of artistic play, just as we build a building, the basic building is the foundation, and the interior decoration is the space for artistic play. So learning Maya is one of the necessary skills of modelers, technical professionals influence the creative process of art.
- 1. Uninstall plugins
- 2. Soft selection options
- 3. Edit edge flow
- 4. Custom UI
- 5. Using the camera rig
- 6. Use low polygons
- 7. Organize files
- 8. Setup a project directory
9. Using the Resolution Gate
Open the resolution gate to display a guide in the main viewport that represents the final rendered area. The resolution gate is displayed in the main viewport as a frame area that will be framed by the same camera as the final rendered image. When the resolution gate is active, the height and width of the rendered resolution are displayed in the mask area above the resolution gate in the viewport. The name of the camera is also displayed in the mask section below the door mask. The resolution settings are set in the Image Size section of the Render Settings window.
10. Using hotkeys
If you use Maya hotkeys to set keyframes for animations, you will greatly reduce the amount of time you need to spend on your work. You can set a keyframe on an object, camera, or light by selecting it and pressing S on the keyboard. this will set a keyframe on the frame indicated on the timeline for the property displayed in the channel box. Usually, the current position, rotation, scale, and visibility are available in the channel box. You can set the key for a specific attribute by selecting the channel to be keyed, right-clicking on any selected tab in the channel box, and then selecting Key Selection from the menu.
11. Creating a shot
When Maya opens a new scene, several default cameras are created. One camera is the default perspective used to look around the scene and is named persp. While this camera can be used for final rendering, it is not optimal when animating with camera moves that require keyframes on the camera. Using the keyframe camera to look around the scene will bounce back to the keyframe position when scrubbed on the timeline. Add a new camera for rendering and keyframing by going to Create > Cameras > Camera.
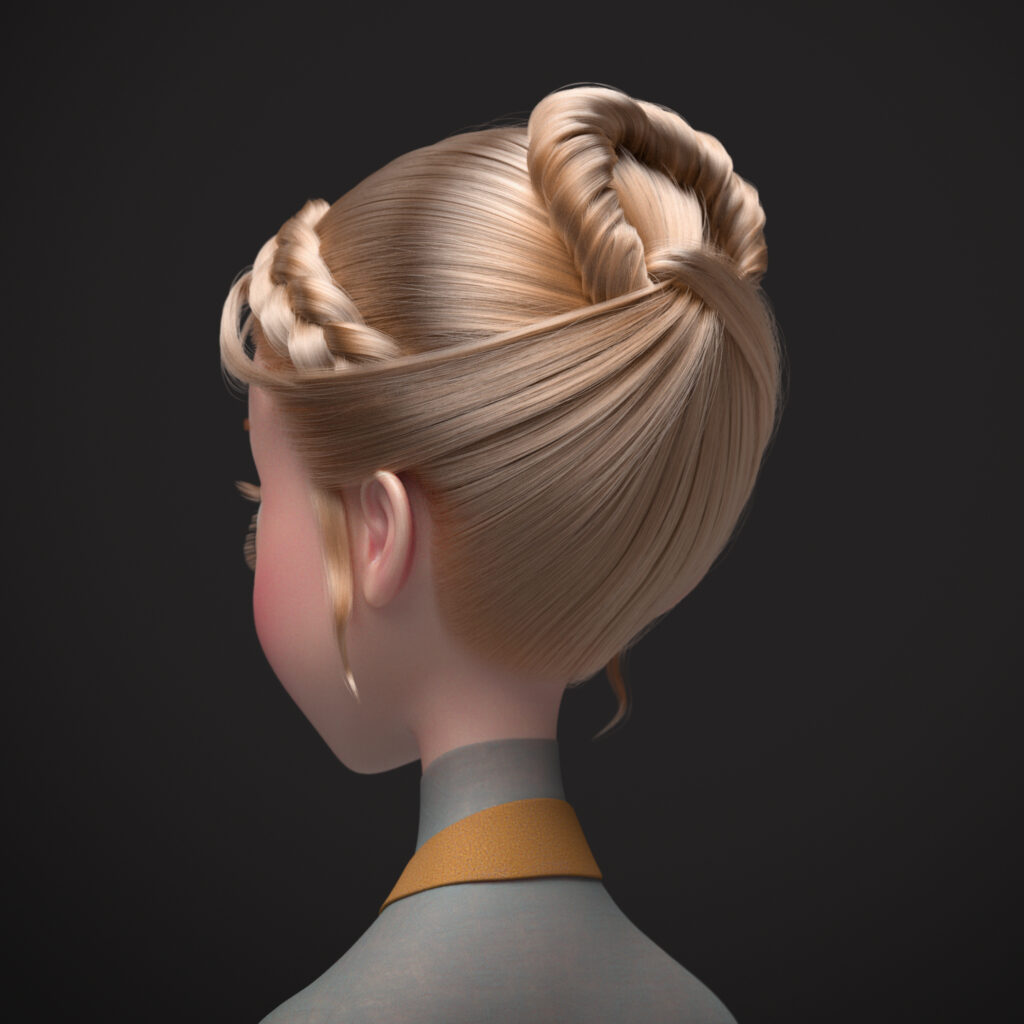
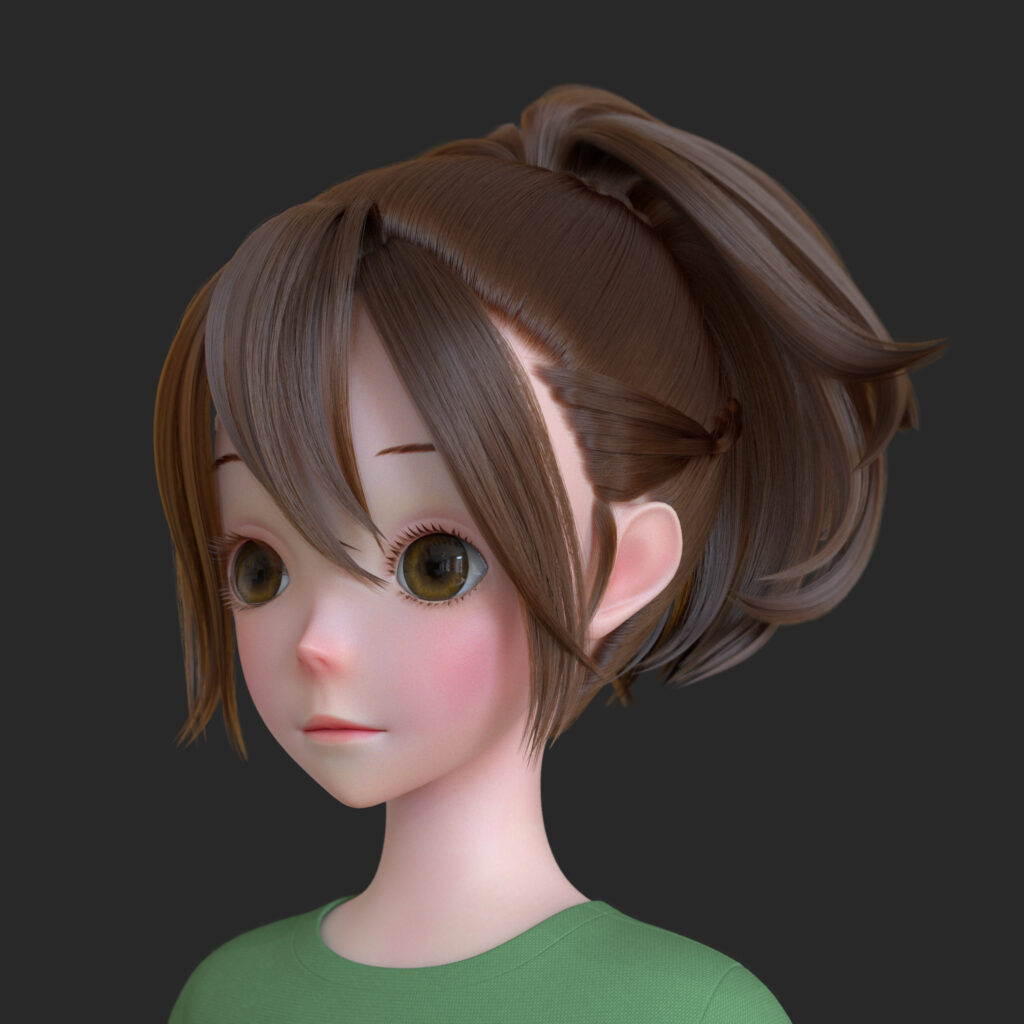
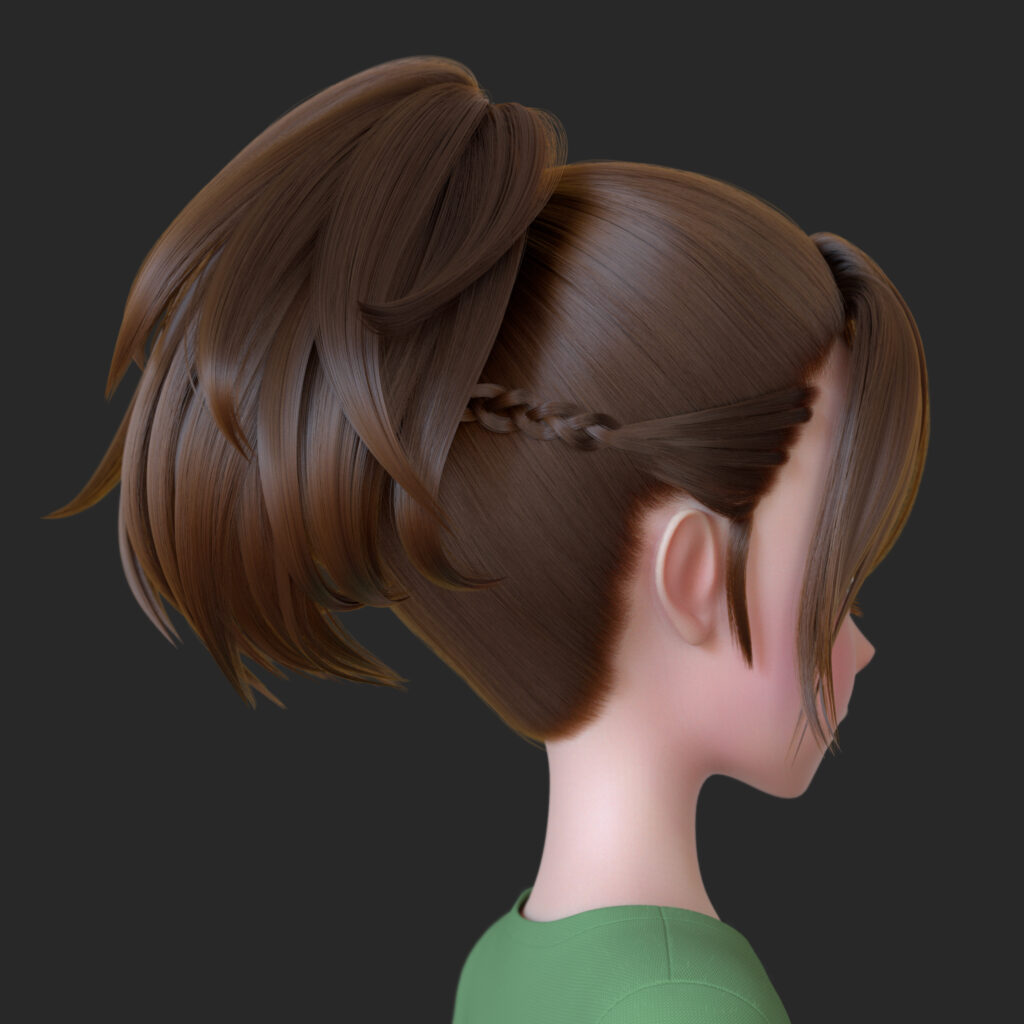
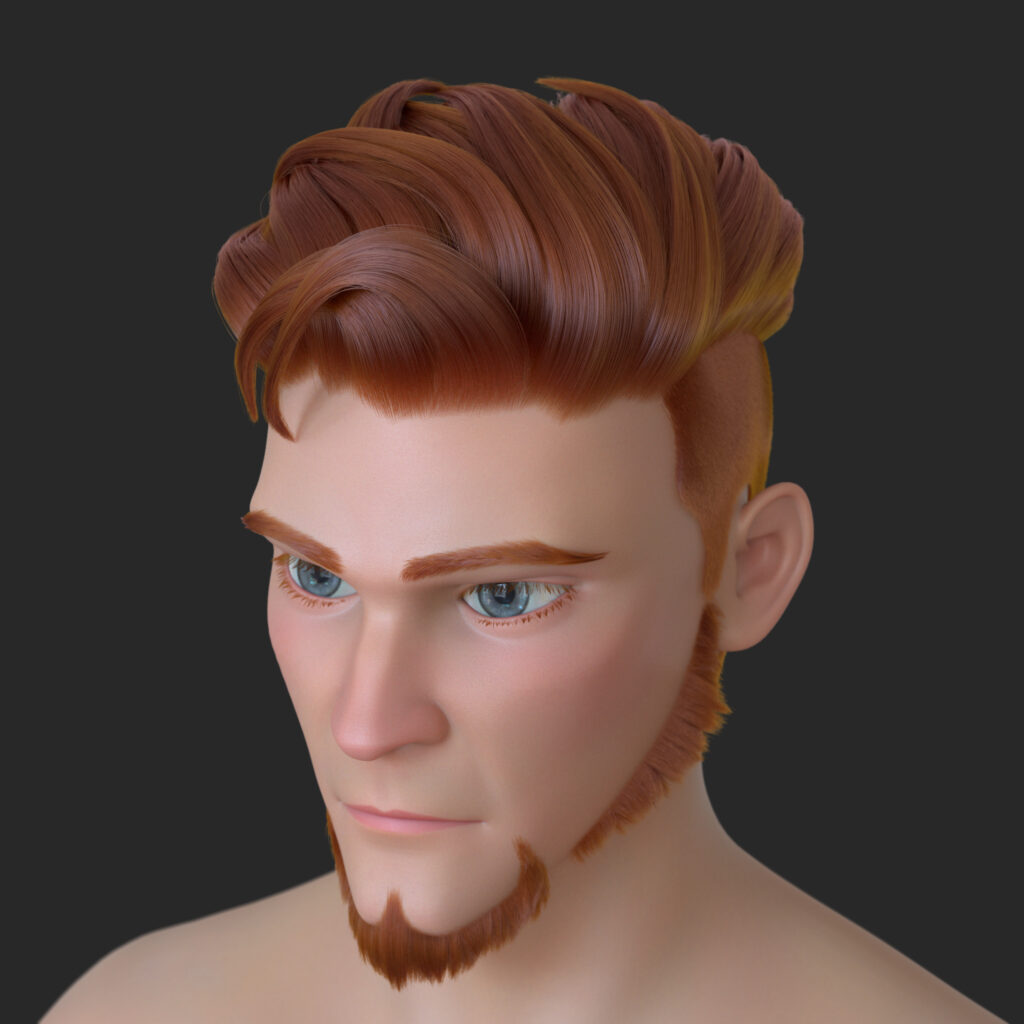
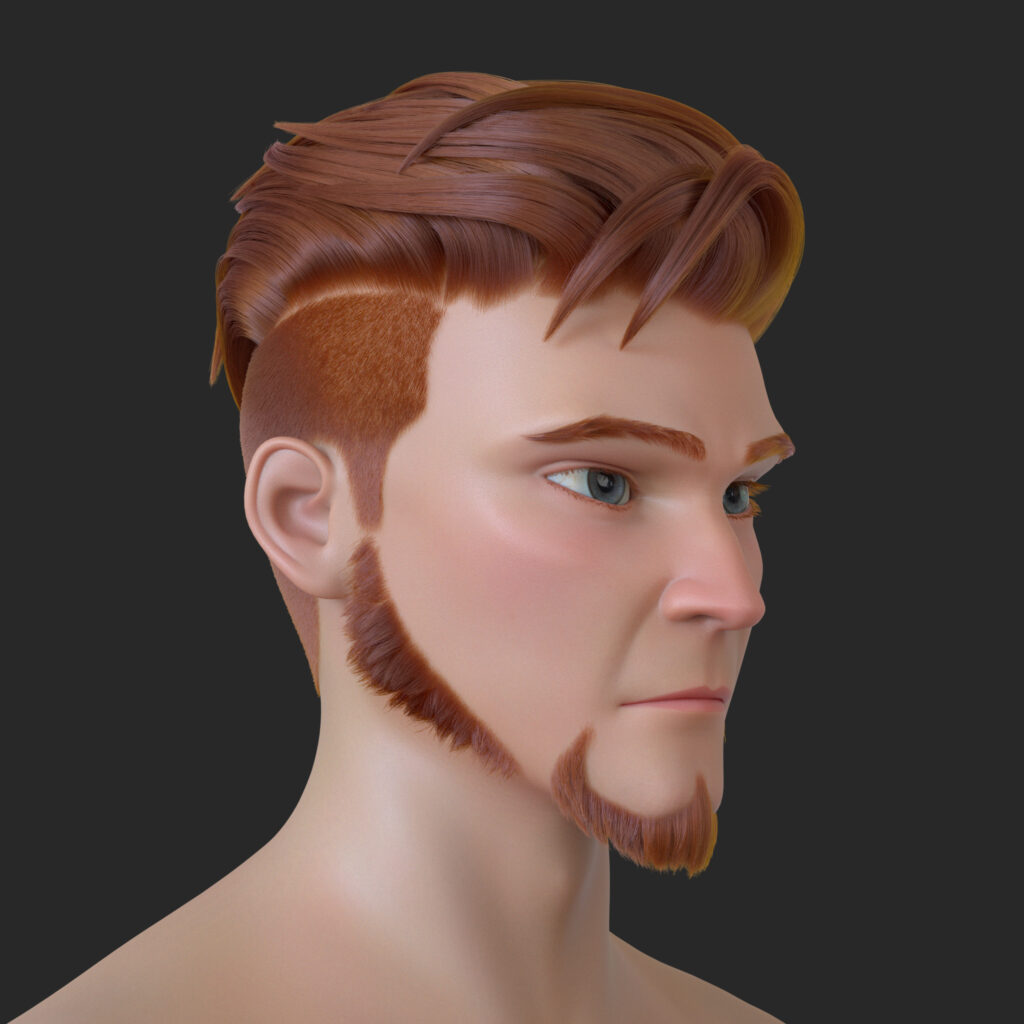
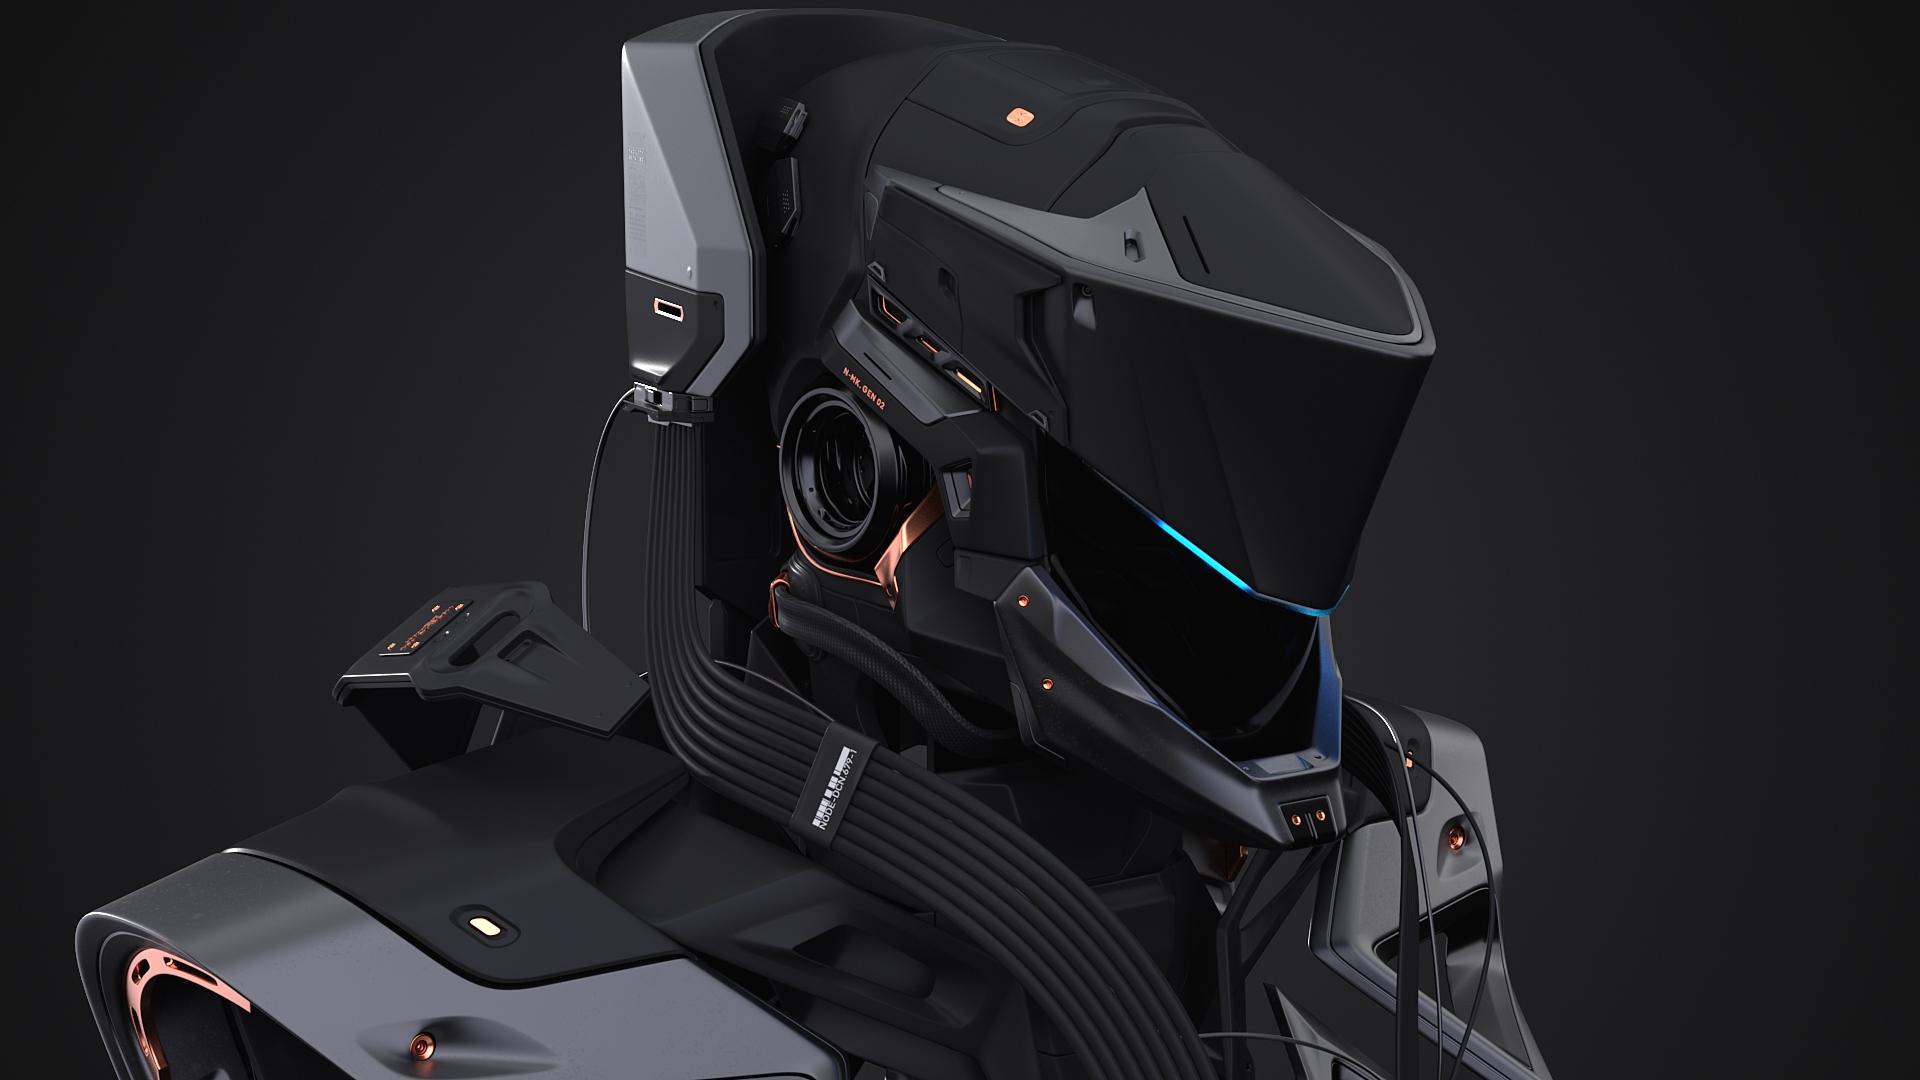
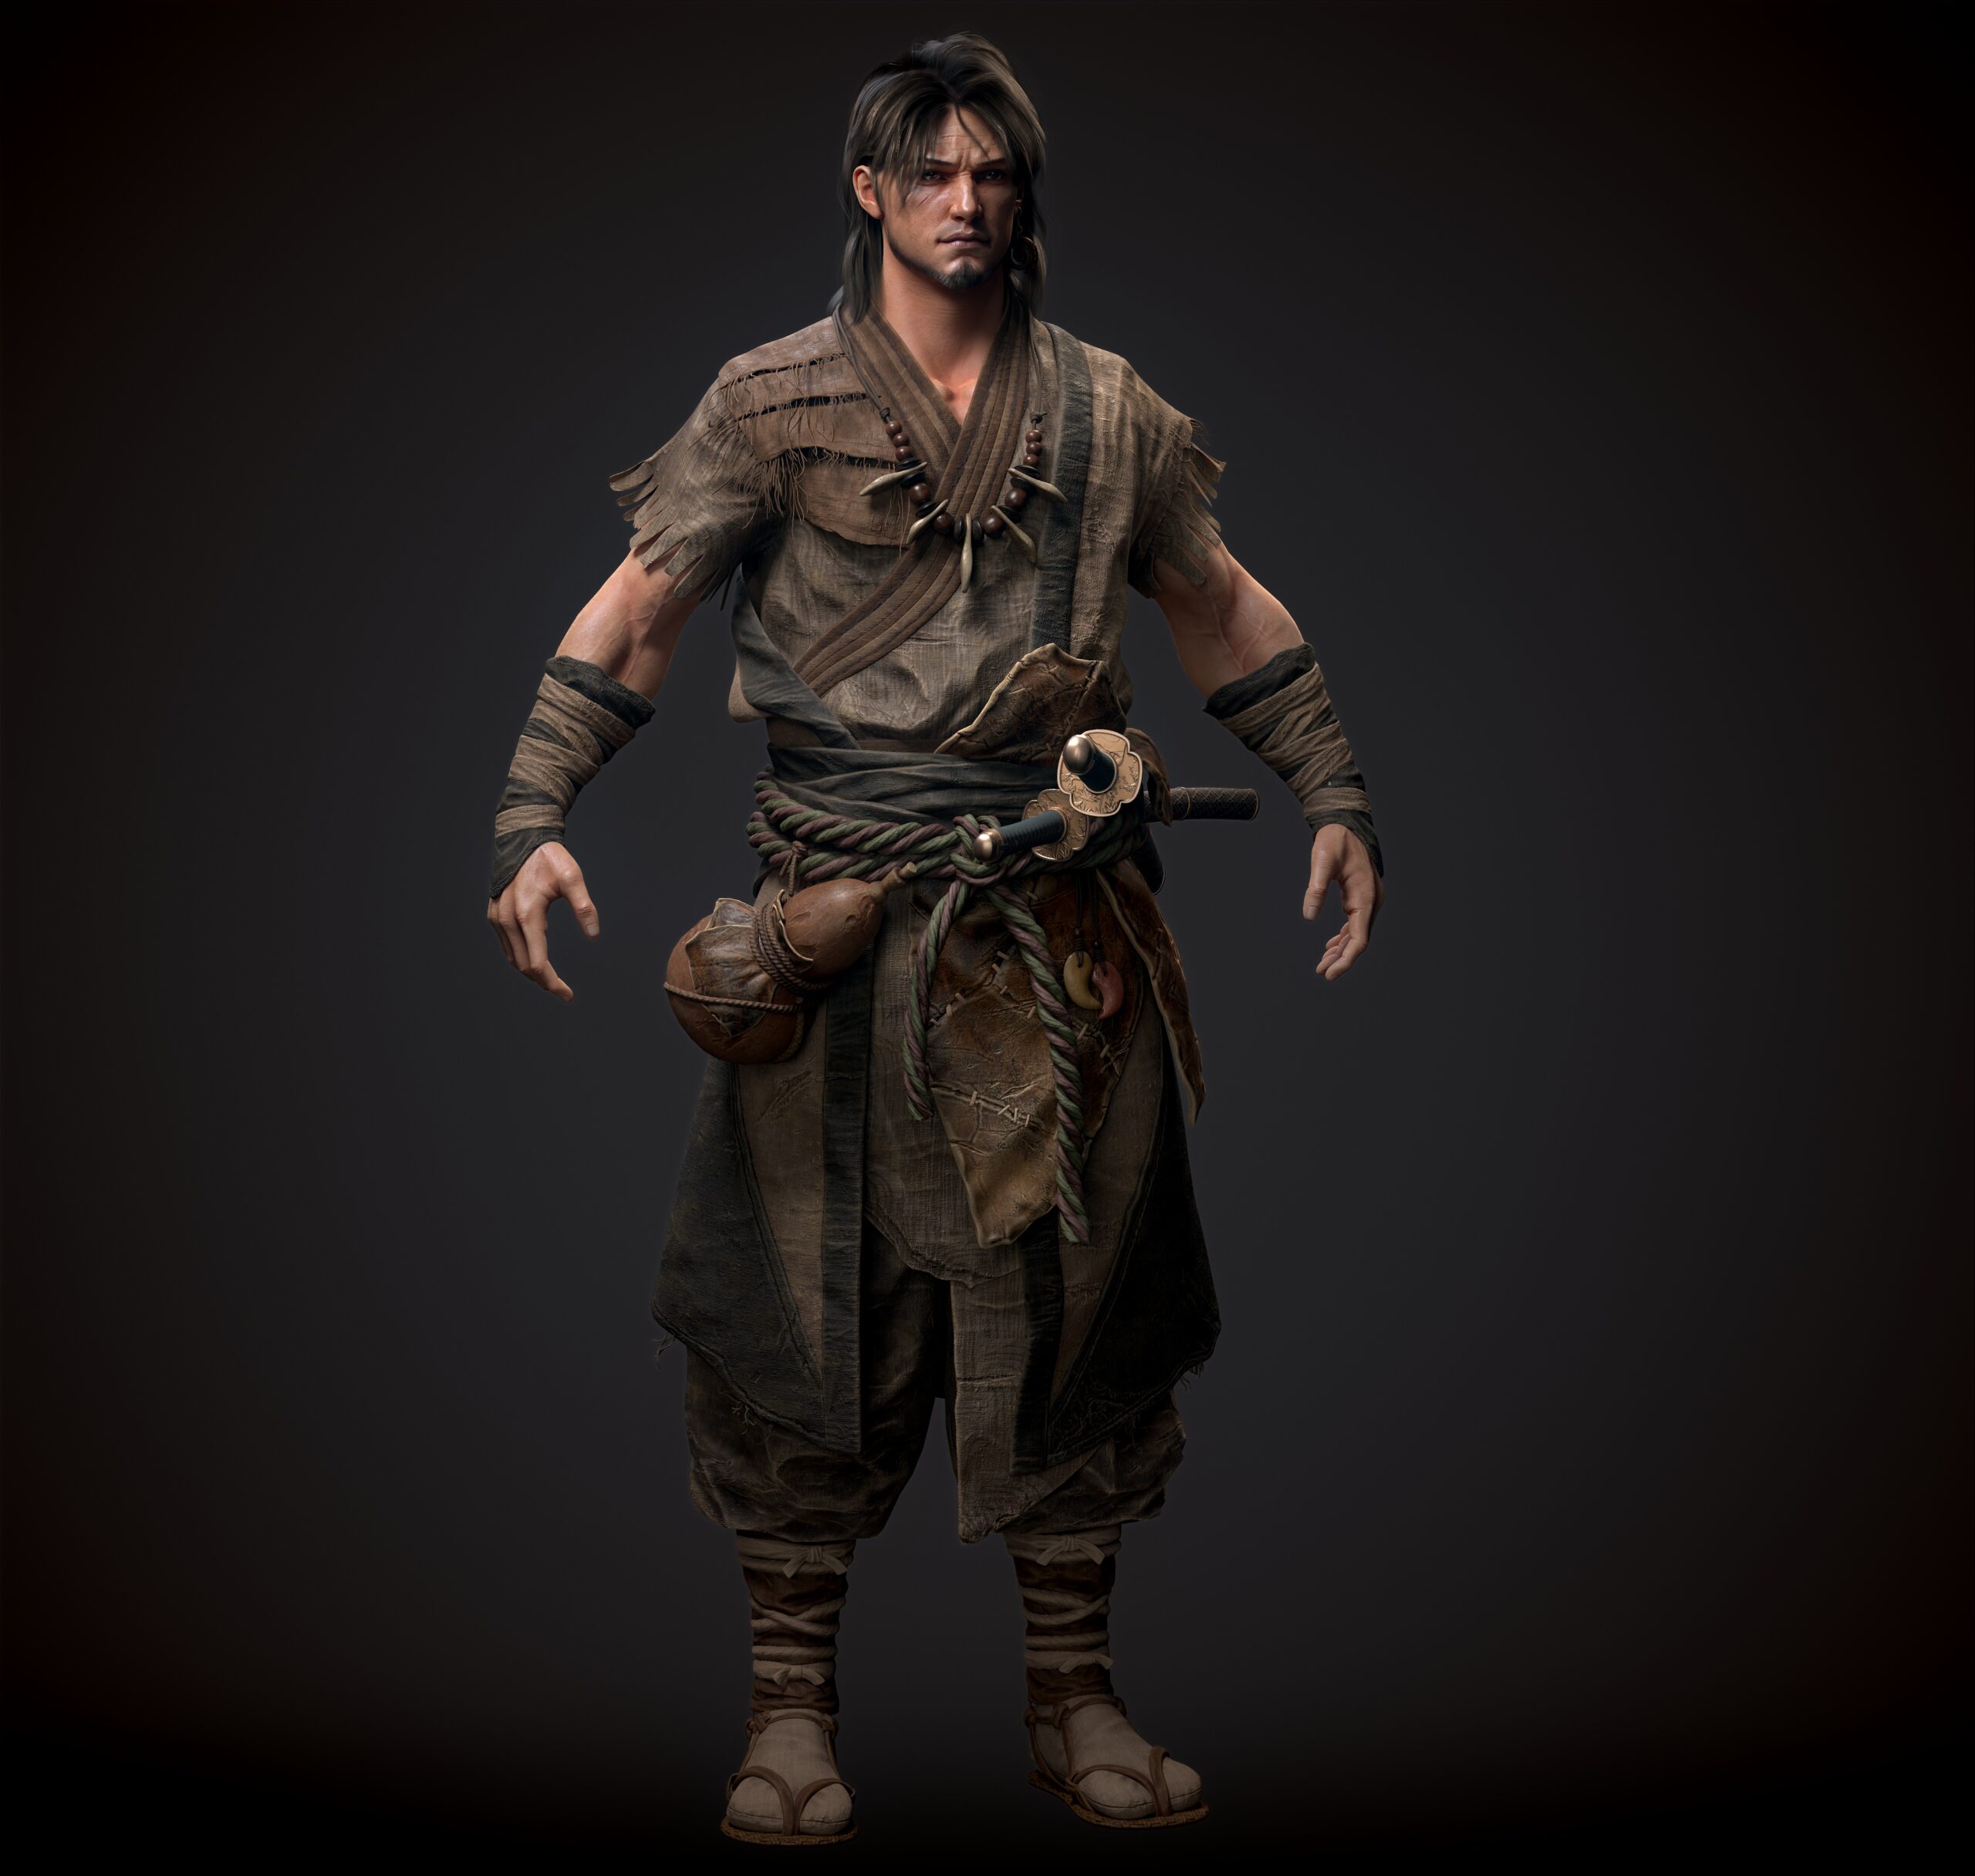
12. Using XGen
XGen is a very good tool to use. If you can use the XGen modifier, you can make beautiful hair with very few guide curves. First use XGen to create hair from a guide curve. Create a bunching modifier to coalesce a large bunch of hair, then create a second bunching modifier to coalesce a medium bunch of hair, then create a third modifier to coalesce a small bunch of hair. Creating a cut modifier will help you get a natural looking hair tip. Finally, create a noise modifier to get natural hair flow and frizz.

13. Using program nodes
Use only procedural nodes for facial textures, as they are easy to make and reuse, and the gradients are beautiful. First, build the shader tree before blending the textures with the layered texture nodes. You can find the best look by adjusting the alpha amount. Connect the layered textures to the SubSurface Color and adjust the skin shader to look like an image.
14. Using guide curves
This technique is useful for creating guide curves for stylized character hair. Create the base hair, but be sure to punch holes in the ends to extract the curves from the mesh. Next, create some joints and deform them easily using the spline IK handles, then use them to mask. Use the spline IK handles to spread the hair object around the head. Next, extract the curves from the mesh.
Finally, you must arrange the orientation by selecting the curve in the opposite direction and then choosing Curve > Reverse. Using this method, you can make guide curves at design time.
15. Using Cryptomatte
Cryptomatte is an ID mask creation tool created by Psyop that creates ID masks to automate appearance development or final adjustments. Once installed, create a Cryptomatte AOV in Render Setup. select an AOV and view it in the Property Editor. It should be visible in the shader under Custom AOVs. You can export three ID masks to follow the request object, material, and asset. You may find it useful to use ID masks to make significant changes in Photoshop or Nuke that will help you find new looks when you encounter images. This tip is especially useful when you are on a tight deadline and need to get something new quickly.
16. Avoid Gimbal Lock
Gimbal Lock means deadlock, for example, when you open the Rotate tool property box, select Gimbal item in Rotate Mode, and rotate 90 degrees along Y axis, you find the blue and red rotation rings overlap, which is deadlock. And it will bring trouble to the animation control. So try to avoid it. The default order of MAYA is XYZ, we can set the rotation order to YZX to avoid the deadlock.
10% OFF COUPON CODE: blog10
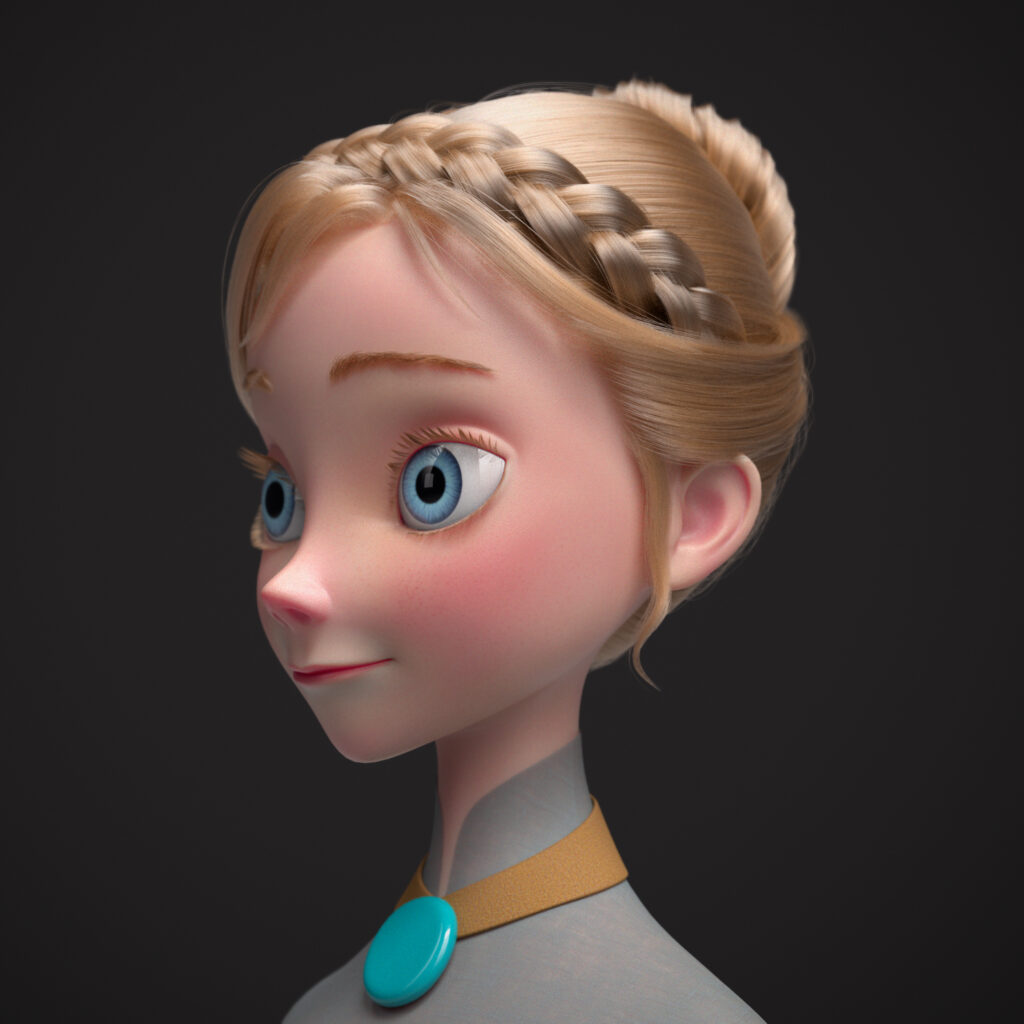
This Maya tutorial explains the art characteristics of various styles of hairstyles through a variety of styles of cases, the control of art styles, the establishment of art literacy to deal with a variety of styles, through a variety of shapes to help you establish the ability to deal with different styles of analysis and processing ability.
17. MAYA Card Trick
This is a visual cheat that saves resources and time. It is usually used to create trees, city backgrounds, and add details locally. The approach is to create a plane, paste the relevant images onto the plane and render them together with the model. It is worth noting that it is important to pay attention to the perspective of the mapping, lighting information, and the model in the scene to match, in addition to often connecting the mapping to the Lambert material Incandescent, while setting the Color property to black. If necessary, the Alpha of the texture or a separately created MASK is attached to the Transparent property of the material to make the part outside the object transparent. To match the lighting information, you can even modify Photoshop texture using the Light Effects filter in Maya.
18. Creating spiral curves new ideas
Create a NURBS cylinder, execute the menu Modify|Make Live and then use the CV Curve tool to click 4 times on the activated cylinder, create 4 CVs and then press INSERT, drag the middle around the cylinder in a circle, this time you will find your dream spiral line appears. End the creation, execute the curve copy under the curve edit pop-up, then inactivate Modify|Make not Live and delete the cylinder. The same method can be used to create more special spiral curves on cones, spheres, and rings.
These are the tips to master Maya quickly. I believe this article will help you in practice, Maya is a very powerful 3D software. Wingfox has many useful tutorials for you, whether you are a newbie or an experienced modeler, you can find the right tutorial for your level and improve yourself here. Feel free to stay tuned to Wingfox’s blog.
Maya: Mastering Skills Fast
Maya is undoubtedly the industry leader in 3D. It has a wide range of uses and applications for creating characters, …


Post a Comment
要发表评论,您必须先登录。
Pingback: How to Add Textures in Blender3.0 - Wingfox
2022-03-29Pingback: Maya: Mastering Skills Fast II | art design | ...
2022-03-31