Maya: Mastering Skills Fast
Maya is undoubtedly the industry leader in 3D. It has a wide range of uses and applications for creating characters, animations, VR and environments. Such is the all-encompassing nature of the software that taking full advantage of its tools and capabilities is a daunting prospect for any artist.
Whether you’re looking to enhance your character builds, speed up your workflow, or you’re completely new to Maya, you’re sure to find some useful words of wisdom in this handy feature. For more suggestions to help improve your 3D art, check out more Maya tutorials in Wingfox.

10% OFF COUPON CODE: blog10
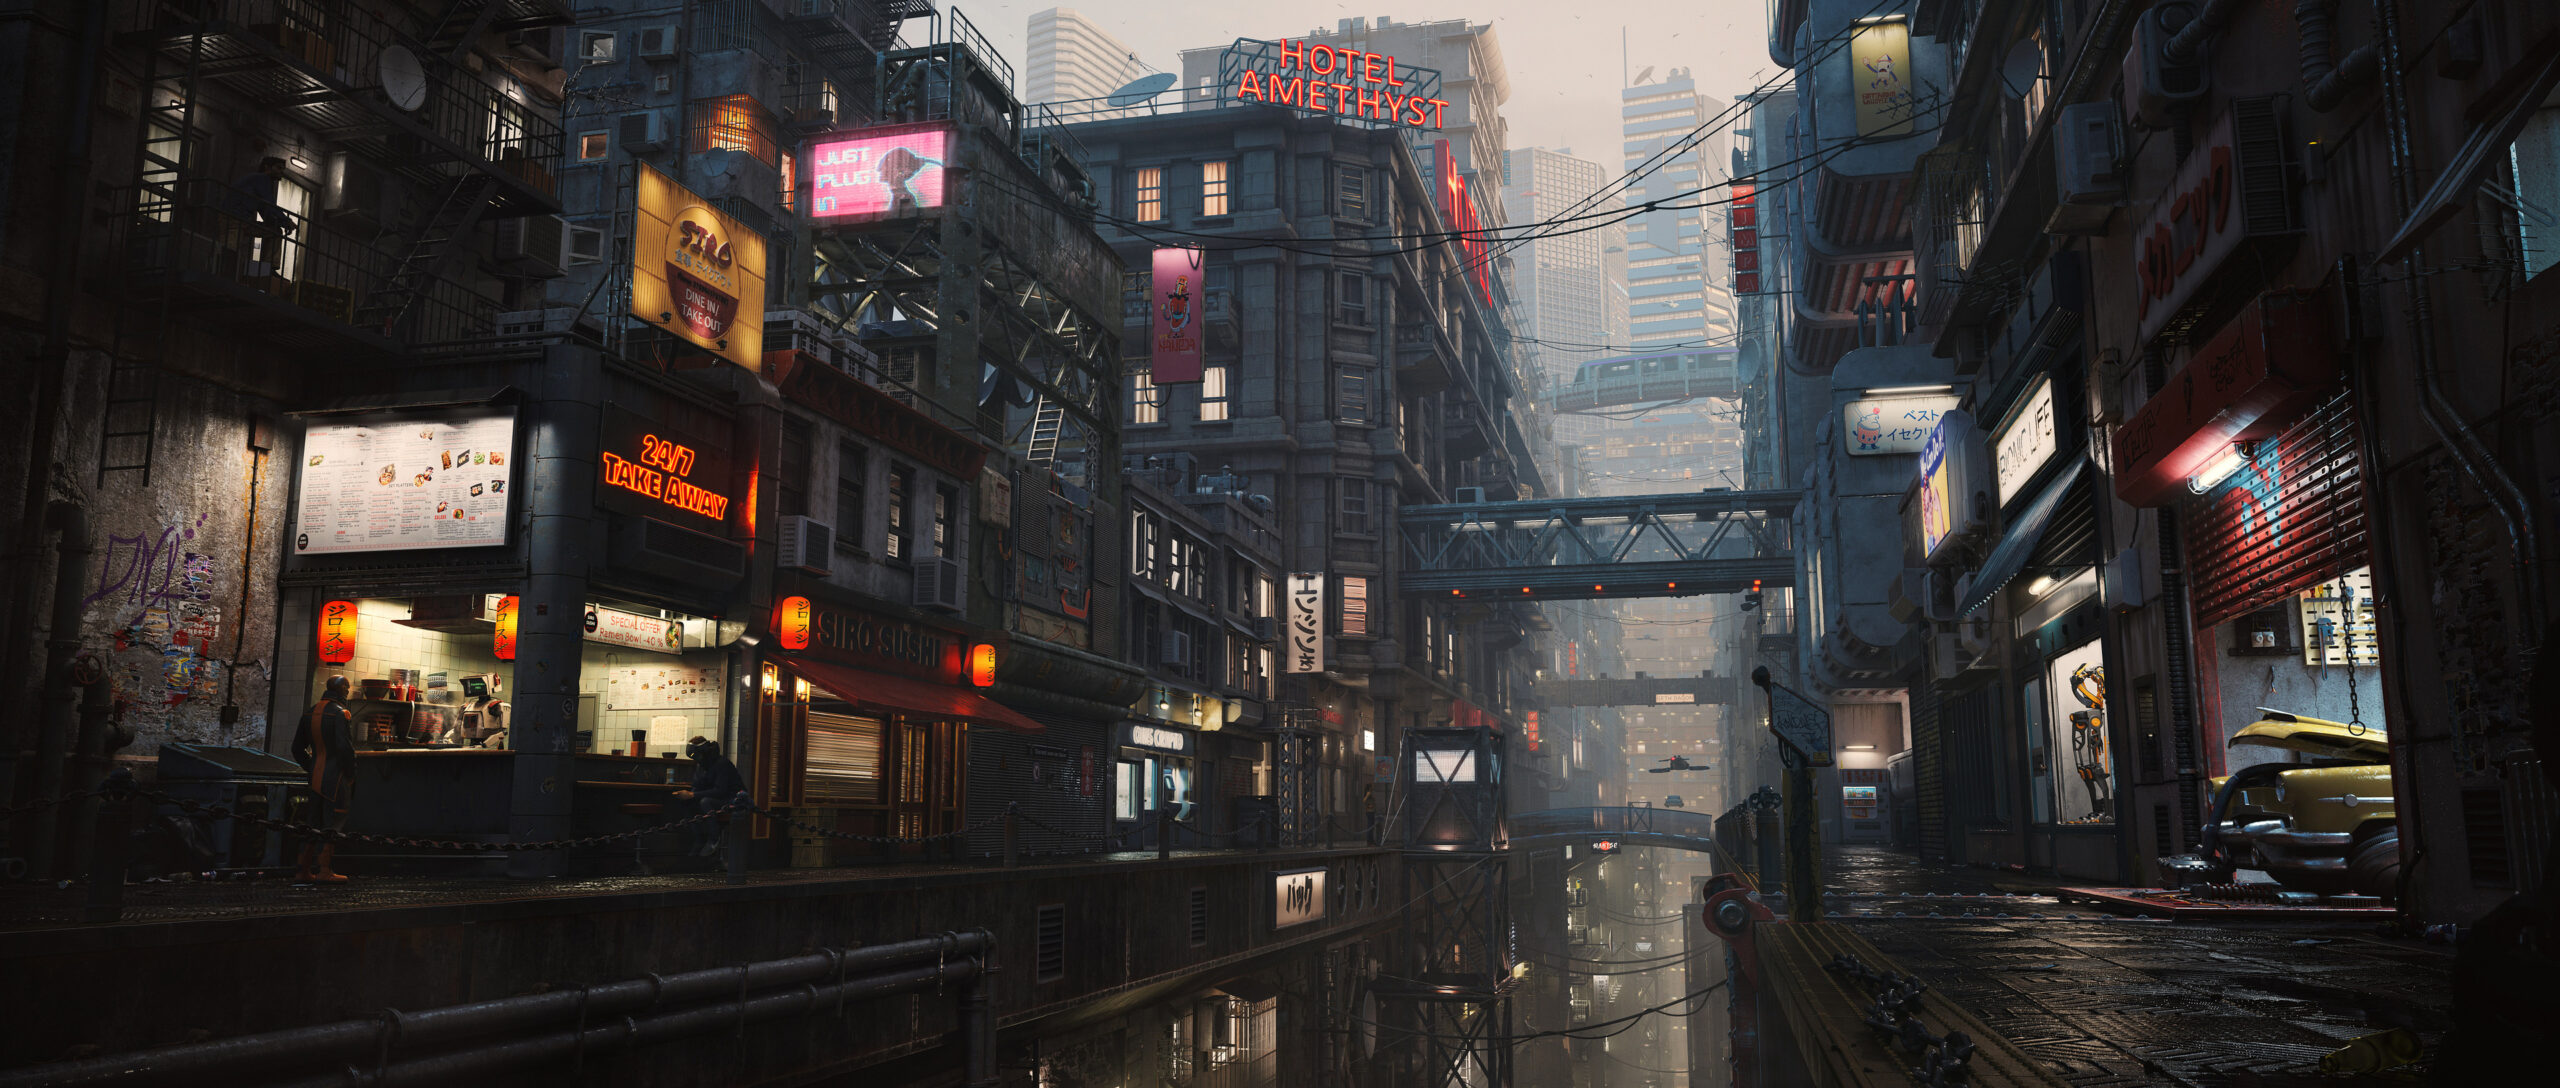
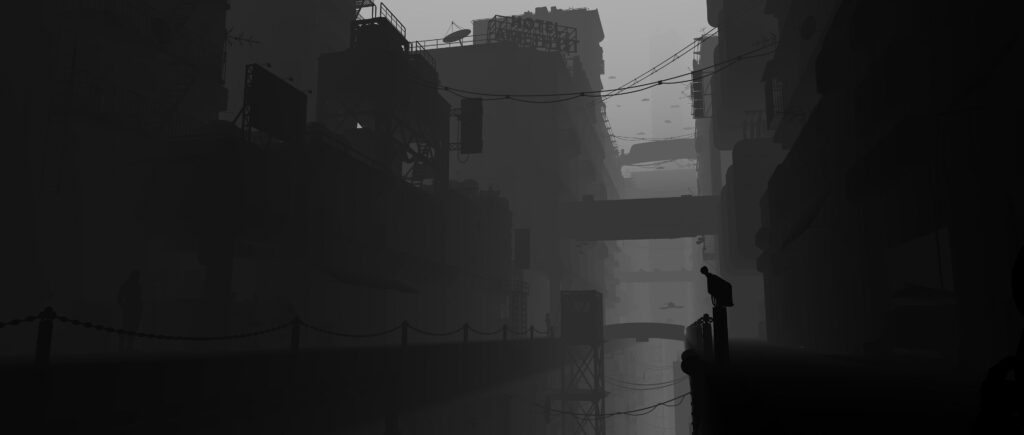
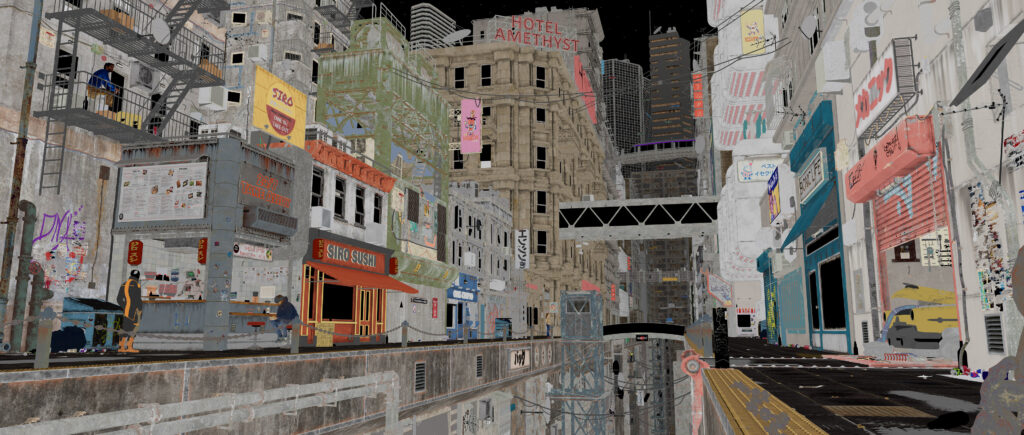
This is a realistic environment workflow Maya tutorial on how to design, make model textures, appearance design, lighting, and synthesize realistic sci-fi environments in Maya and Vray5. After completing this course, you will have the knowledge to handle any type of realistic urban environment.
1. Uninstall plugins
The first tip for mastering Maya is to uninstall plug-ins for faster load times. Maya offers a lot of features to its users, but the more features you add, the longer it takes to start up, and every minute counts before the deadline. Uninstalling anything you don’t need will speed up Maya’s startup time as it skips any more important features. If you don’t know this trick, what a pity.
2. Soft selection options
Soft selection is a well-known modeling feature that can be accessed via the “B” hotkey. By default, it is a great tool, but it is worthwhile to delve into the tool options to gain more control. For example, changing the attenuation mode from Volume to Surface will improve accuracy when adjusting areas such as eyes and lips
If your model is in a different section, setting the attenuation mode to Global will extend the attenuation to the entire model. You can also adjust the radius and curve attenuation to fine-tune your choices, which is invaluable when creating facial shapes.
3. Edit edge flow
The Edit Edge Flow feature is a popular addition to the Maya modeling toolset. Essentially, it enables you to intelligently and quickly average inserted edge loops to match the form of an existing model without manual editing, allowing you to model faster and more accurately.
This is perfect for creating clean and accurate meshes, which can be accessed via Edit Mesh > Edit Edge Flow. Alternatively, when you have an edge loop selected, hold down Shift and press the right mouse button to display a marker menu containing the available commands at the bottom of the menu.

10% OFF COUPON CODE: blog10
- If you are looking for a tutorial to learn a complete and effective workflow to produce your realistic portrait projects, this is what you are searching for.
- If you want to brush up your skills and explore the depths of creating 3D realistic portraits, this is exactly what you want.
4. Custom UI
Make custom marker menus and custom hotkeys that will speed up your work and give you easy access to these tools. Arrange the Maya shelf to your liking and add as many tools as you need to it. This method gives you quick access to commands in the menus on the tool shelf. You can even create new icons for tools and change Maya to your liking.
5. Using the camera rig
Use the camera rig to create animation and motion in the scene. This is the best way to control the camera in a 3D scene. You can rig any type of camera and there are many control options available.
6. Use low polygons
Try this trick to quickly retopologize. Import your high polygon model, then create a low polygon raw object that resembles the high polygon. Edit and resize the low poly object UVs so that they resemble the high poly model, then delete the history and freeze the transformed low poly object. This skill can greatly improve the efficiency of your Maya operations.
7. Organize files
Maya uses a folder structure to organize project files, keeping all files associated with a project in one directory. When opening a scene associated with a Maya project, set up the project folder before opening the scene files, especially when switching between projects.
Simplify setting up your project by first opening Maya and choosing File > Open Scene. In the Open window, click Set Up Project to open the Set Up Project window. Select the project directory, click the Settings button, and then open the scene file from the Open window after the Set-Up Project window closes.
8. Setup a project directory
Maya keeps track of all files associated with a scene in the project directory. In some cases, you can use individual files that do not have a project directory, but any files associated with a scene should be saved in the project directory. If a project directory is set, Maya looks for all scene files, Maya ASCII, or Maya binary files in the scene directory.
Image files used as textures placed in the source images folder are automatically located when the scene file is opened. Rendered images or generated maps will be stored and saved in the image directory.
We will continue with the rest of the tips for you in the next post. Please keep checking out Wingfox’s blog.
A Useful 3D Modeling Tool – Maya
3d modeling is not just literally “build a model” so simple, but a systematic workflow. For modeling, Maya is the most basic and essential software to start with. It is a very advanced and complex 3D computer graphics software that is…


Post a Comment
要发表评论,您必须先登录。
Pingback: Maya: Mastering Skills Fast II - Wingfox
2022-03-28