
10 Tips for Using ZBrush
ZBrush, the industry standard for digital sculpting, has a flexible toolset to allow users to choose the 3D art workflow that best suits their needs. With so many options available, it’s easy to miss out on lesser-used or older features that may be perfect for a given situation.
Here are 10 things you may or may not know about ZBrush, primarily for beginners and intermediate users – but depending on the kind of workflow you choose, there may be some odd things that will be useful to experienced users.
1. Sketching in PaintStop
Use PaintStop, ZBrush’s built-in drawing plug-in, to sketch your ideas.
While Quicksketch mode may be better for rough ideas, ZBrush also has its built-in painting and drawing plug-in called “PaintStop”.
Once launched, you’ll be taken to a minimalist UI with brush and canvas settings at the top and brush types on the left. While not as full-featured as standalone applications like Art Rage, Photoshop, or Sketchbook Pro, PaintStop still has a wealth of natural media tools that allow you to draw and paint ideas. It has the benefit of allowing you to load anything you draw directly back into ZBrush as a reference or texture.
2. Spotlight as a Reference Tool
Although it is primarily a texturing tool, the Spotlight feature in ZBrush can also be used to reference images to aid in sculpting. This can be especially useful if you have limited screen space or do not have access to a secondary monitor.
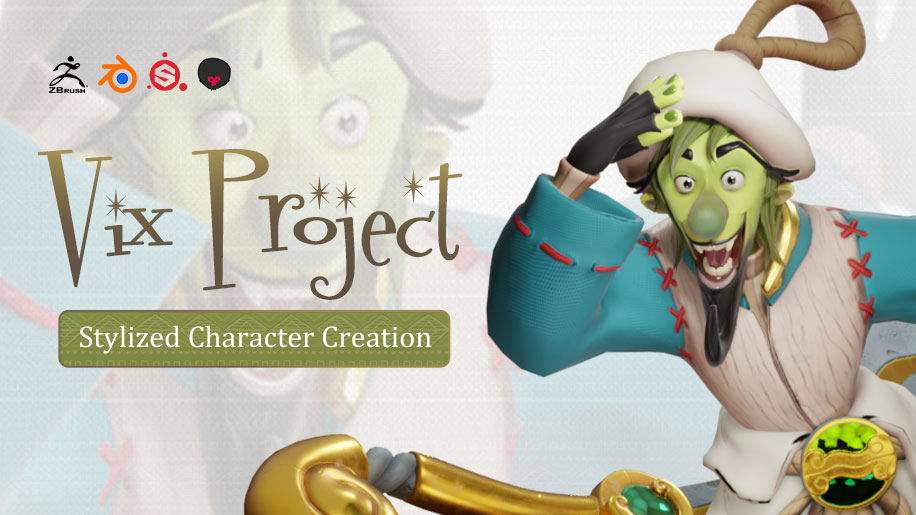
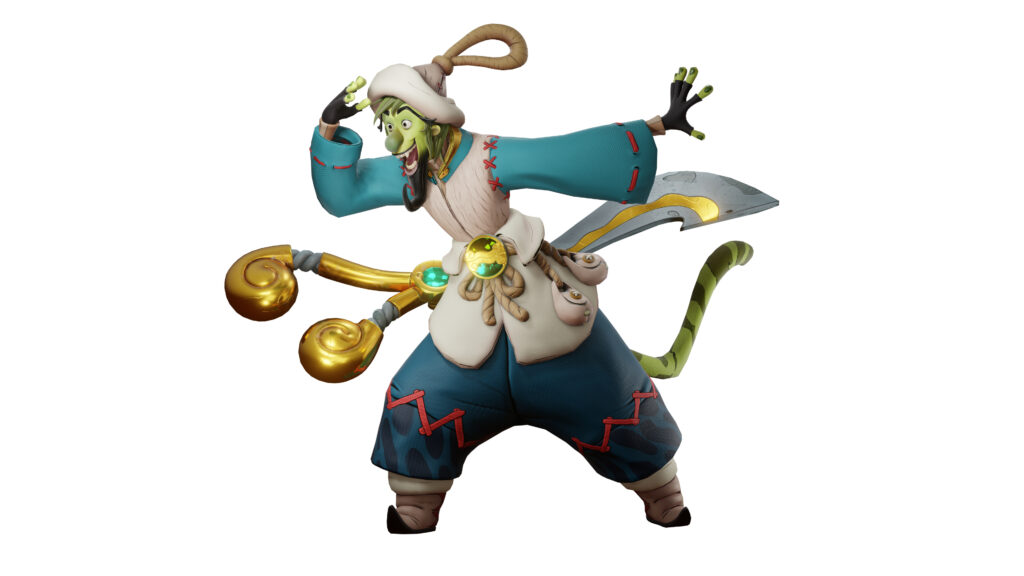
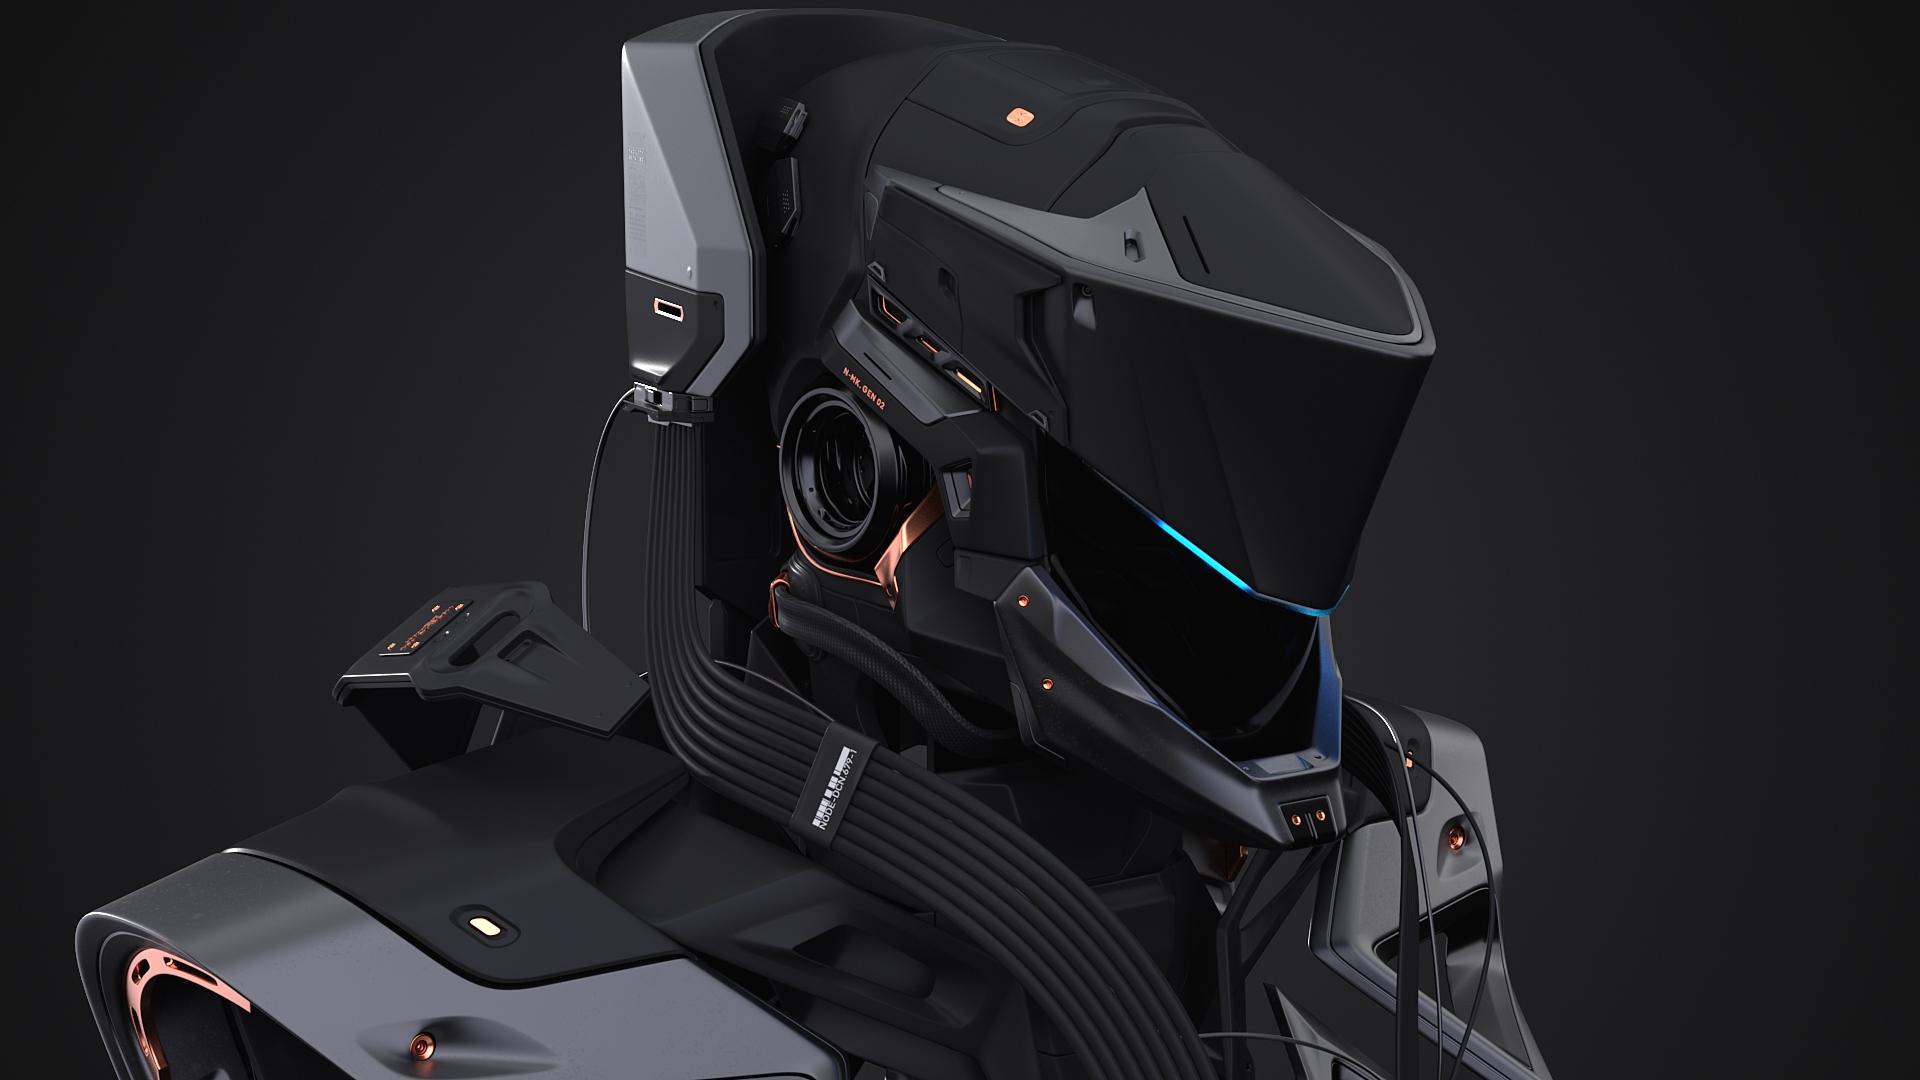
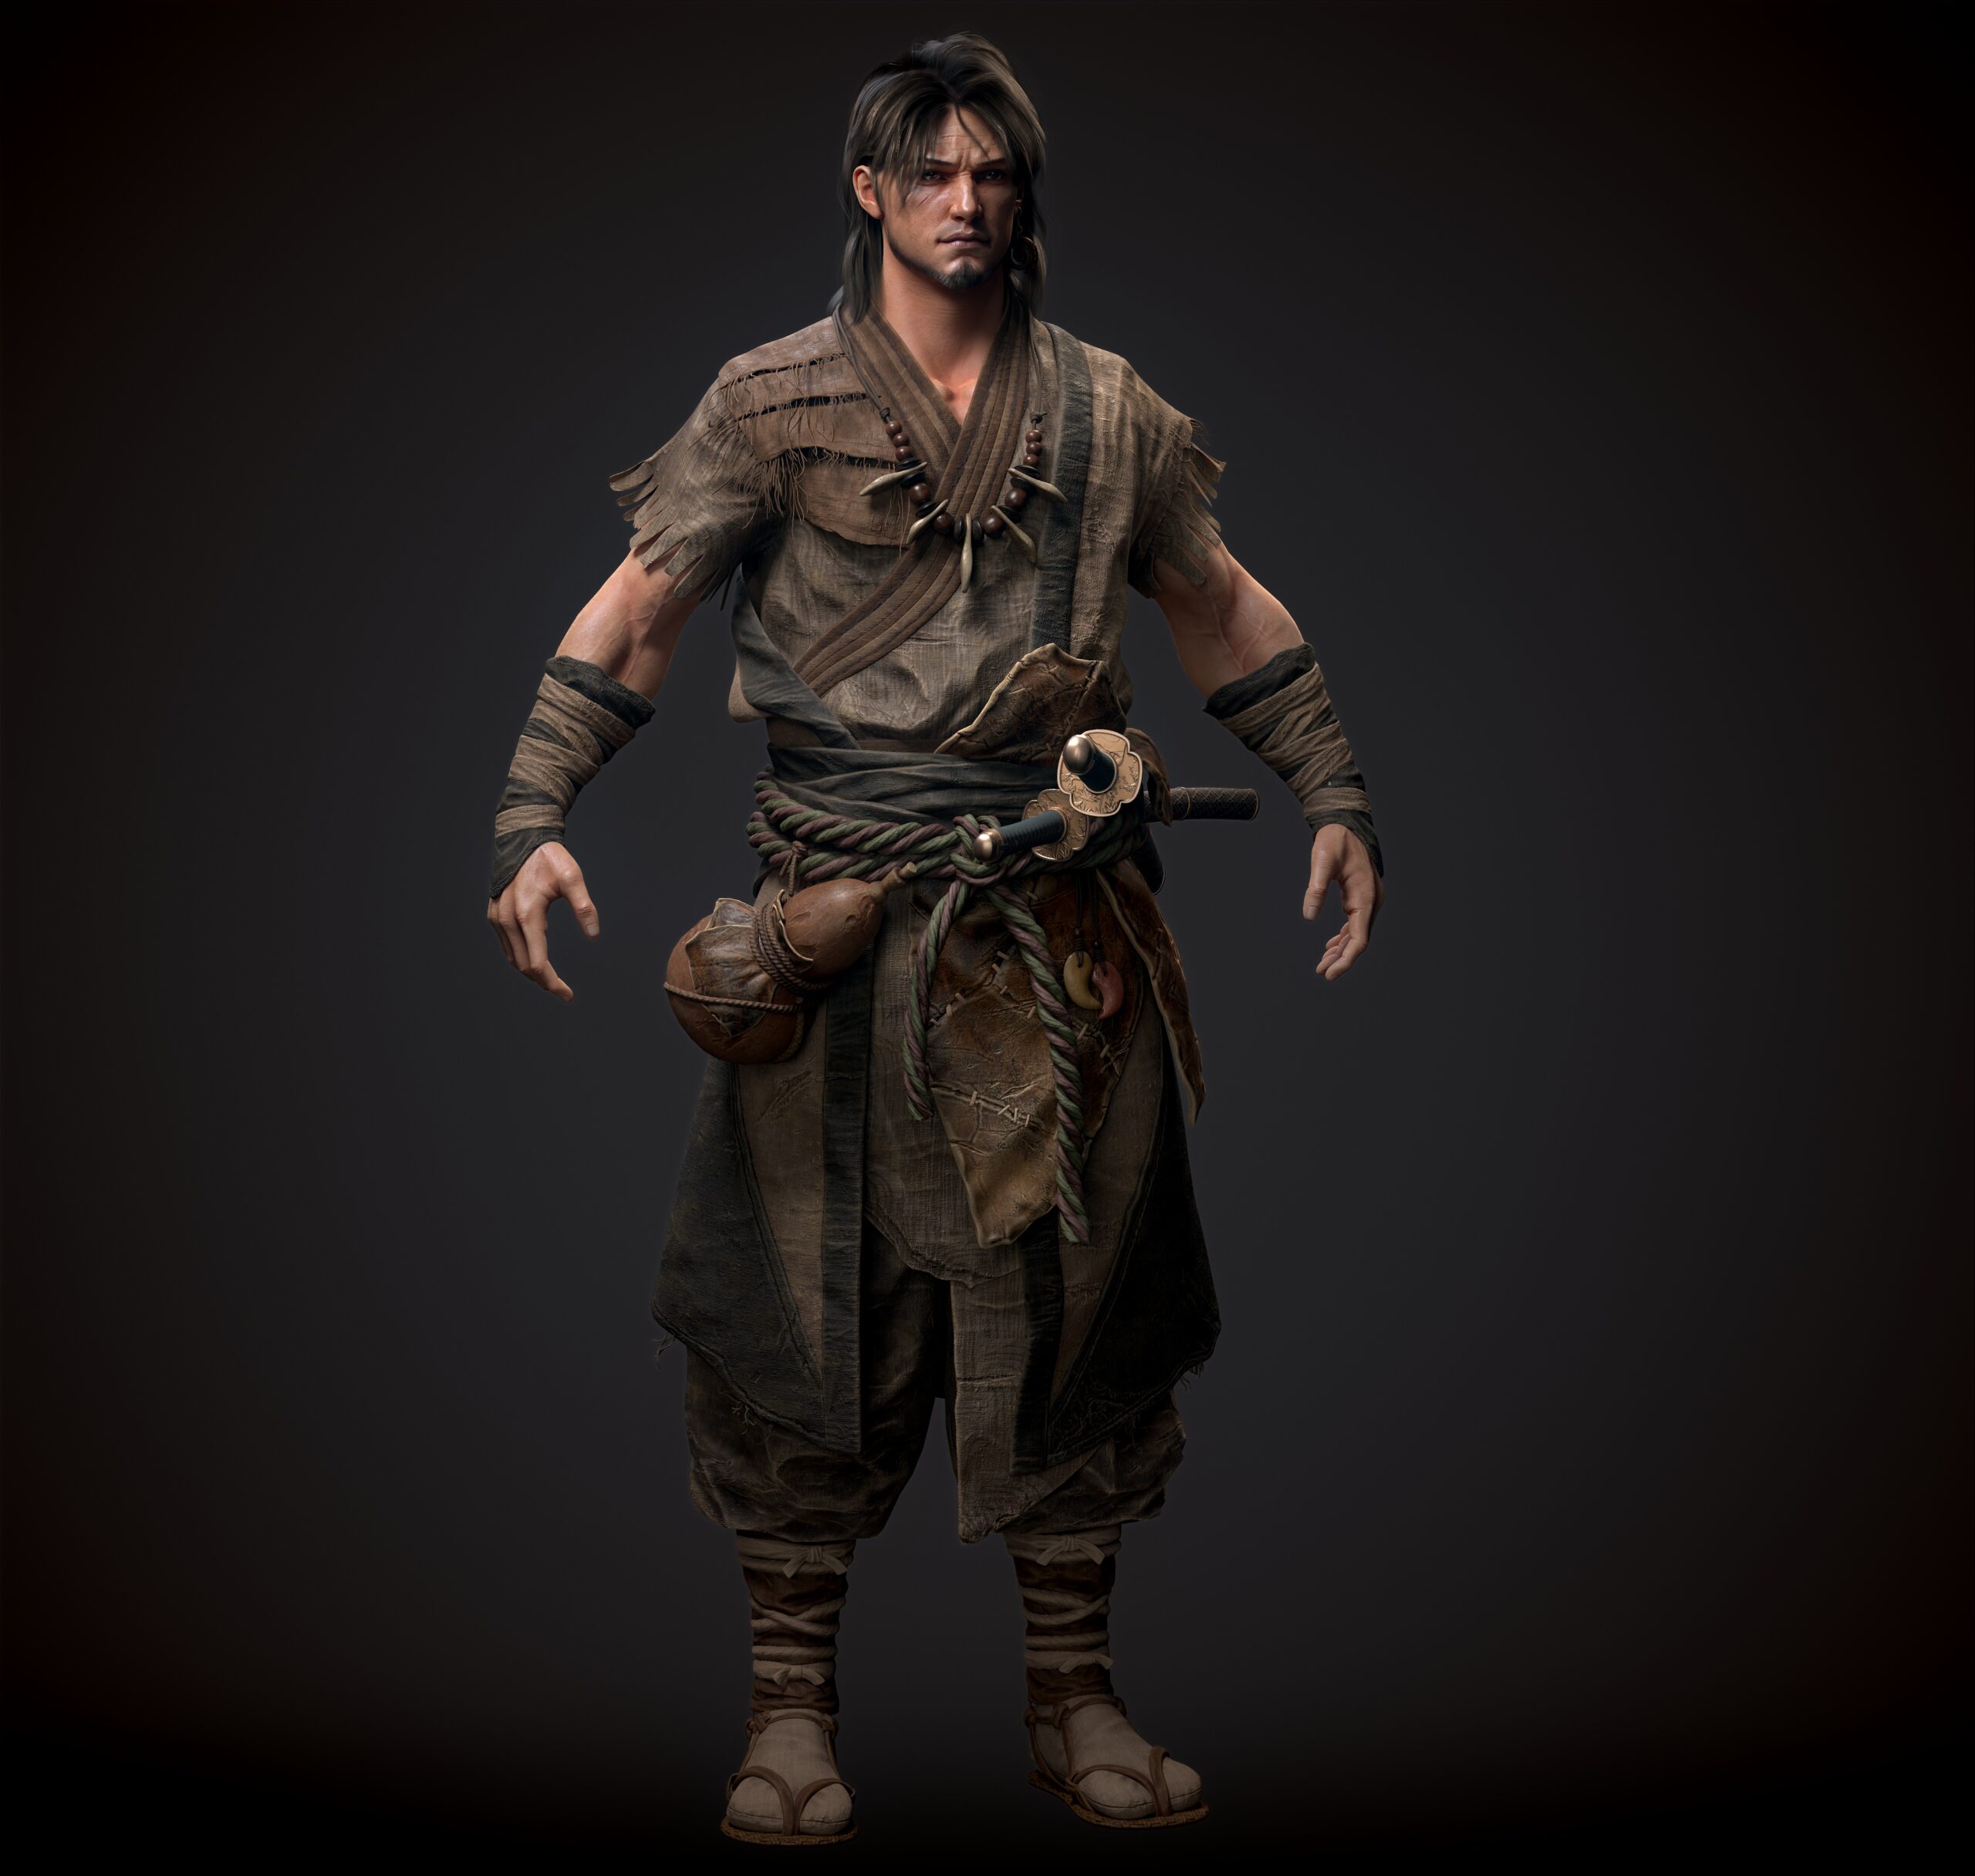
Wingfox focuses on providing quality digital art online education for everyone. This is a ZBrush tutorial where you will learn several skills needed to create 3D stylized characters, including multiple cloth layers, hair, hard surfaces, and multi-material objects. From concept reading to the rendering stage, you will also learn a lot about the basics of design, the way of thinking in the field of stylization, and how to showcase the appeal your character has creatively and interestingly.
3. Extrusion and non-uniform scaling with the Transpose Move Tool
Using this technique when masking objects or characters may be an effective way to work. Using this technique when masking objects or characters, and combining it with the Mask Tool in ZBrush, can be an effective way to work.
4. Rigging with ZSphere
The Transpose tool is more commonly used for posing in ZBrush, but it’s important to note that you can also use ZSpheres to rig single and multiple subtools. Since it is an older method of posing in ZBrush, new users may not know about it, but it is still a powerful tool.
5. Customizable UI
One of the greatest strengths of ZBrush is its flexibility as an artist tool, allowing you to get the same results in a way that best suits your style and workflow. This extends to the UI, which can be customized in subtle ways, such as changing the color of the UI to more advanced options and creating a fully customized UI using custom menus and popups.
6. Loading multiple objects
ZBrush comes preloaded with several plug-ins that help increase productivity. One of the most useful tools is SubTool Master, which gives you better control over various subtools, a lifesaver if you’re working with meshes containing a large number of parts.

7. Back Masking
A common problem for new ZBrush users is that the geometry collapses in on itself when sculpting thinner parts of the mesh. To solve this problem, we must turn on the “Back Mask” feature. This option automatically masks the area behind the camera, allowing us to sculpt thinner meshes without any problems.
8. Initializing Primitives
It may be strange for new users migrating from a traditional polygon modeling application to use ZBrush primitives, as they work slightly differently in ZBrush. It’s not obvious that you can edit primitives before converting them to the polygon you want to sculpt. The key is the “Initialize” tab under the Tools menu.
While some primitives have more options than others, they give you more control over how the base primitive starts and allow you to create completely new primitives. For example, Ring3D primitives can be edited to a more conical shape and can be used as the basis for animal or biological horns.
9. Topology and Multi-Group Masking
There are many other useful mask types available to improve your workflow. If you have two separate objects forming a sub-tool, use the Topology mask and this option will be adjusted if you can engrave on one or both surfaces. When fully set, you will only be able to engrave on one of the surfaces. These options are useful when refining subtools, especially when creating clothing seams or hard surfaces.
10. Setting up the reference plane
If you migrated from an application such as Maya, Softimage, or 3DS Max, then you may have missed the classic quad view where you can apply a reference image. Although ZBrush has only one camera, you can still set up reference images.
You can import an image here and map it to the desired axis, and there are many options for adjusting the image in ZBrush, such as flipping the image if it is pointing in the wrong direction, without having to change the image in an external application like Photoshop.
Of course, ZBrush has other interesting features. I believe that if you use it proficiently, you will be able to create and complete your artwork more efficiently. Wingfox blog will continue to update interesting and practical articles for you, and recommend more wonderful tutorials for improving your digital art. Welcome to join Wingfox and start learning now!
Create Hard Surface Modeling Motorcycle With 3DS
For this hard surface course, it’s an epitome of the instructor’s modeling experience for over a decade. As a model artist and photographer, the instructor will not only introduce the key to modeling in 3ds Max, but also share his unique perspective on light settings.


Post a Comment
要发表评论,您必须先登录。
Pingback: Blender learning syllabus - Wingfox
2022-03-18Pingback: Top 10 ZBrush Tutorials for you - Wingfox
2022-04-01