6 Key Points Of Portrait 3D Sculpting
3D sculpting (also known as digital sculpting) is when a designer sculpts 3D objects on a computer using a material similar to digital clay. Software with brushes and tools that can be pushed, pulled, pinched and smoothed makes it easy to create detailed shapes that mimic real-life textures and objects.
3D sculpting is great for creating realistic effects, but it can also be used for character design and character animation. Compared to 3D modeling programs, character designers can more easily use sculpting tools to create characters and actions from scratch.
There are various programs that allow designers to create sculptures from basic models or from scratch. Last time we introduced how to sculpt a werewolf, so let’s talk about how to sculpt a 3D male portrait today.
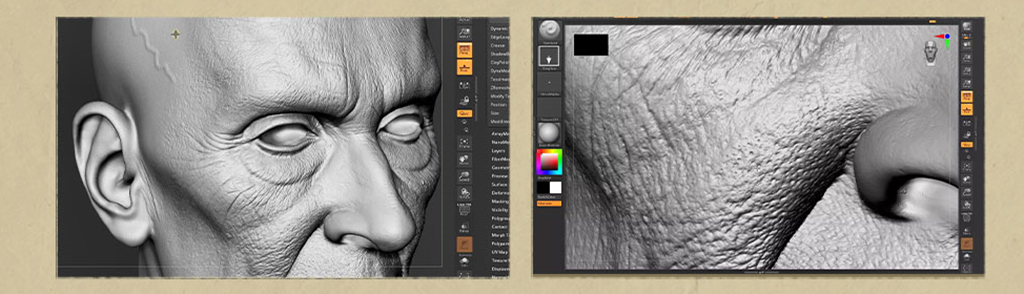
1. Head blocking out
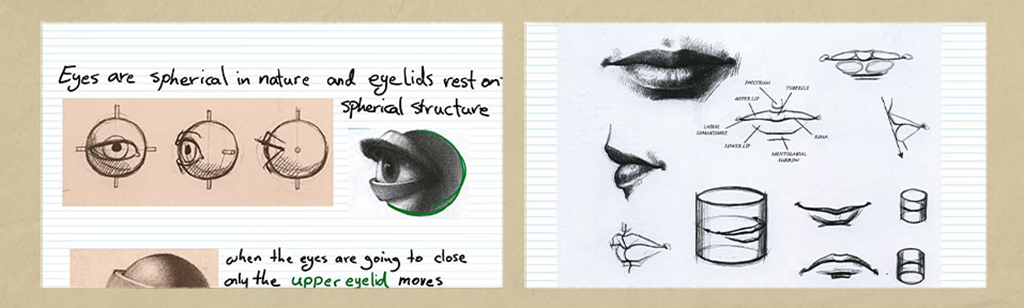
First of all, it is important to understand the anatomical descriptive and visual interpretation of the eyes, nose and mouth, etc., because the features of the five human senses are very distinct. If they can be sculpted in detail, the model will be more realistic. After that, sculpt them and start blocking the head in Dynamesh.
2. Head Wrapping
Next, Dynamesh is to be wrapped on a base mesh using Wrap3.
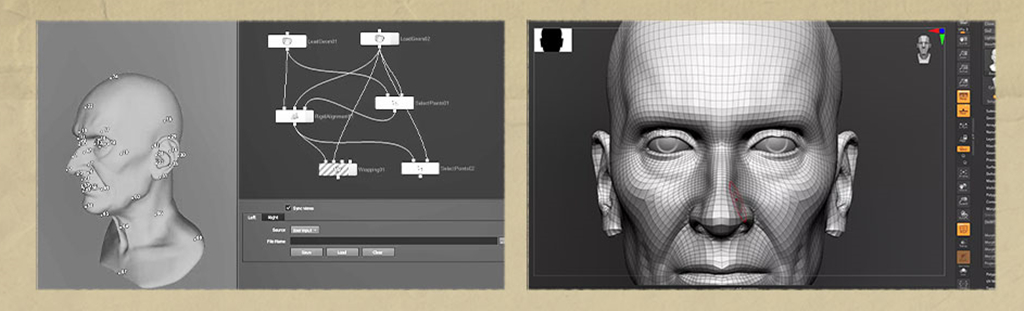
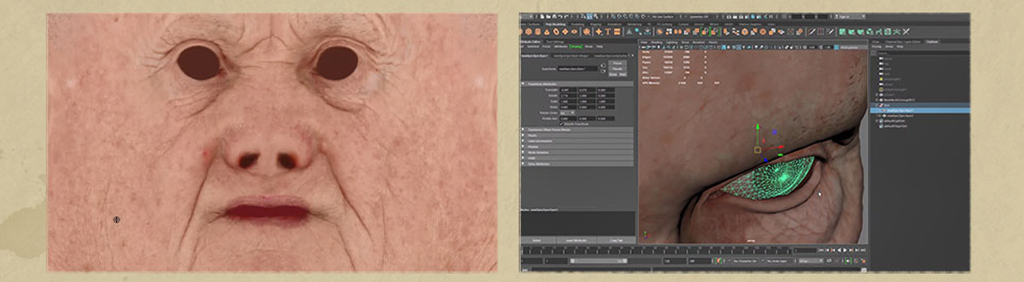
3. Subdivision 3D Sculpting
Then, you will wrap the base mesh on the sculpted head.
4. Creating Displacement and Albedo
To understand how to set the texture XYZ displacement map and albedo from 3DScanStore assets and clean up the displacement map. Then, you have to place eye sockets and improve eyelids to give the model a vivid look.

5. Creation of hair and cloth
Pay attention to the treatment of eyebrows to make the portrait more realistic. At this point you need to know the Xgen description and the material described by the settings. After that, you will create a basic hair piece and neck scarf in Zbrush.
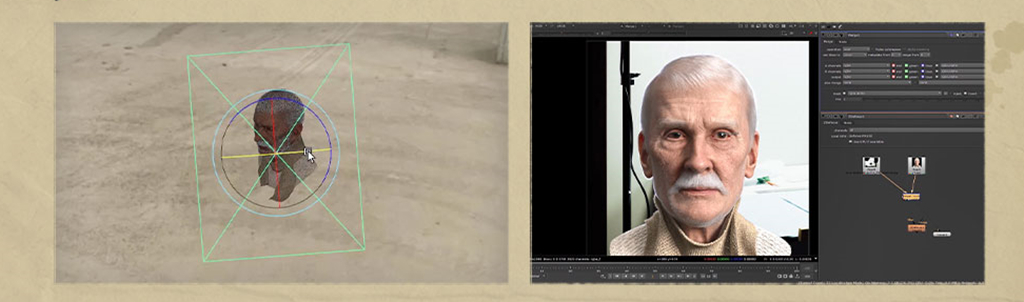
6. Rendering
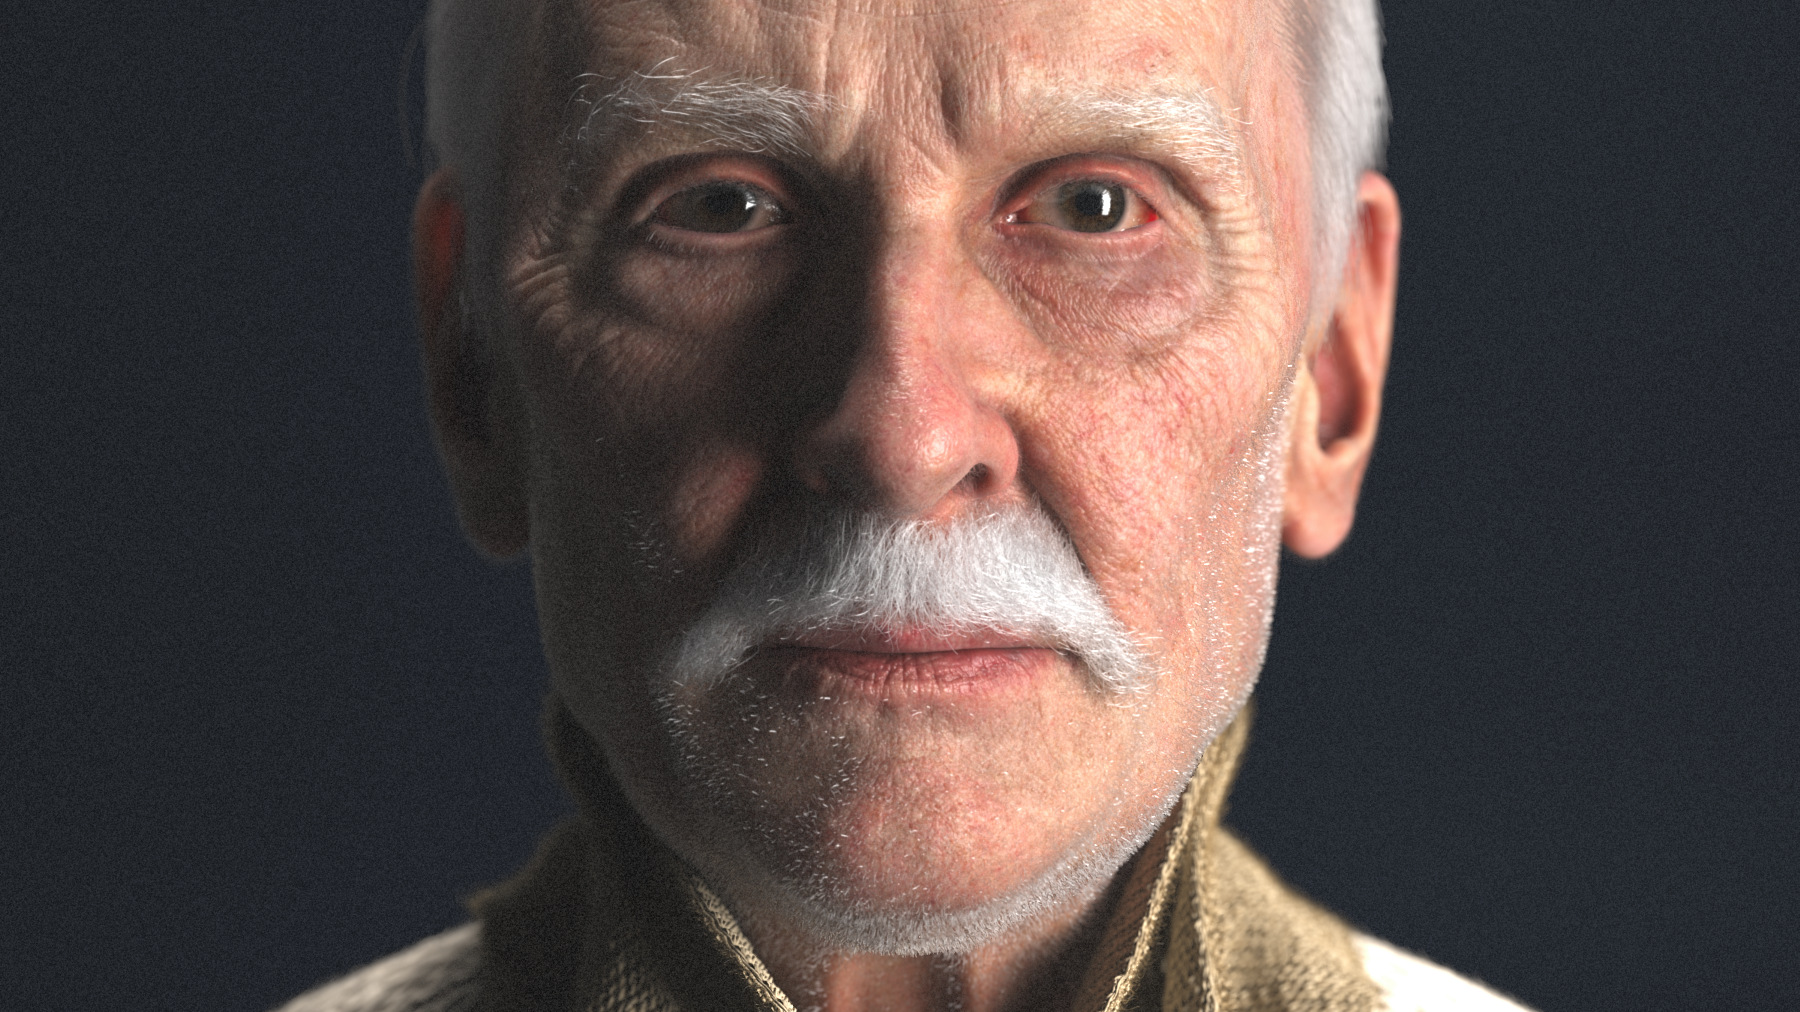
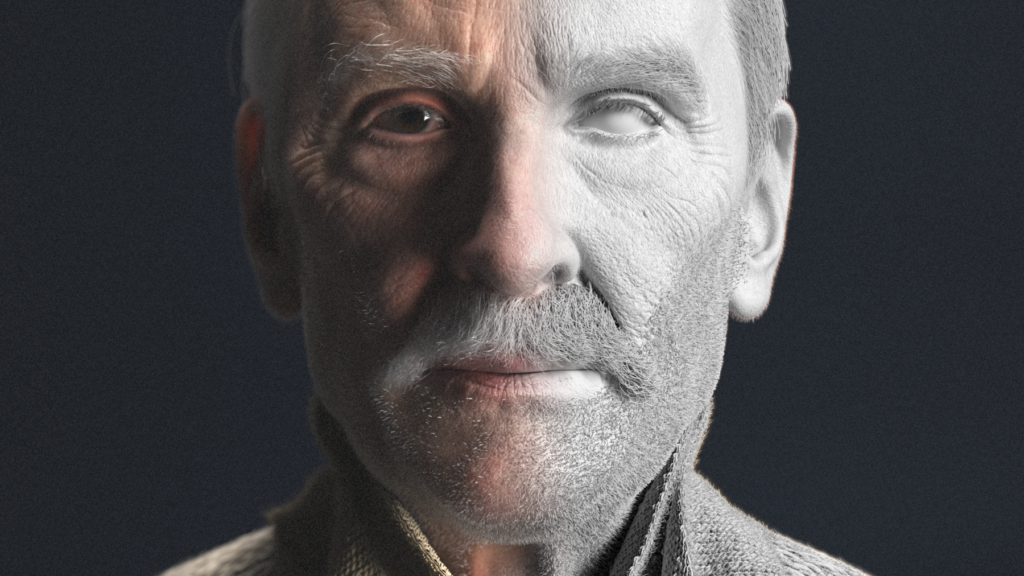
Next, you are going to set up the lighting and materials. In order to get a texture or surface texture close to the real thing, you have to render in Arnold, Maya. In the end, a male portrait is sculpted.
If you are not proficient in 3d sculpting skills, you can sign up for this tutorial to enhance your abilities. And if you have a basic knowledge of Zbrush and a basic understanding of 3D terminology and workflow, it will be easier to learn this tutorial.
In this course: Sculpting a 3D Male Portrait with Zbrush and Maya, we will focus on how to bring out a face from a polygon. Plenty of assets are utilized to make the whole process easier and faster, and to give you a focus on blocking and shaping faces and expressions. You will learn a solid pipeline, as well as some new knowledge about facial anatomy. After this, you will master more 3d sculpting skills.

1. You will gain a modest knowledge of facial anatomy.
The lecturer will cover facial anatomy during the sculpting process and in separate chapters.
2. You will learn to create and render a pipeline of realistic heads.
You will learn how to use high quality assets to achieve realism and what to do and what not to do in achieving great results.
3. You will learn a solid approach to hair creation in 3D sculpting.
The instructor will dive into creating hair using Maya’s internal XGen and create 5 different areas of human hair.
4. You will learn how to properly use Arnold and composite your renders.
The instructor will explain the various Arnold settings and procedures to get the desired results, and he will also talk about the many compositing methods in Nuke, such as adding depth of field to your renders, and the many color corrections and edits in Photoshop.
We all know that persistence is the key to learning, so you’d better make more connections and integrate your knowledge in general. When you purchase a course at Wingfox, copy and paste this promo code:
blog10
and you will get a 10% discount. If you want to learn more about 3D sculpting, please ↓↓↓


Post a Comment
要发表评论,您必须先登录。