Do You Know about Texturing in 3D Animation?
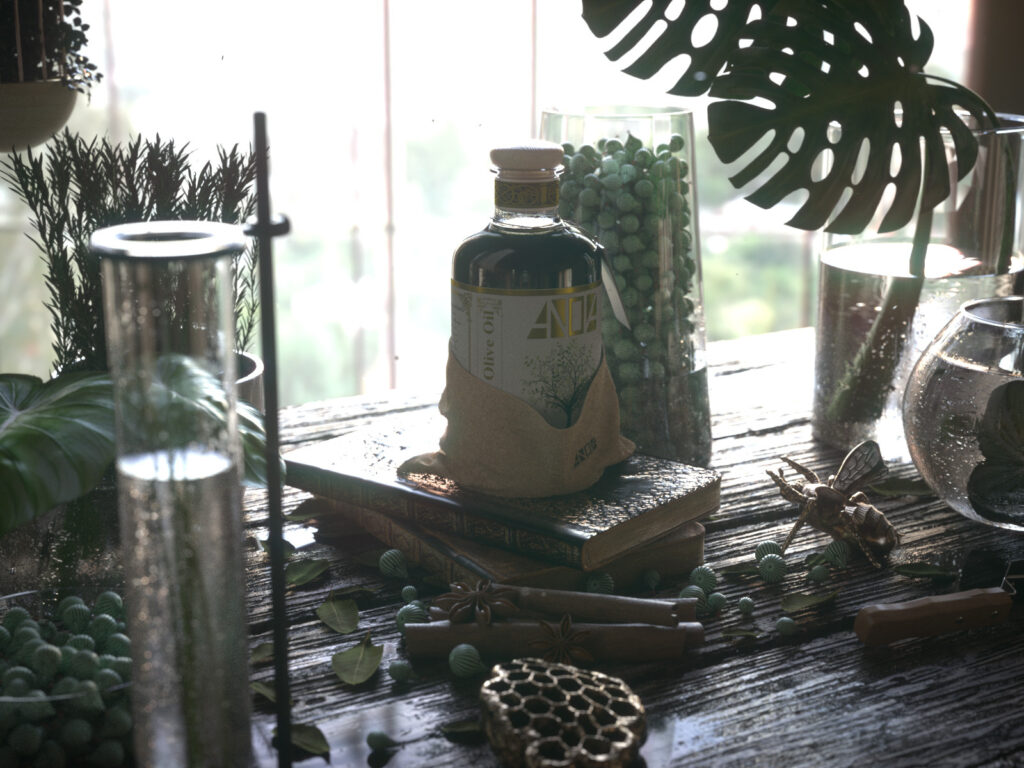
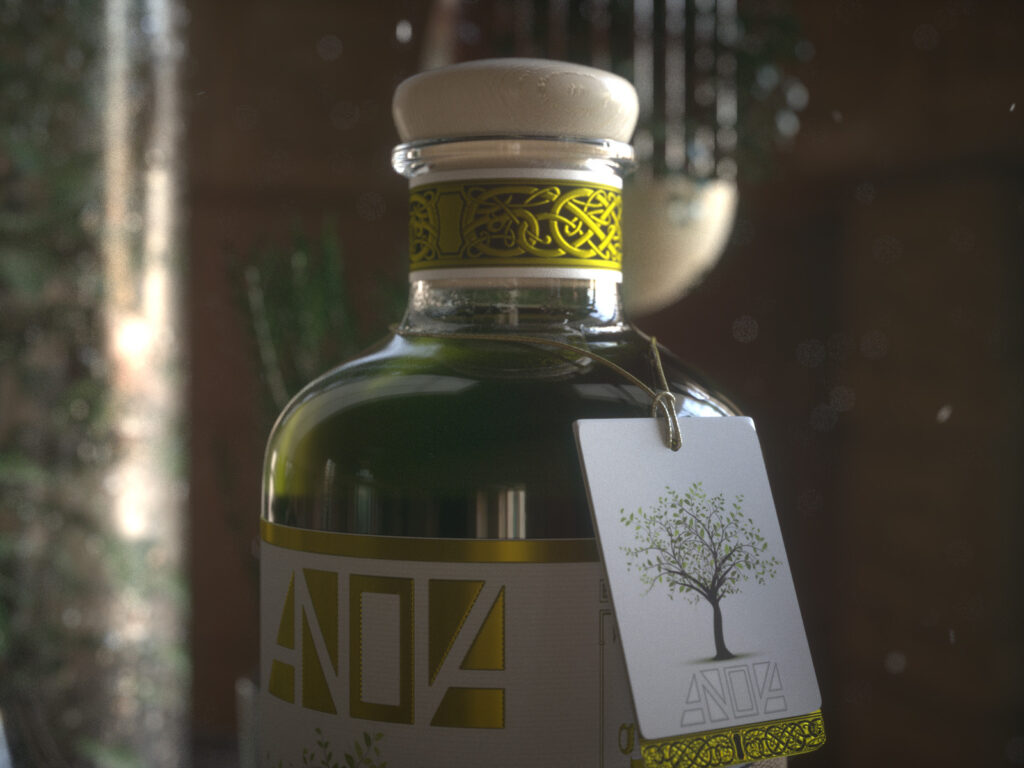
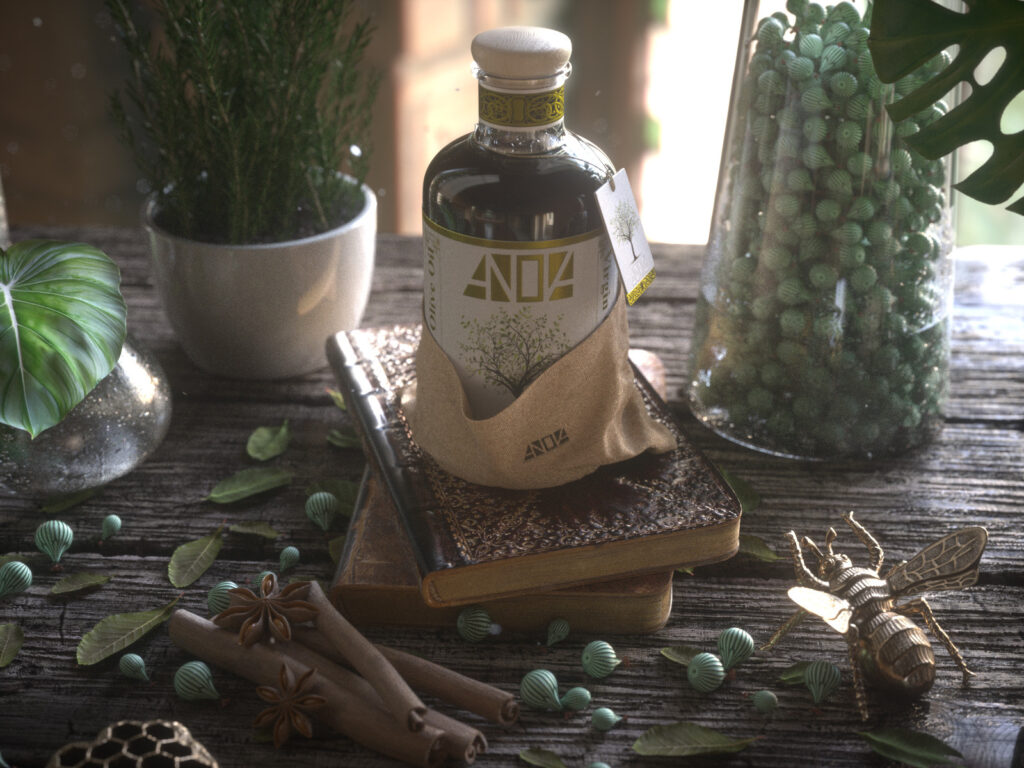
Texturing is a particularly critical step in the 3D animation process. All the finer character details you see in 3D animation, such as wrinkles and individual carpet fibers, are the result of textures applied by the 3D artist.
In the most basic form, texturing refers to the way an experienced animator can provide stunning detail to an object. This detail may be applied to characters or environments to make them look ages, add appeal or give them a more realistic feel. texturing in 3D animation is the process of retouching 3D models with 2D images. The texture artist oversees the physical characteristics given to the 3D object. The overall goal is to match the surface of the model to its conceptual art or real-world equivalent. 8 Awesome Sites for Free Blender Textures
3D texturing involves many different aspects that vary slightly, depending on the workflow of a particular animator or studio. Here are some examples of steps in the texture processing process.
UV mapping and unfolding
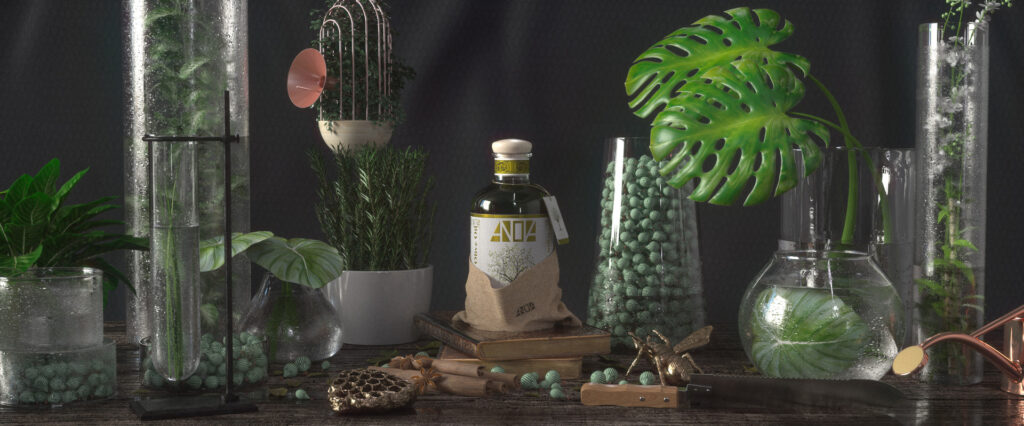
The first step in 3D texturing is to expand and map the model. Once the final model is received, the texture artist generates a UV map for each 3D object, which is a flat display of the surface of the 3D model used to quickly wrap the texture. The word “UV” implies the 2D aspect of the program: the letters “U” and “V” denote the 2D texture axes, as the 3D model is represented by the letters “X “, “Y” and “Z.”
UV mapping enables 2D images to wrap around 3D objects, connecting them to polygon points. You will use the result directly in texture and shading operations.
Lighting and shadows
The correct representation of the overall appearance of an object and its interaction with light contributes greatly to its realism and appeal. Inappropriate material or surface quality in the light can cause the viewer’s mind to reject it. Texture is a two-dimensional image, and shading is a set of functions that control how light interacts with a two-dimensional image.
Normal Mapping
Normal mapping creates the illusion of detail without relying on high polygon counts. For example, characters can be detailed in a sculpting program like ZBrush, and all the information can be baked onto the normal map and transferred to a low polygon character, providing an illusion of detail without increasing the actual polygon count of the model. Game studios often use normal maps because they need to stay within a limited polygon budget, but still require a high level of detail.
Bump Mapping
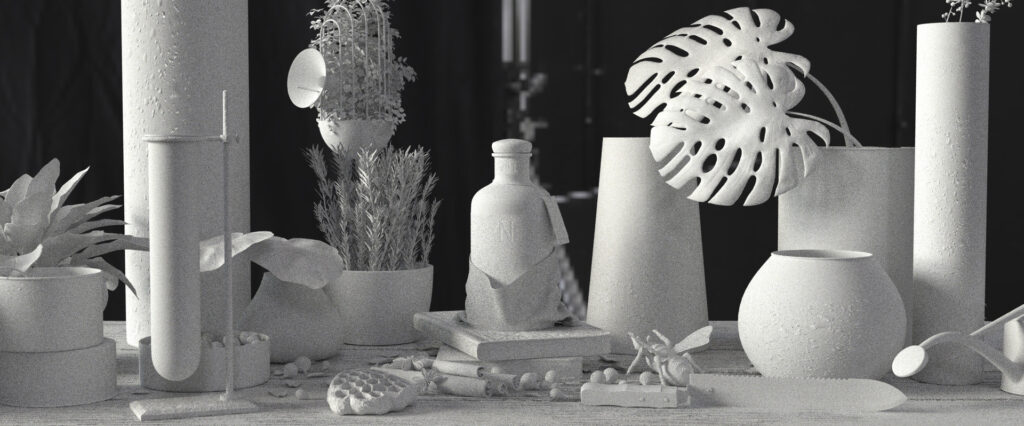
Bump mapping creates the illusion of depth or relief on a texture without significantly increasing rendering time. For example, a raised surface on a penny can be faked by using bump mapping. The computer reads the black, white and grayscale data on the graphic to determine the areas on the image that need to be raised.
Tips
Normal mapping and bump mapping are similar in that they both affect the normals of geometry and create the illusion of detail without relying on additional geometry. The major difference between them is that bump mapping uses only black and white values to encode height information, while normal mapping uses RGB values to represent the direction of surface normals. The information in the red, green, and blue channels of the normal map corresponds to the X, Y, and Z directions of the surface. Normal mapping usually allows more detailed information to be obtained on the surface.
Texture Mapping
To create a real-life like surface, you need to use texture mapping. The process is similar to adding decorative paper to a white box. In 3D, texture mapping is the process of adding graphics to polygonal objects. These graphics can be anything from a photo to the original design. Textures can help your objects age and give them more appeal and realism. Texture mapping is the process of defining the texture, detail, and visual quality of a 3D model. Bump mapping, normal mapping, height mapping, ambient occlusion mapping, refraction mapping, specular reflection mapping, and other texture mapping techniques are just a few examples.
Baking
In a typical 3D scene, you need to shade, texture, and light objects to create the exact look you want and then render them. To reduce rendering time, you can bake all material, texture, and lighting information into the image file. For example, you can bake all lighting information directly onto an existing texture, render it once, and then remove the actual lighting used in the scene. This is very useful for games where lighting needs to be recalculated in each new frame.
3D textures are digital images that add surface topology and color to 3D models. 3D texturing has many uses, such as developing 3D scenes and animations using characters and objects that look more realistic and interesting.
[10% off coupon code: blog10]
What are some common 3D texturing techniques?
Typically, 3D texturing should depict three main properties of each surface in a 3D environment.
Material
Textures can largely give the viewer a sense of the materiality of objects in the 3D world. the main goal of 3D texturing is to show the viewer the actual composition of the object through observation.
Lighting Effects
Each object exhibits unique properties when exposed to light; such as reflection, refraction, anisotropy, etc. The same properties must be applied to 3D animation. The same properties must be applied to 3D objects of the same material in the 3D animation world.
Tertiary details
Handling objects can be a real burden for both 3D software and of course 3D artists if every detail on the surface of a 3D object has to be created during the 3D modeling phase. 3D texturing offers a solution to this problem: they allow us to create small details such as wrinkles, scars, cracks, bumps, etc. on the surface of the model without putting too much pressure on the hardware or the software. Different types of textures and texture mapping can be used to make 3D models look more realistic in a 3D environment.
Well, that’s all for this introduction. Let’s continue with the information about 3D texturing later. If you are interested, don’t forget to follow our Wingfox blog. By the way, if you’re an old friend of the Wingfox blog, then you’ll remember that you can get a 10% discount when you enter the promo code: blog10 at the checkout of Wingfox purchases. Let’s see if there’s a tutorial you need.
Post a Comment
要发表评论,您必须先登录。


Pingback: Benefits for Environmental Artists - Wingfox
2022-03-09