Understand Disney’s 12 principles of animation(Part 1)
Disney’s 12 principles of animation were first introduced by animators Ollie Johnston and Frank Thomas in their book The Illusion of Life: Disney Animation, first released in 1981. Through examining the work of leading Disney animators from the 1930s onwards, this book sees Johnston and Thomas boil their approach down to 12 basic principles of animation.
Let us look at the first six principles in this first part.
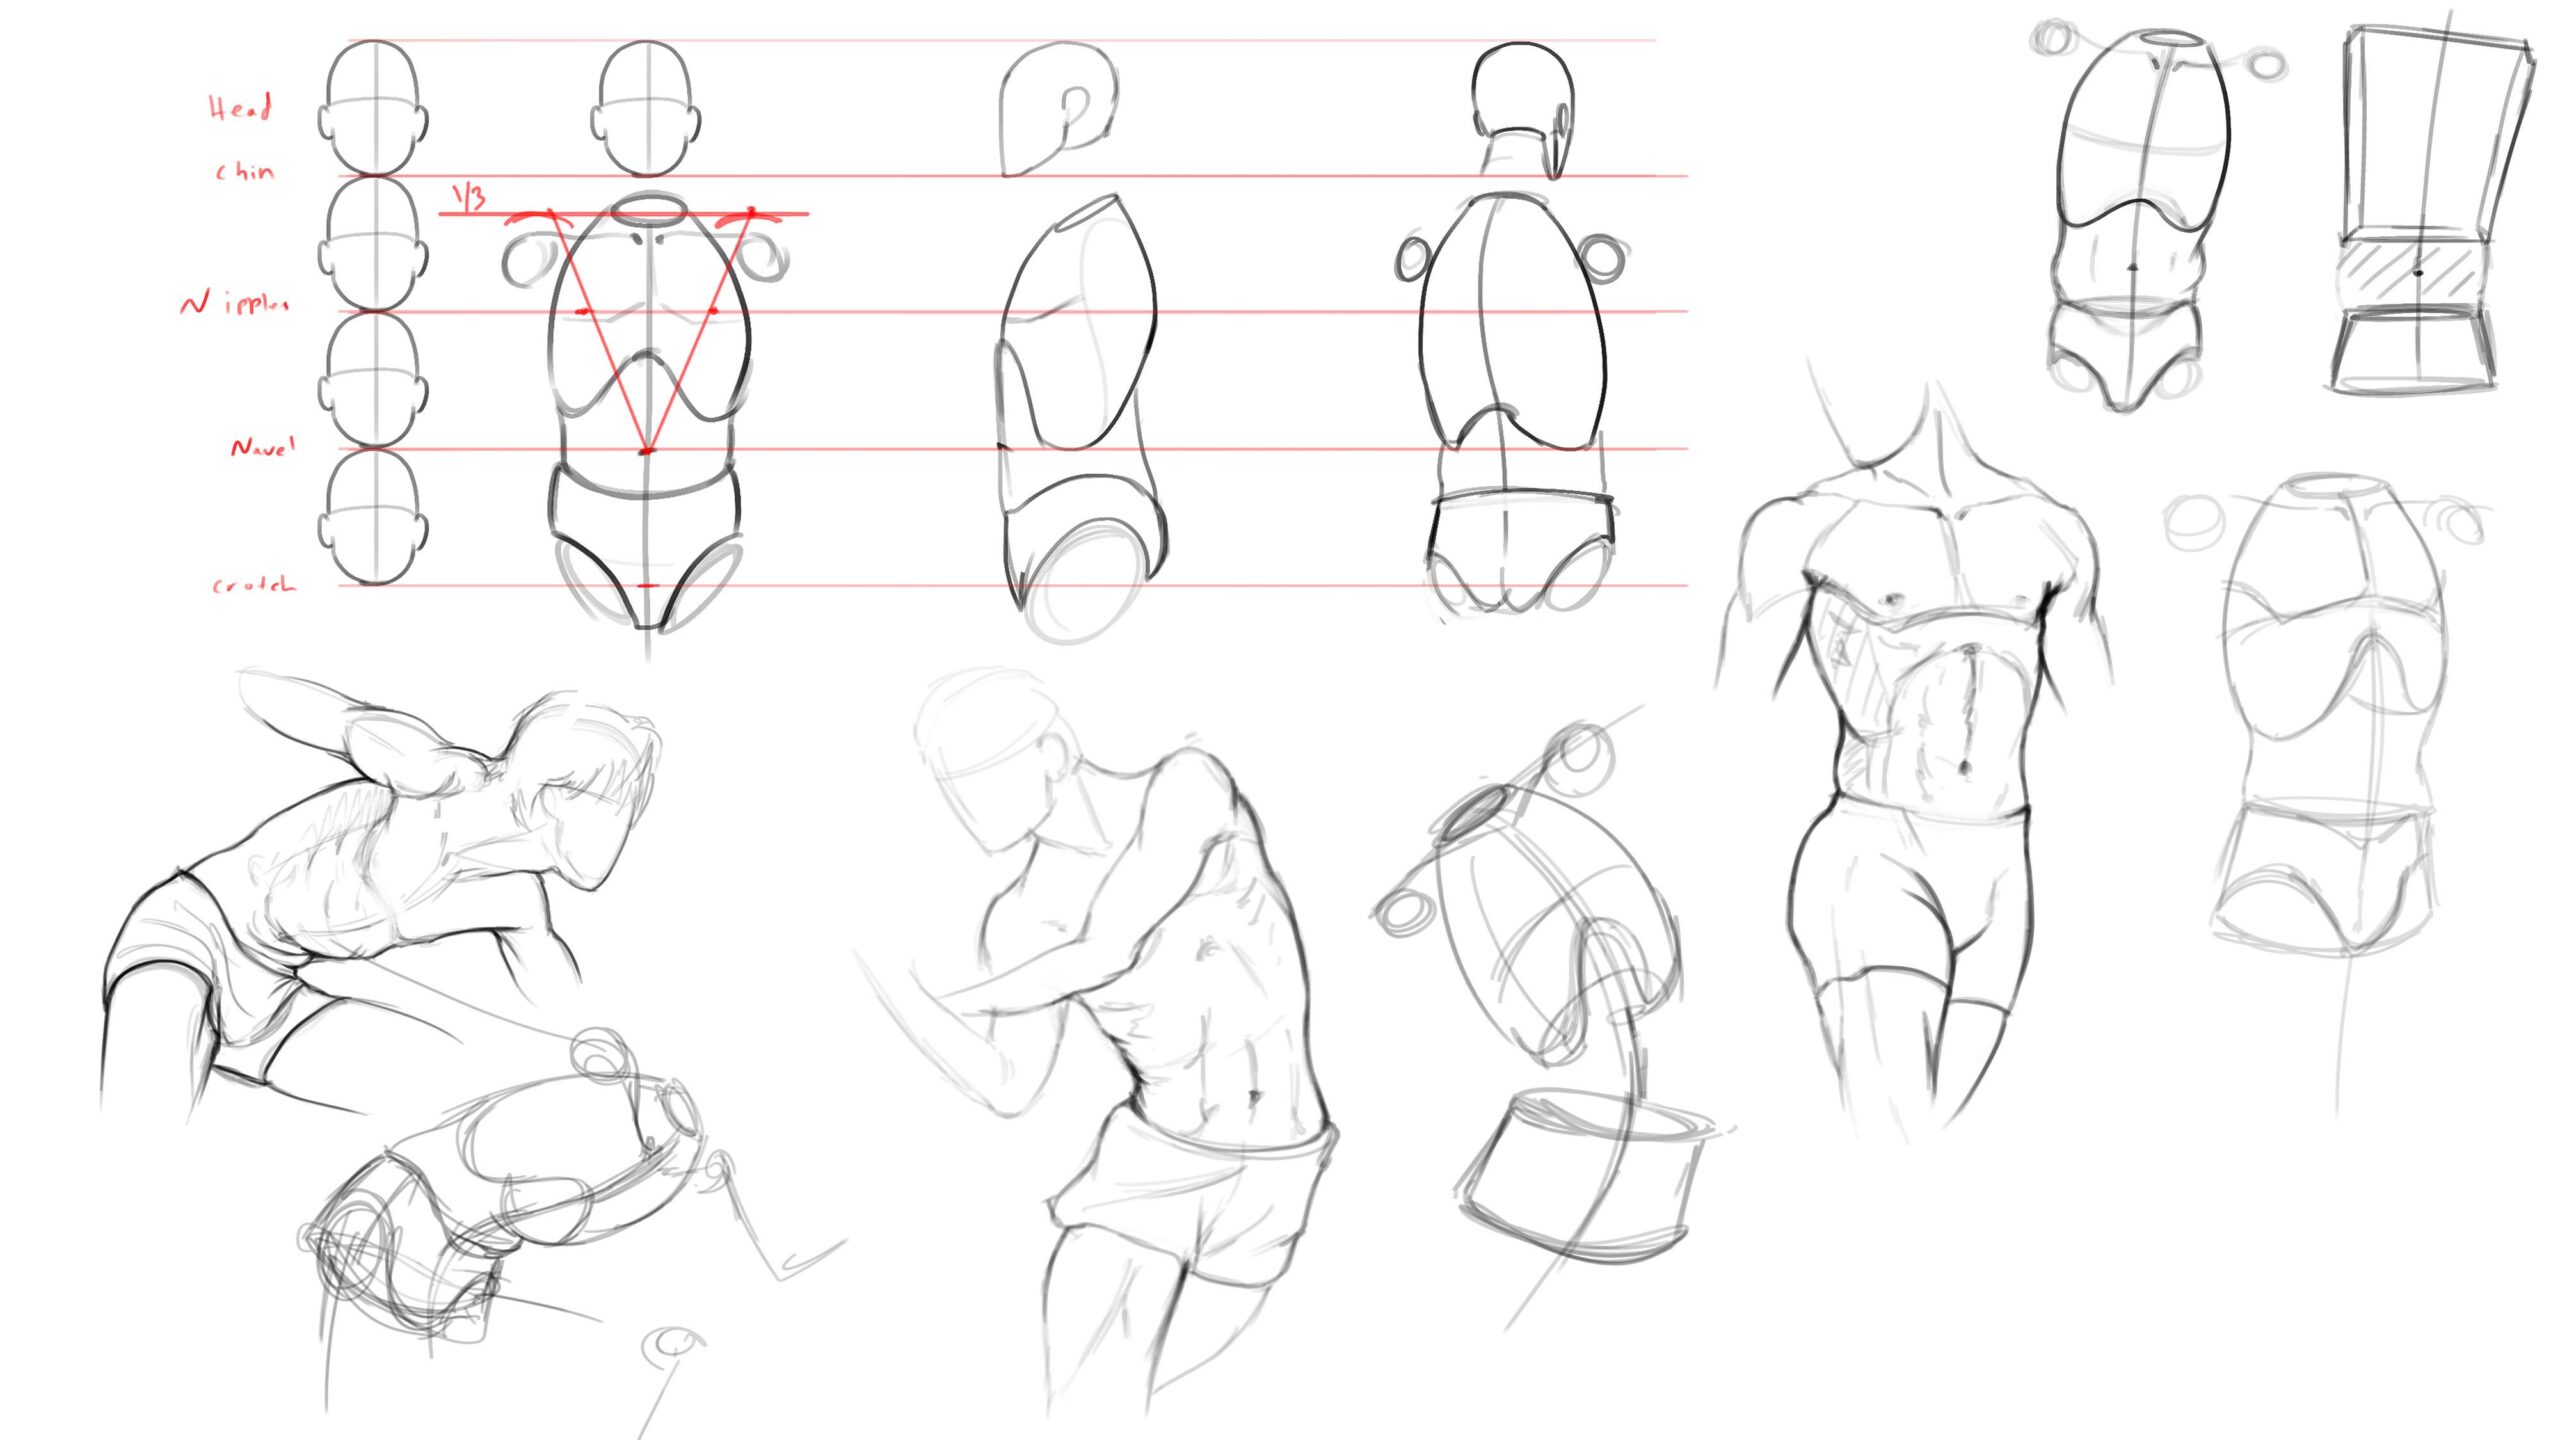
Squash & Stretch
Squash and stretch remains to be the foundation of animation. It is the technique used to convey weight, emphasise movement, and enhance a character’s flexibility. From a person walking to a dog jumping, there are enough examples of squash & stretch in real life. However, in animation, these actions are exaggerated. The easiest way to understand how squash and stretch work is to look at a bouncing ball or a man walking at a regular pace.

Timing
Timing in animation refers to the number of drawings or frames that complete a given action. It determines the speed of the action. In simple terms, if there are more drawings between two poses, the action will be slow & smooth. But fewer drawings make the action fast. The below image will help you understand this principles better.

Anticipation
Anticipation is the preparation for an action. Some of the most common examples in real life include a golfer swinging his club backward before hitting the ball or a bowler waiting for a second before starting to run. In animation, humour is usually created when the movement of anticipation happens in the opposite direction of the main action. Any action that requires greater strength will have a bigger moment of anticipation. See Red smiling? Did you see this coming?
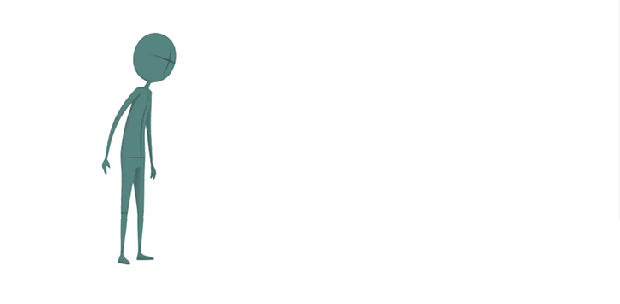
Slow In – Slow Out
As any object or person starts to move, there will be acceleration. When they come to a halt there must be deceleration. Otherwise, the movements become robotic. Imagine that a car starts and reaches full speed in an instant or comes to a halt from 100km/hr in the blink of an eye. Such movements are unnatural. Slow in – Slow out or Ease in – ease out make such actions more life-like. In animation, the closer the drawings/frames are, the slower the animation will be. The farther apart they are, the faster the animation will be. A swinging pendulum is a classic example of this principle.

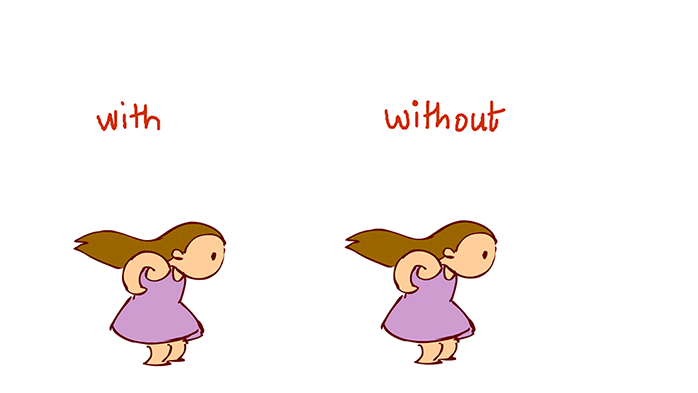
Follow Through & Overlapping Action
These two closely related principles of animation help animators create realistic scenes. They simply follow the laws of physics. Follow-through is the idea that certain appendages and body parts continue to move even after the person/object stops moving. If a superhero character wearing a cape runs and stops abruptly, the cape will fly forward past the body, then fall back where the character stopped. If a car halts suddenly, the antenna on top of it will keep moving for another second.
Overlapping action explains the idea that different parts of a body will move at different rates. For example, when the superhero character walks, his arms will move at a different speed than his head.
Straight Ahead & Pose to Pose Animation
Have you ever created a stick-figure flipbook animation on the corners of your notebook? If yes, then chances are you didn’t plan it out with preparatory sketches. This is straight ahead animation, which involves creating frame-by-frame from start to finish. While most classic Disney movies were made using this technique, it is not much in use lately.
Most computerized animation uses the pose-to-pose animation. In this, you set the main poses first and insert the in-between poses later to get the timing right. In top animation studios, the key poses are often set by the lead animators while the rest of the frames are set by the newbies on the team.

Blender Tips: 10 Efficient Blender Shortcuts
Time-saving Blender shortcuts to simplify your 3D texturing workflow.


Post a Comment
要发表评论,您必须先登录。
Pingback: 12 principles of animation(Part 2)
2022-04-21