
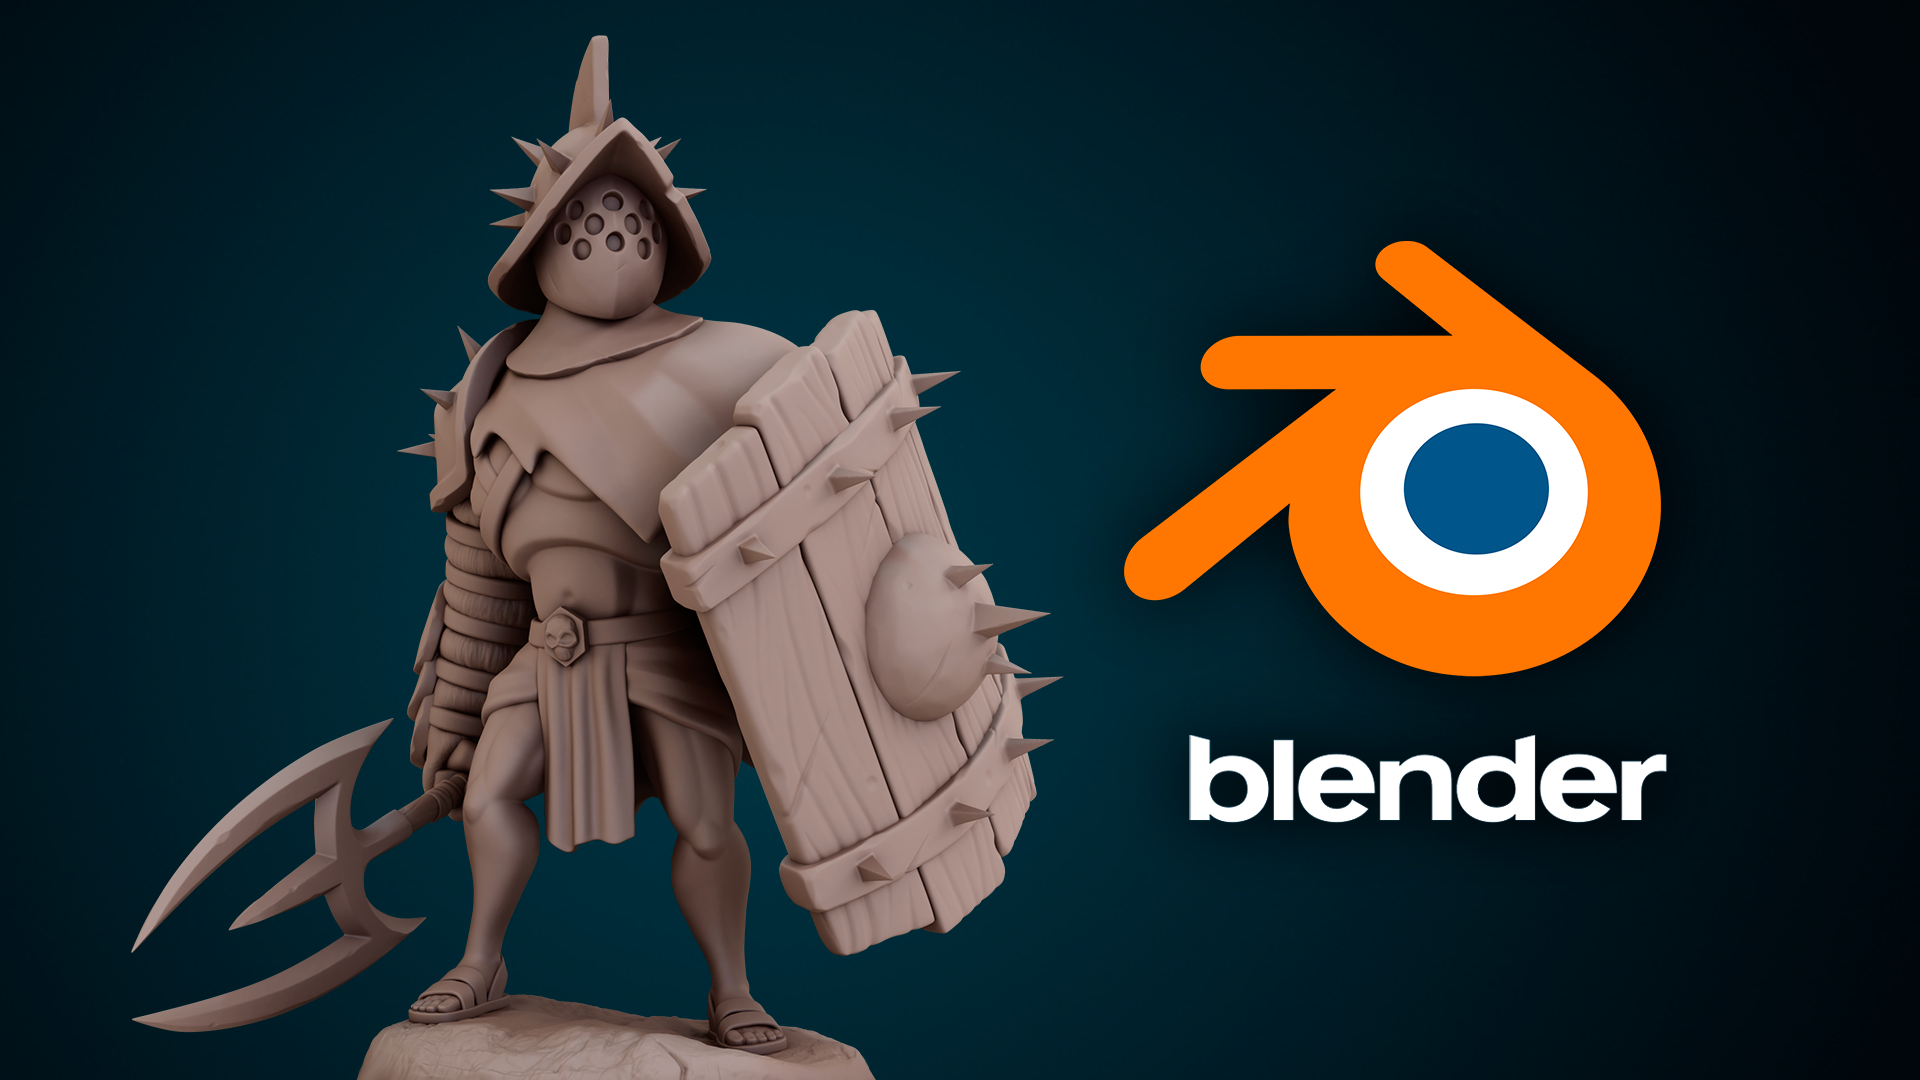
Tips for Using Blender in 3D Modeling
Blender is a powerful 3D modeling software. It is used for all kinds of professional projects: from the Blender Foundation’s own “Open Films” to illustrations, animated ads, and even visual effects work.
If you know some tips on how to use Blender, it will greatly help you in your work. You can even save a lot of effort from the tedious modeling process and achieve better productivity. I guess, your boss will be very happy too. So let’s take a look at these tips.
- 1. Replace duplicates with instances
- 2. Save time with planar projection
- 3. Edit with scale
- 4. Block with pose library
- 5. Set up an ad hoc render farm with Network Render
- 6. Eye Tracking with Damped Track
- 7. Repair errors in animations using sculpting
- 8. Feed Synthesizer Nodes to VSE via Scene Bars
1. Replace duplicates with instances
Instead of [Shift]+[D], you can create and render more complex scenes by duplicating objects using [Alt]+[D]. The new object will share the same mesh data as the original object, thus reducing memory usage. Better yet, any changes made to one object will also be applied to other objects, allowing you to update hundreds of objects at a time. By using Alt+D to instantiate objects, any changes made to one object will be propagated to the rest.
2. Save time with planar projection
Avoid UV mapping, when you can get away with it, by using a quick and dirty planar projection on the basic geometry. In this way, you can create complex, realistic objects in a matter of minutes. For the most part, the result will still look the same from a distance.
3. Edit with scale
Scale editing can create an organic feel to a scene.
Let’s suppose you have a scene with hundreds of individual objects: for example, rocks or plant geometry. Positioning each one manually would take a long time – so to speed up the process, use the scale editing tool.
Select an individual object and press [O] to open the scale editor. Now press [G], [S] or [R] to move, scale or rotate, respectively, while rolling the mouse wheel. You will see that all objects in the scale editing area (shown by the white circle) are affected. The mouse wheel changes the size of the area.
Proportional Editing can be set to many different attenuation types (shown by the scroll bar near the blue circle Proportional Editing button). The selection of Random will result in random panning, rotating and scaling of objects in the soft selection area – useful for “messing up” the scene to make it feel more organic.
Since this trick works on all visible scene layers, put any objects you don’t want to affect into a separate layer and then simply close that layer.
4. Block with pose library
Pose libraries are a great way to rough out animations, especially facial animations and mouth sync. This is especially useful if your rig uses bones and drivers rather than shape keys that depend entirely on phoneme shapes.
When animating, select the skeleton in the Lip Sync skeleton group and press [Ctrl]+[L] to enter library preview mode. You can then use the mouse wheel or [Page Up]/[Page Down] to cycle through the poses in the library. Select your pose and insert your keyframe. This can be used as your first rough pass of the mouthpiece sync to get the timing right.
In subsequent passes, you are free to adjust the facial controls to add more personality to your animation. And since the pose library is just a special action, you can easily attach it to any scene.
5. Set up an ad hoc render farm with Network Render
First switch the rendering engine from Blender Render to Network Render. on your master node, select “Master” from the “Network Settings” panel of the “Render Properties”. On your master node, select “Master” from the Network Settings panel of Render Properties. When you click Start Service, you can view the status of the field by opening a web browser on that computer and pointing it to http://localhost:8000. With the master node running, go to the other computers and set them up as slave nodes.
This is the same procedure as for the master node: simply select Slave instead of Master from Network Settings. assuming the machines are on the same network, the slave node should automatically find the master node when you click Start Service.
To render, go to the machine you want to render and set up the client by switching to Network Rendering and selecting Client from Network Settings. If you click the Refresh button, the client should automatically find the master node.
You can now render the animation on the ad hoc field by clicking the Animation on network button in the Job Settings panel.
6. Eye Tracking with Damped Track
Damped tracking provides better results than tracking to constraints when animating eyes. Blender’s Track To constraint is very handy for making objects or bones point to a target. Unfortunately, it is also based on gimbal (or Euler) rotation, which can make its behavior abnormal.
Sometimes this behavior is what you want (e.g., for turrets) – but usually this is not the case (e.g., on eyes): you want the object to rotate from its start to the most direct rotation path target it is pointing at. Fortunately, Blender has a constraint that does this: it’s called Damped Track.
In most cases, replacing Damped Track with Track To will give you the results you need.
7. Repair errors in animations using sculpting
Not only can you sculpt static objects, but you can also use it to refine the animation by adjusting the shape of your character as it moves over time. This allows you to fix deformations, add extra stretch, or change the outline of a pose – things that are hard to do with bones, but easy to draw.

8. Feed Synthesizer Nodes to VSE via Scene Bars
A scene strip is used to help work smoothly between the Node Editor and VSE.
When using Blender for motion graphics, you can do some cool handshakes between the Node Editor and the Video Sequence Editor.
If a shot requires more relevant effects than what VSE provides, switch to the compositing screen layout and create a new empty scene (I like to name the scene after the shot).
Bring your clip into the node editor using the image input node, adjusting the node and the start and end frames in the scene as needed.
From this point on, you can add any cool compositing effects you want. When you switch back to the video editing screen (which should still be in your editing scene), replace your footage by adding a scene clip to your composite scene in the VSE.
As a bonus, if you delete all screen layouts except compositing and video editing, you can use [Ctrl]+[left arrow] and [Ctrl]+[right arrow] to quickly switch between the compositing scene and the editing session.
Of course, many Blender tips are not mentioned here. You can learn more handy tips and techniques in Wingfox’s Blender tutorial to reduce unnecessary complications. And you can also keep following our Blog, for information about Blender you can check out: 8 Awesome Sites for Free Blender Textures


Post a Comment
要发表评论,您必须先登录。
Pingback: GAME DESIGN AS A NEW FORM FOR EXPRESSION - Wingfox
2022-02-21