Hot Tip: How to Create a Stylized 3D Scene with Cel Shading
To make a scene more attractive, we often use rendering to achieve this purpose.
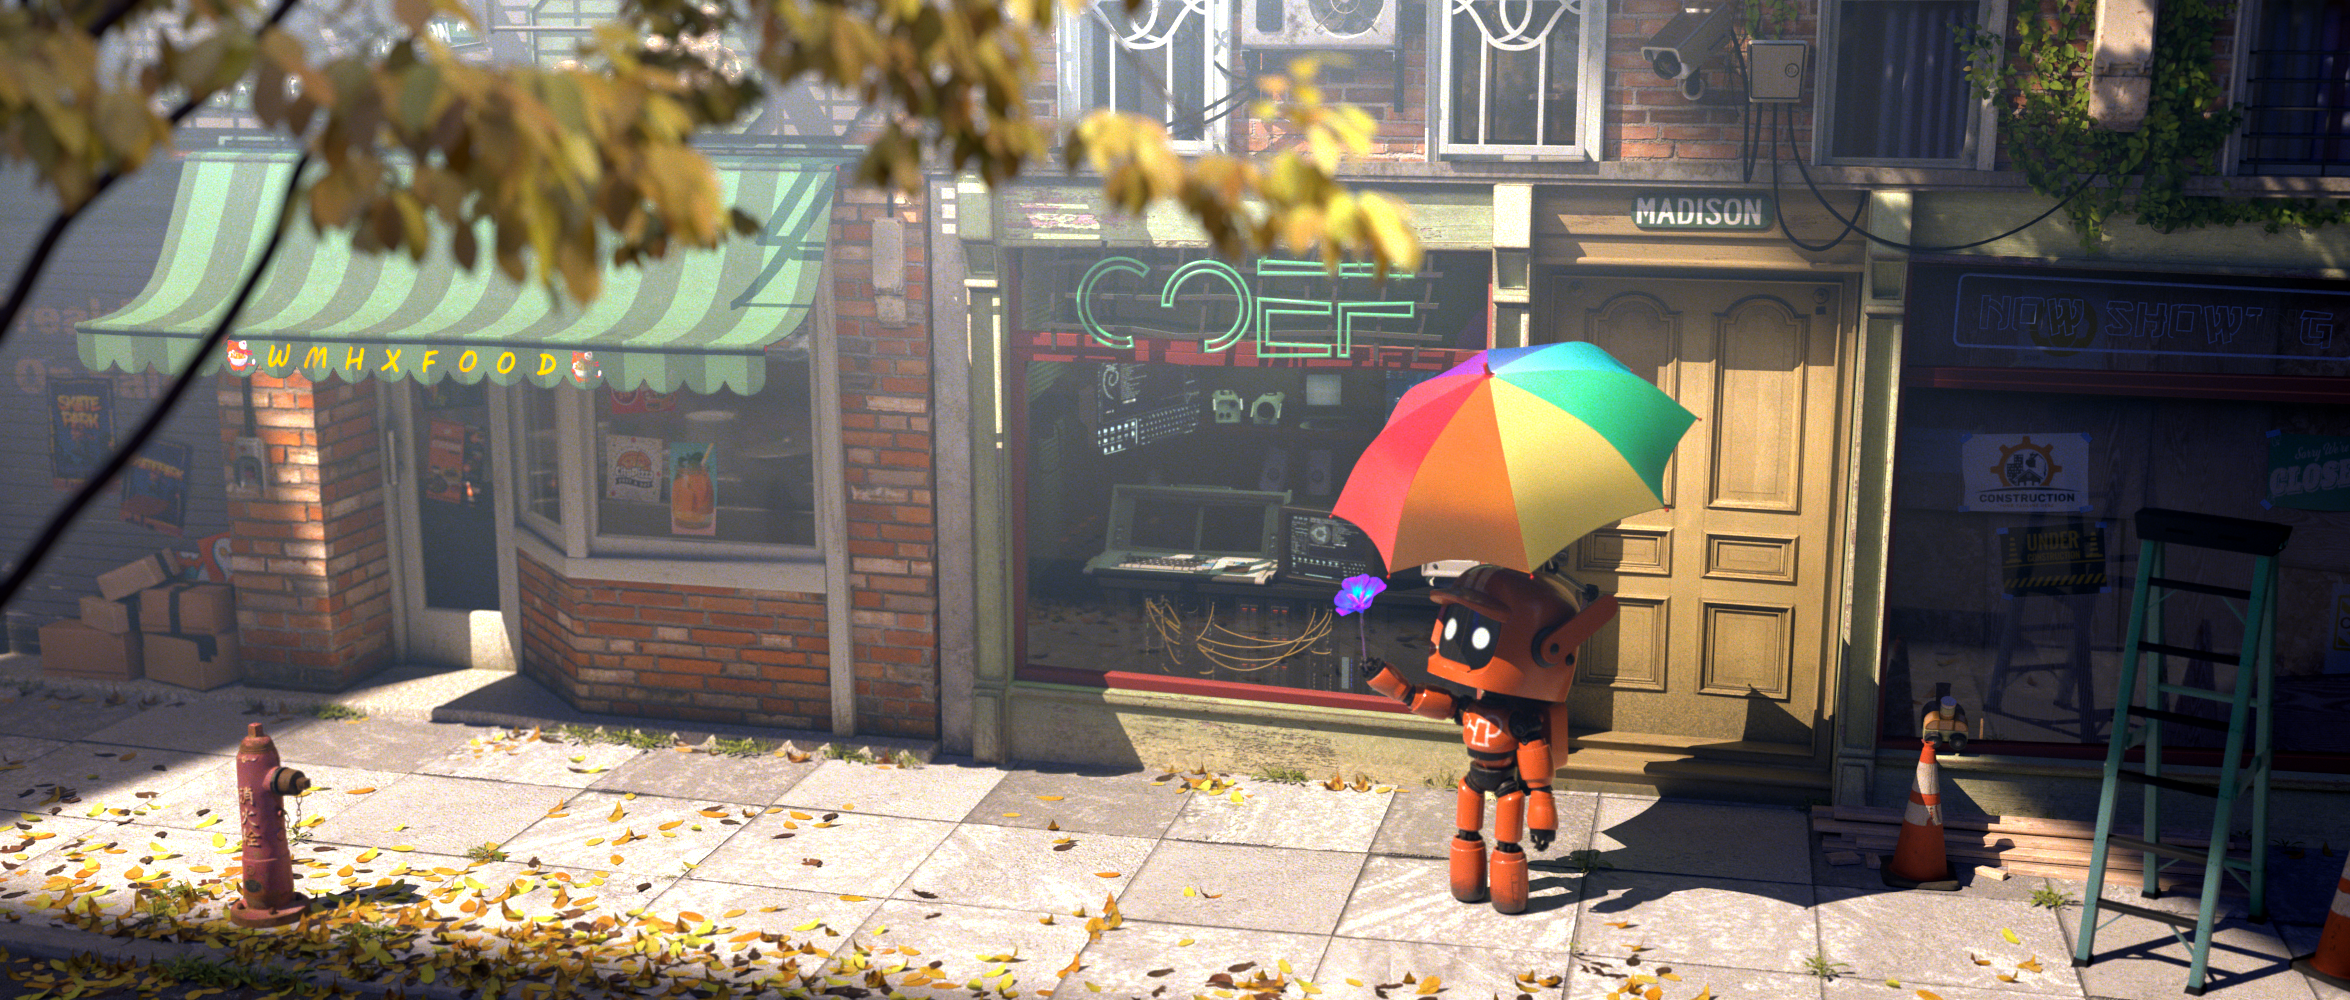
Perhaps you have heard of Cel-shading, also known as toon shading, which uses a multi-stage color band to render objects instead of using a continuous gradient. This time let’s talk about how to create a stylized 3D scene.
Cel shading is a great way to achieve the stylized retro sci-fi, comic book, and manga art aesthetic that many 3D artists strive for. Detachment from realism often sets the standard for the use of tools and software. With that in mind, why not explore our list of the best 3D modeling software to enhance your stylized aesthetic?
There are many different ways to create and develop toon shaders, and there are many different styles to explore. Let’s see how to create a stylized 3D scene.
1. Sketching
It all starts with a good sketch. Draw the scene roughly as you imagine it or as you see it in reality. Of course, some artists like to start the artistic process by drawing some quick thumbnails and sketches from their sketchbooks to form some initial ideas and compositions. Whether I’m working in 3D software or drawing in 2D, it gives you a basic idea of what to achieve to a certain extent.
2. Set up the 3D scene
Next, you can set up my scene in Quixel Bridge using some 3D scanned geometry. It’s worth mentioning that you don’t need textures, just geometry to blend and create the base for your scene. You can use three different scans and blend them to lay the early foundation for my scene.
3. Fill in the details
At this point, you need to provide some additional detail to your scene, because your goal is to create an illustration, so you need to try to find the most suitable angle and set the camera (lock), and add additional details and planes according to the composition. In this way, the stylized 3D scene you create afterward will be more
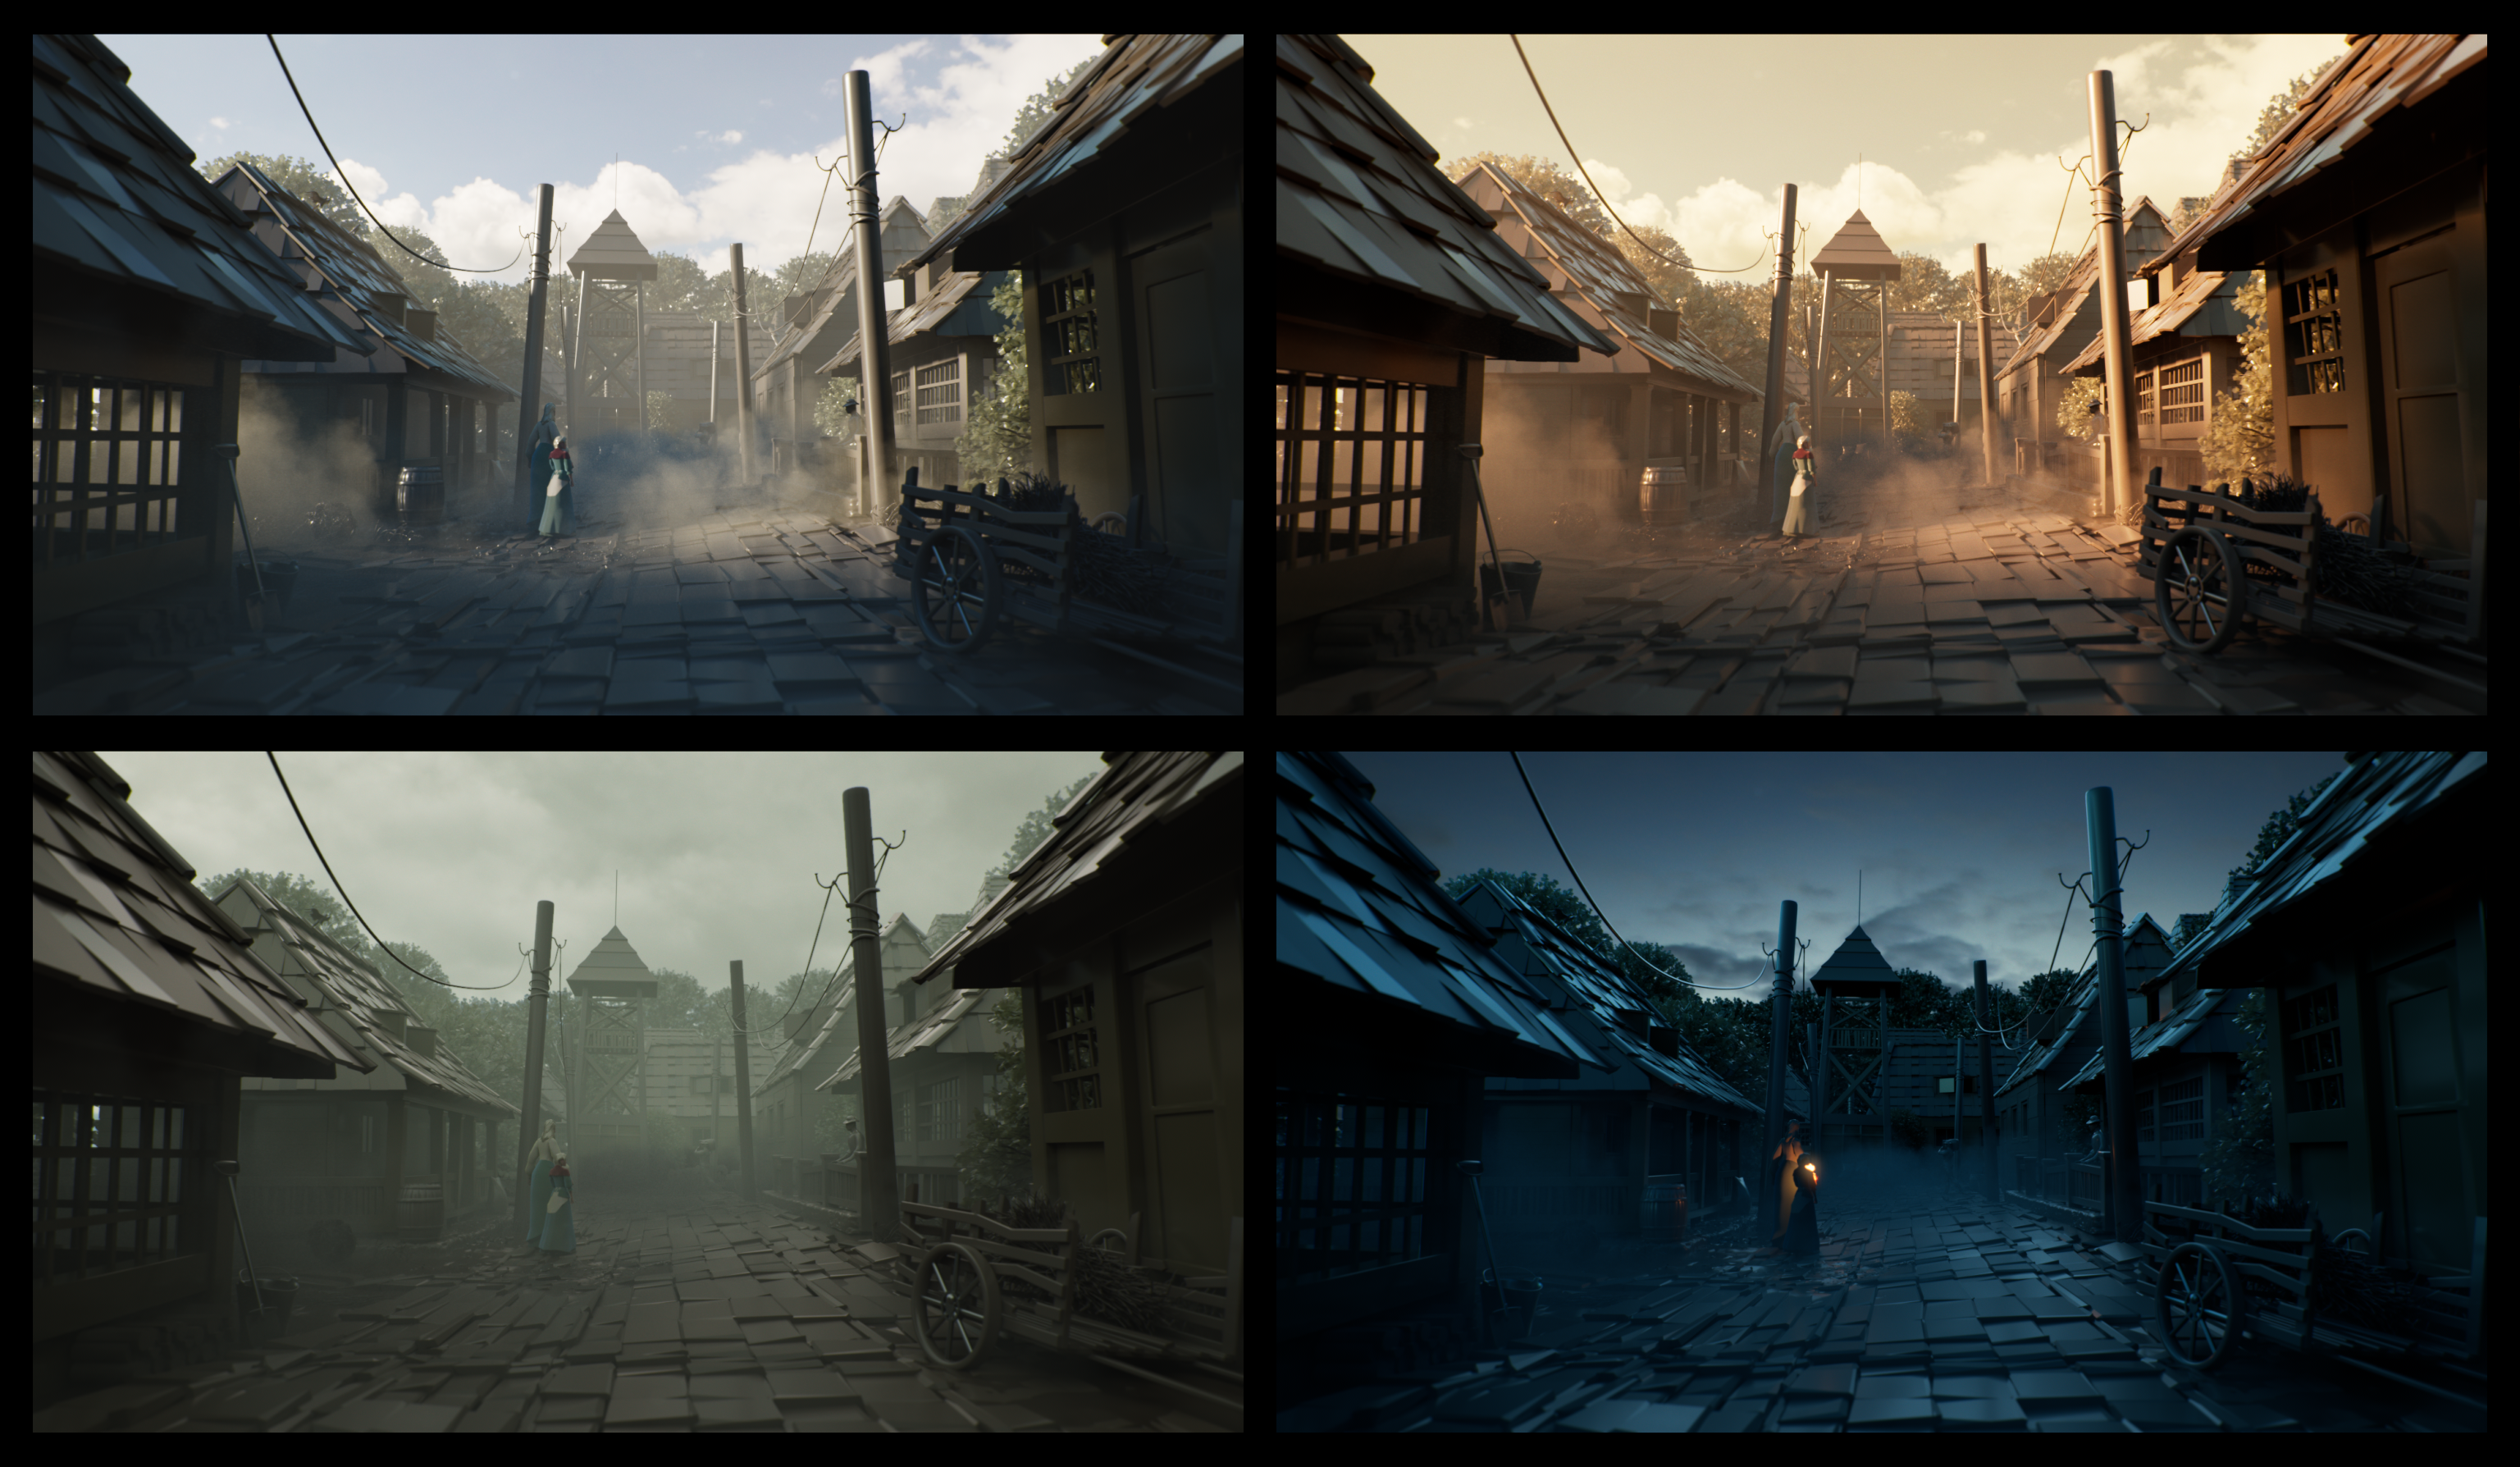
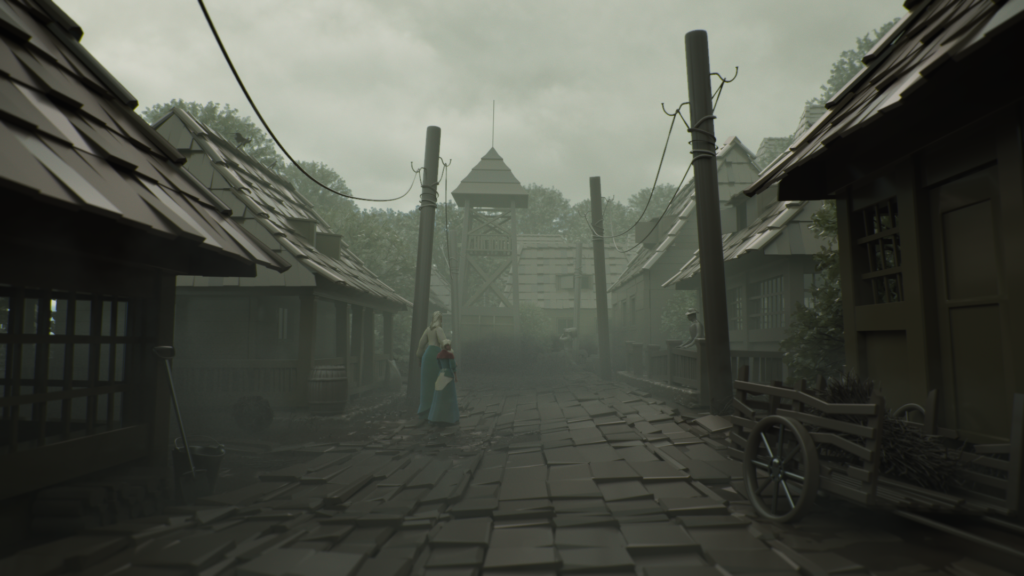
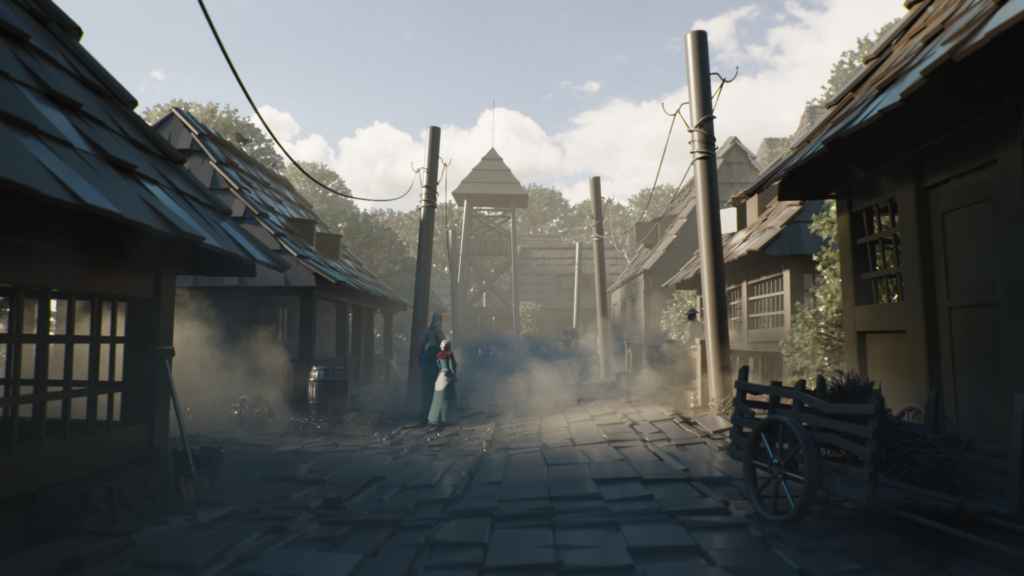
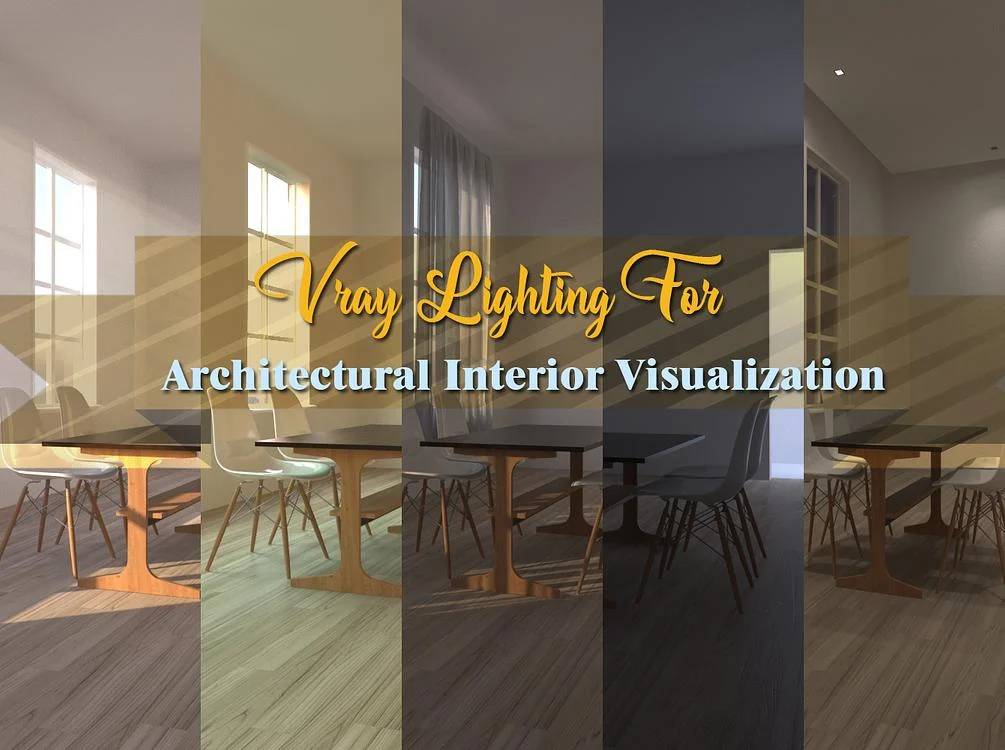
4. Set the lighting
The next step is to set up the lighting. Use Arnold Renderer’s Distant Light for global lighting and Disk Light to set up the overall small spotlight (although it requires more tweaking of the material to adjust the impact). My goal was to set up a moon-lit device with warm light on the boulder to represent the fire. Both of these lights can be used under Arnold Light.
5. Create the material
In this step, we will create the base material of 3D scene. Simply click Create in the Cinema 4D Materials section, then click Arnold>Surface>Toon and you will have a Toon material, double click it to open the material editor. At the top select Arnold, Shader Network Editor to access the node from where you can bring in Ramp_rgb from the Texture category. connect it to your Tonemap. this will allow you to set color steps for your material, from light to mid-tone to shadows. Change the type from Custom to U to see the impact in the render preview. You can also change the interpolation between each shader.
We have applied the material to all the available geometry in the scene. Next, let’s go to the Material Editor again, under the Gloss section, change it to 1 and use Roughness. This will change the way light affects the material and the way it absorbs light, so it is necessary to use it to find the light effects and reflections you want.
6. Add contours
Go to Render Settings in the Arnold renderer and change the default filter to Contour. Now you will start to see some lines appearing in your scene. To add effects or change the way it outlines the geometry, you can adjust the edge detection, UV threshold, and angle threshold in the material editor.

7. Process the details and export
You need to copy your main base materials, change the colors and effects according to your interpretation of each geometry, and apply them to the 3D scene. Photoshop is a great helper.
8. Optimize the scene
It is important to touch the image. To render a better 3D scene, you need to refine, redraw, redraw lines, correct lighting, and add extra details to the scene. This is an important part of the process and it takes more time than creating the scene itself.
Wingfox
While these don’t seem very difficult, you do need some patience to get it right. If you too want to create an interesting stylized 3D scene, welcome to Wingfox. There are quite a few environment designs and concept art tutorials here that can help you. Action is the beginning of all success. I hope you will be able to produce an outstanding portfolio and increase your competitiveness in the industry.


Post a Comment
要发表评论,您必须先登录。
Pingback: 6 Reasons for Online Learning is the Future - Wingfox
2022-02-23Pingback: Using Pencil+ 4 to Create Cel-Shading Animated Characters - Wingfox
2022-04-12